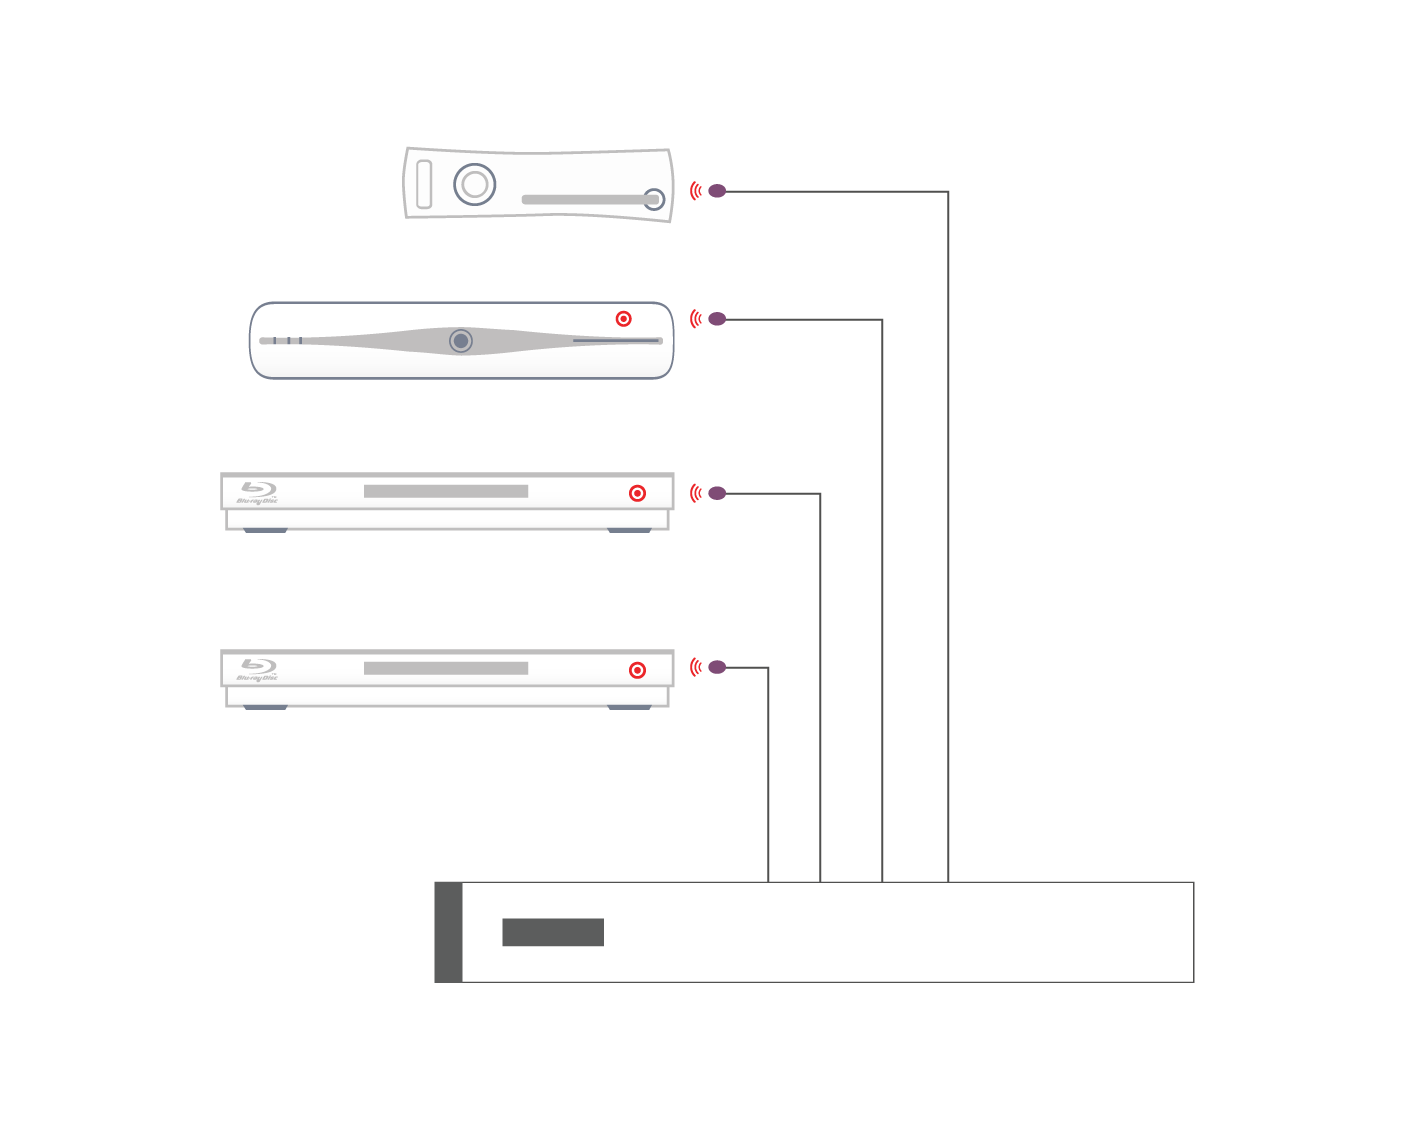
Basic IR Setup (dos and don’ts)

The latest control driver from Chowmain software can be downloaded here included in the download is also an in-depth guide to installing the driver
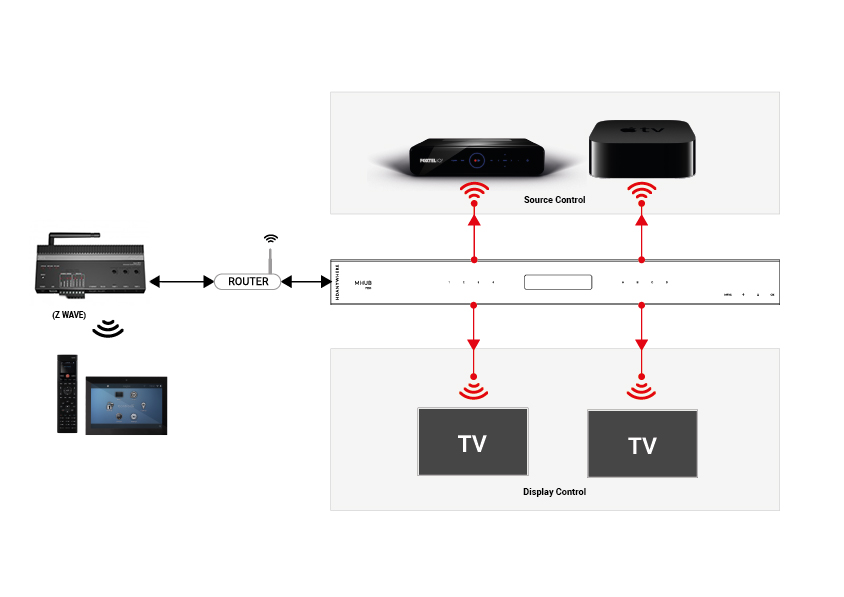
The HDAnywhere MHUB RTI driver allows for control of the HDAnywhere range of Video and Audio distribution products. The driver allows for direct switching of inputs to outputs, the ability to switch preconfigured zones, control of audio levels (volume, mute, etc) and the ability to send IR codes as well as being able to reboot or restart the system. It is compatible with the following systems:
MHUB431U
MHUB862U
MHUB4KPRO44
MHUBPRO4440
MHUB4KPRO88
MHUBMAX44
MHUBAUDIO64
and the following RTI products:
RP-4RF
XP-3
XP-6
XP-6s
XP-8s
XP-8v
IMPORTANT
Before setting up the RTI driver, the MHUB must have been through its first boot process. This can be done by navigating to the MHUB’s IP address in a web browser or in uControl and following the onscreen instructions. No other setup of the matrix is required, but this step must be completed before the RTI processor can utilise the matrix I/O ports. It is not required otherwise.
This guide explains how to pull data from the SilentGliss API so you can control it directly from uOS.

You can get the IP address of your SilentGliss gateway device:
192.168.1.15/sgbms/v1/device/7/command
This command only shows the structure and does not include the actual action of the command which needs to be included in the body. This will be explained further through the guide.
192.168.1.15/
This is the IP addresss of the gateway, a forward slash (/) needs to be added between each unique variable.
sgbms/v1
This is the URL version of the gateway.
device/7
This specifies we are affecting a device and what its ID is.
command
Command must go at the end as we are performing a POST execution method which is atempting to perform an action.
We recommend testing your API command before entering it into uOS to ensure it works. To do this we recommend installing an application called Postman.
If it doesn’t work then try the following:
All HDA staff are able to help with any API questions you might have including any advanced features. Get in touch for help or assistance.

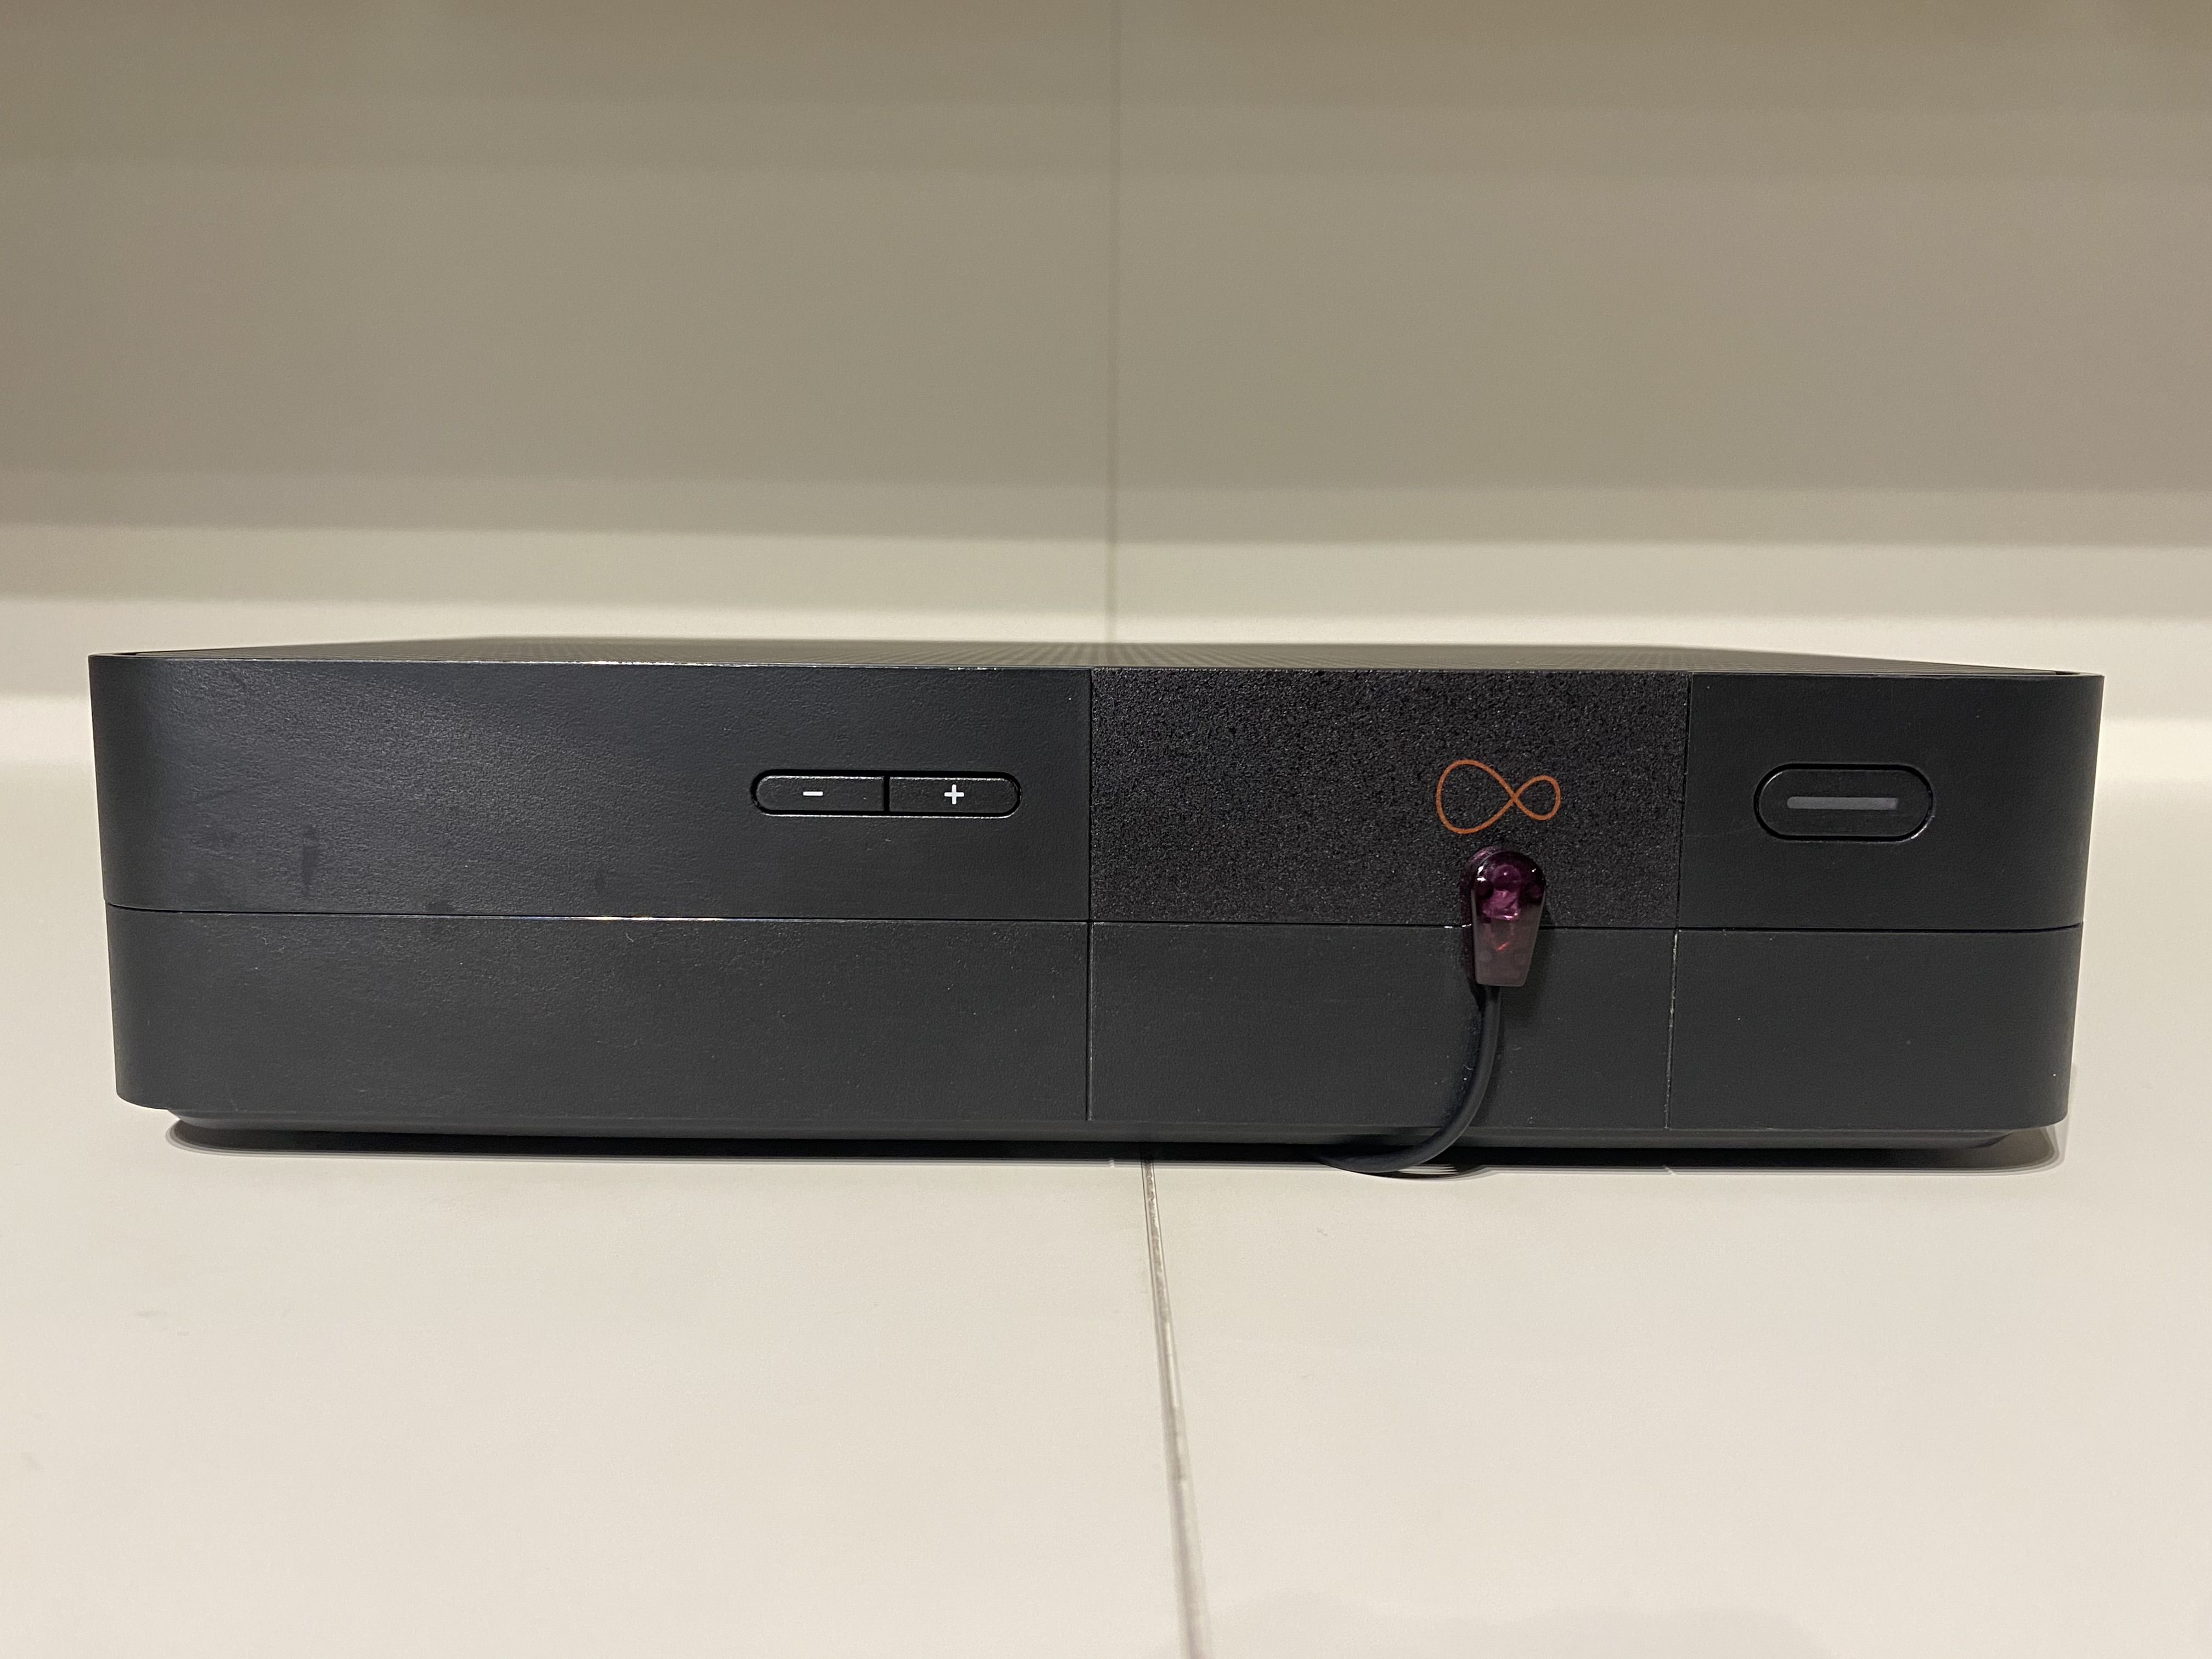



If you find yourself encountering issues with the picture (either poor quality or no picture) then the following list of common problems and solutions will help you diagnose the problem.
Firmware – Ensure your devices are on the most up-to-date firmware. Check the manufacturer’s website and use the menu settings on any internet-connectable device, such as sources, sinks, displays, projectors, AVRS, etc etc.
Power – Check that both the MHUB and the receivers are fully powered. The front panel of the MHUB should be illuminated* and the power light on the receiver should be on. If the receiver isn’t powered try an alternate power supply from another receiver that you know works. Alternatively, if you’re using the USB power supplies double check that the USB port you are using is supplying the appropriate current.
Is your transmission distance too long? – If you have a power light but the lock light isn’t illuminated this can indicate an issue with the signal strength. The maximum transmission distance for the mHub 2K range is 50m in best-case scenarios and 100m for the MHUB 4k Range. The transmission distance can be reduced by several factors, most commonly wall plates, patch panels and stranded patch leads can significantly reduce signal strength and potentially reduce the maximum distance the matrix can transmit signal. Whenever possible you should try to use a straight point to point connection to guarantee maximum distance.
Resolution – Check that you are using compatible resolutions between your source devices and displays, in particular you should be looking for situations where a TV is perhaps older than the rest of your displays and doesn’t support the same video formats (for instance it only supports 720p) Try reducing the resolution on your source devices and see if this fixes the issue. Also, if reducing the resolution causes the picture to appear again this can point to an issue with the bandwidth which can be addressed by reducing the transmission distance.
Snow/Sparkly picture – This is most often seen when the MHUB is failing to fully establish a connection with the receiver. Your first step should be to use another working location to verify the integrity of both the receiver and output on the matrix. Once you are happy both the receiver and MHUB output are working you should take a look at all your cables. Check that your RJ45 connectors are properly terminated to 568B standards and try swapping out the HDMI cables for ones from working locations.
* – with the MHUB family of products, If the unit has been idle for 5 minutes the panel may have gone into power-saving mode
The latest control driver from Loxone can be downloaded here
The Loxone API 2.0 driver is compatible with the following HDANYWHERE products:
MHUB431U
MHUB862U
MHUB4KPRO44
MHUBPRO4440
MHUB4KPRO88
MHUBMAX44
MHUBAUDIO64
and the following Loxone products:
Miniserver
Miniserver Go
IMPORTANT
Before setting up the Loxone driver, the MHUB must have been through its first boot process. This can be done by navigating to the MHUB’s IP address in a web browser or in uControl and following the onscreen instructions. No other setup of the matrix is required.
Add the HDANYWHERE MHUB device template as a “Virtual Output”
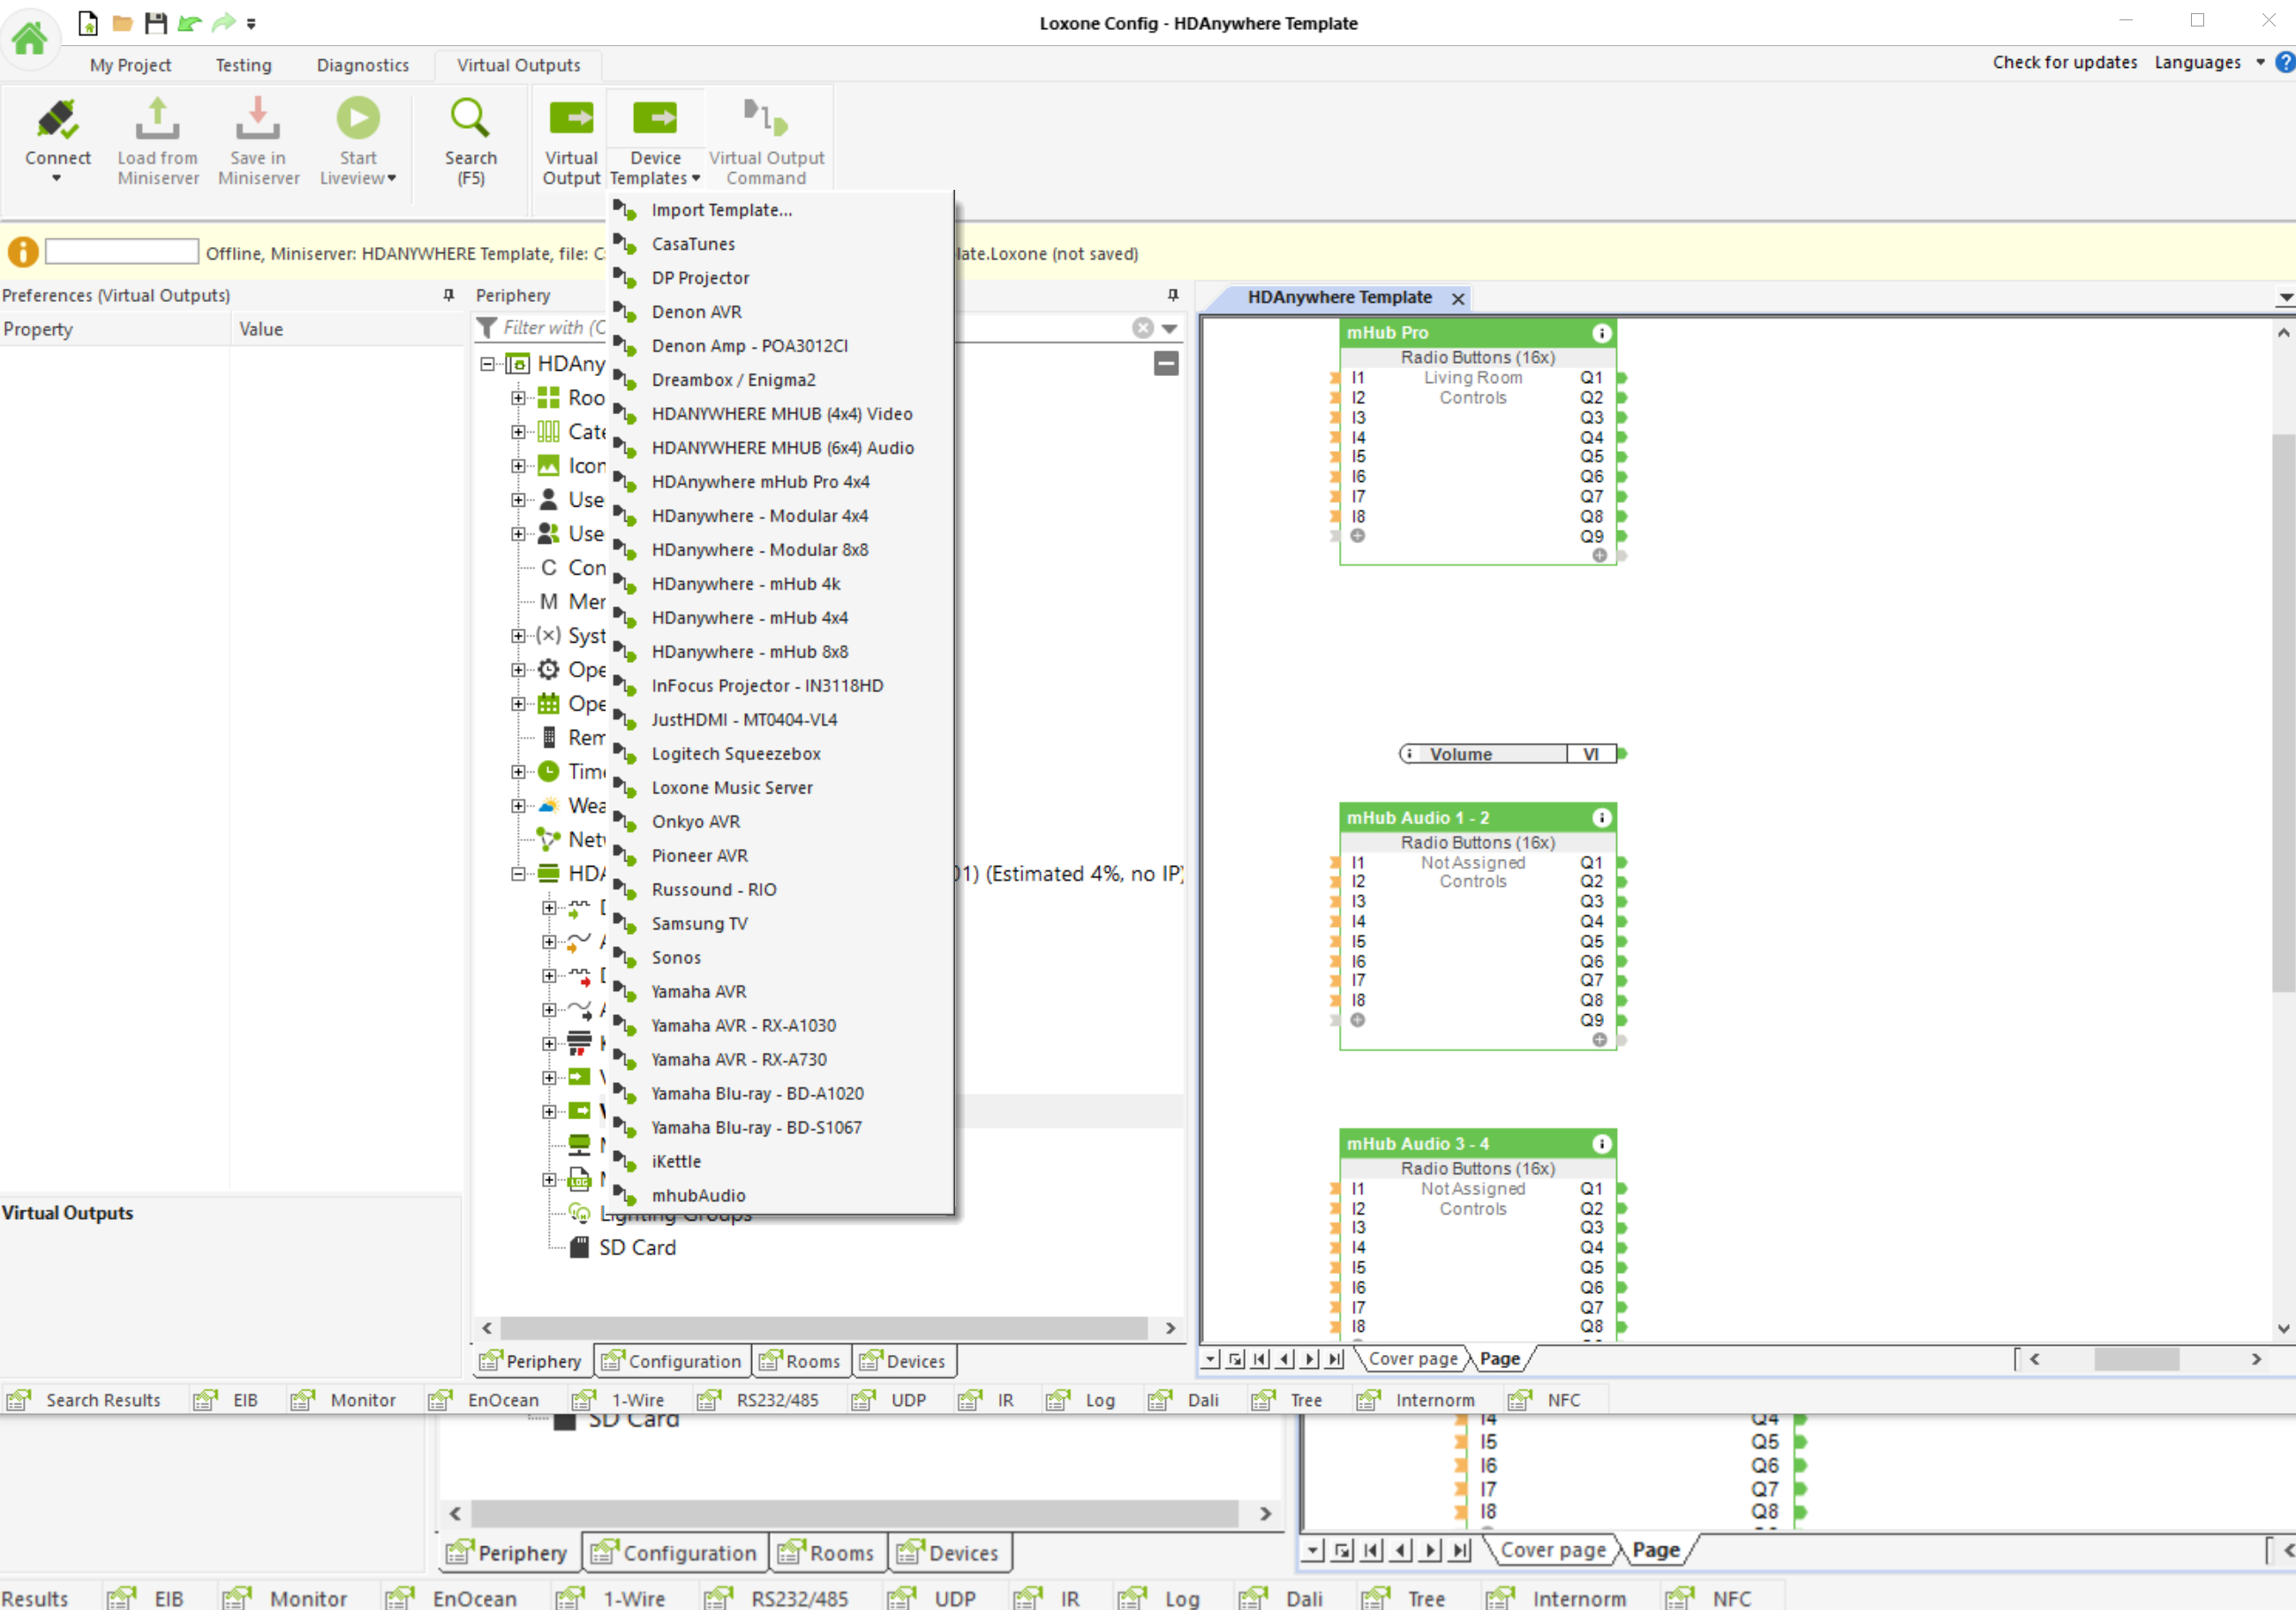
Next, assign your Inputs and outputs
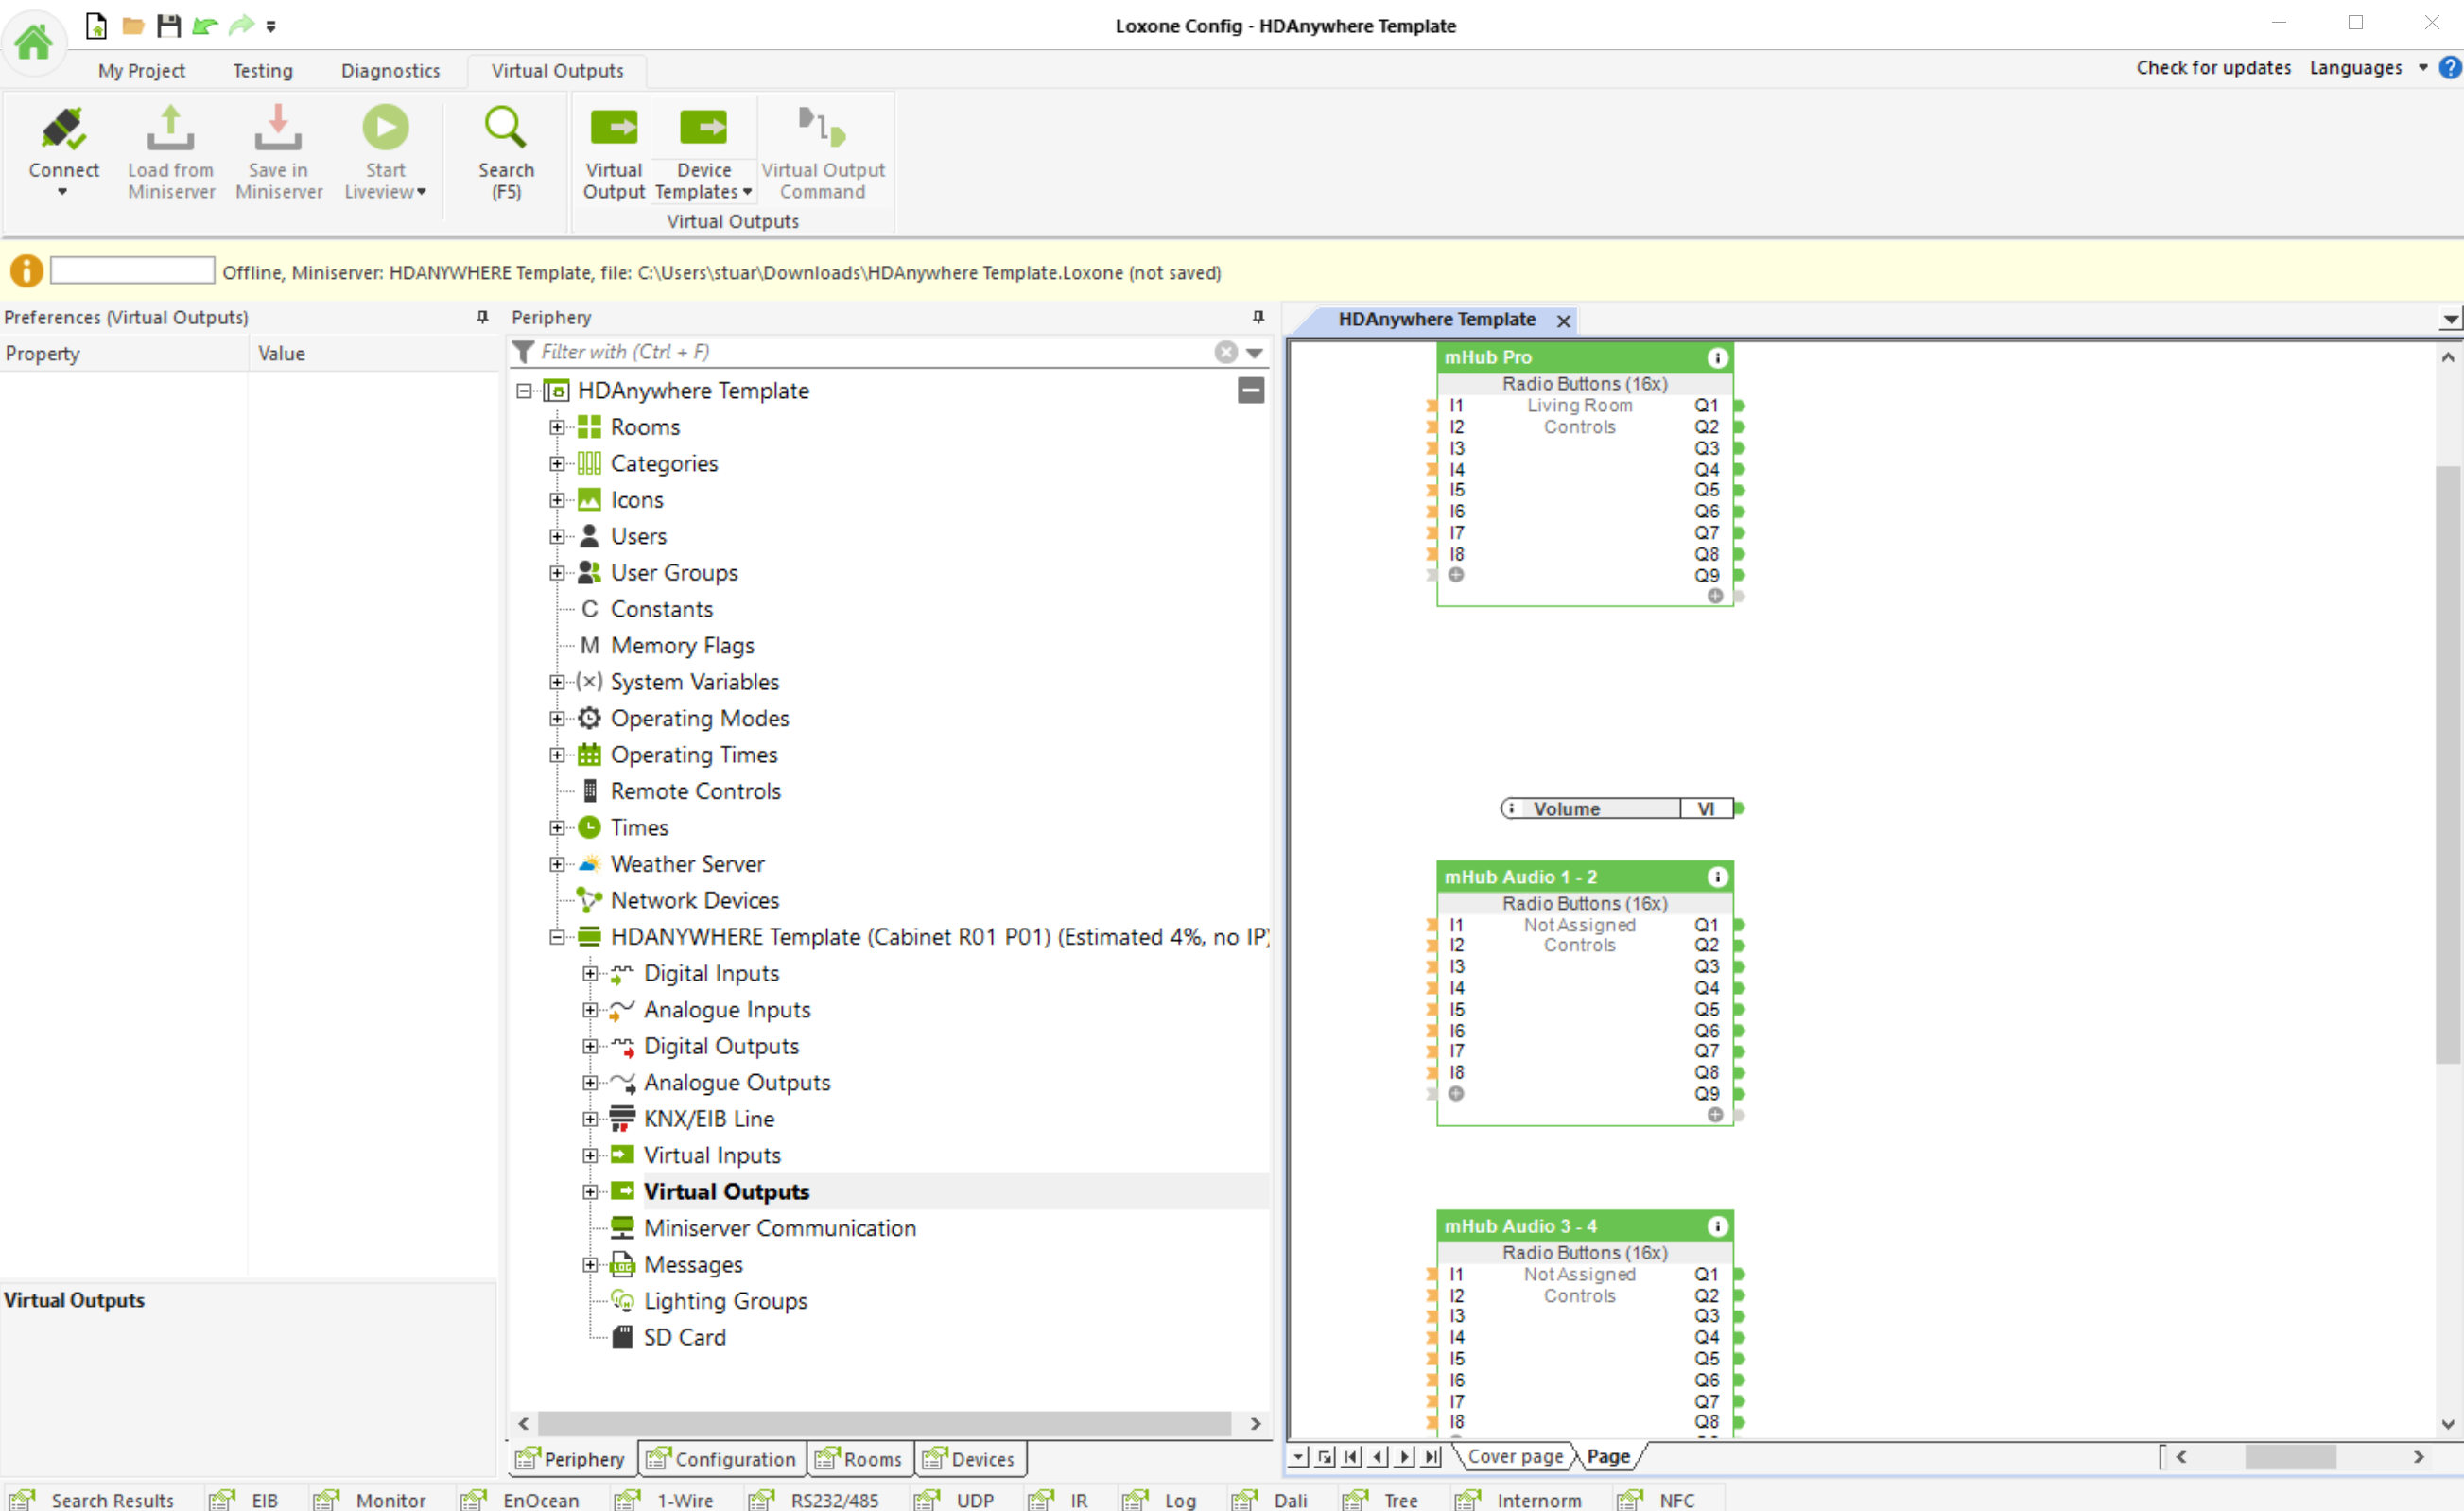
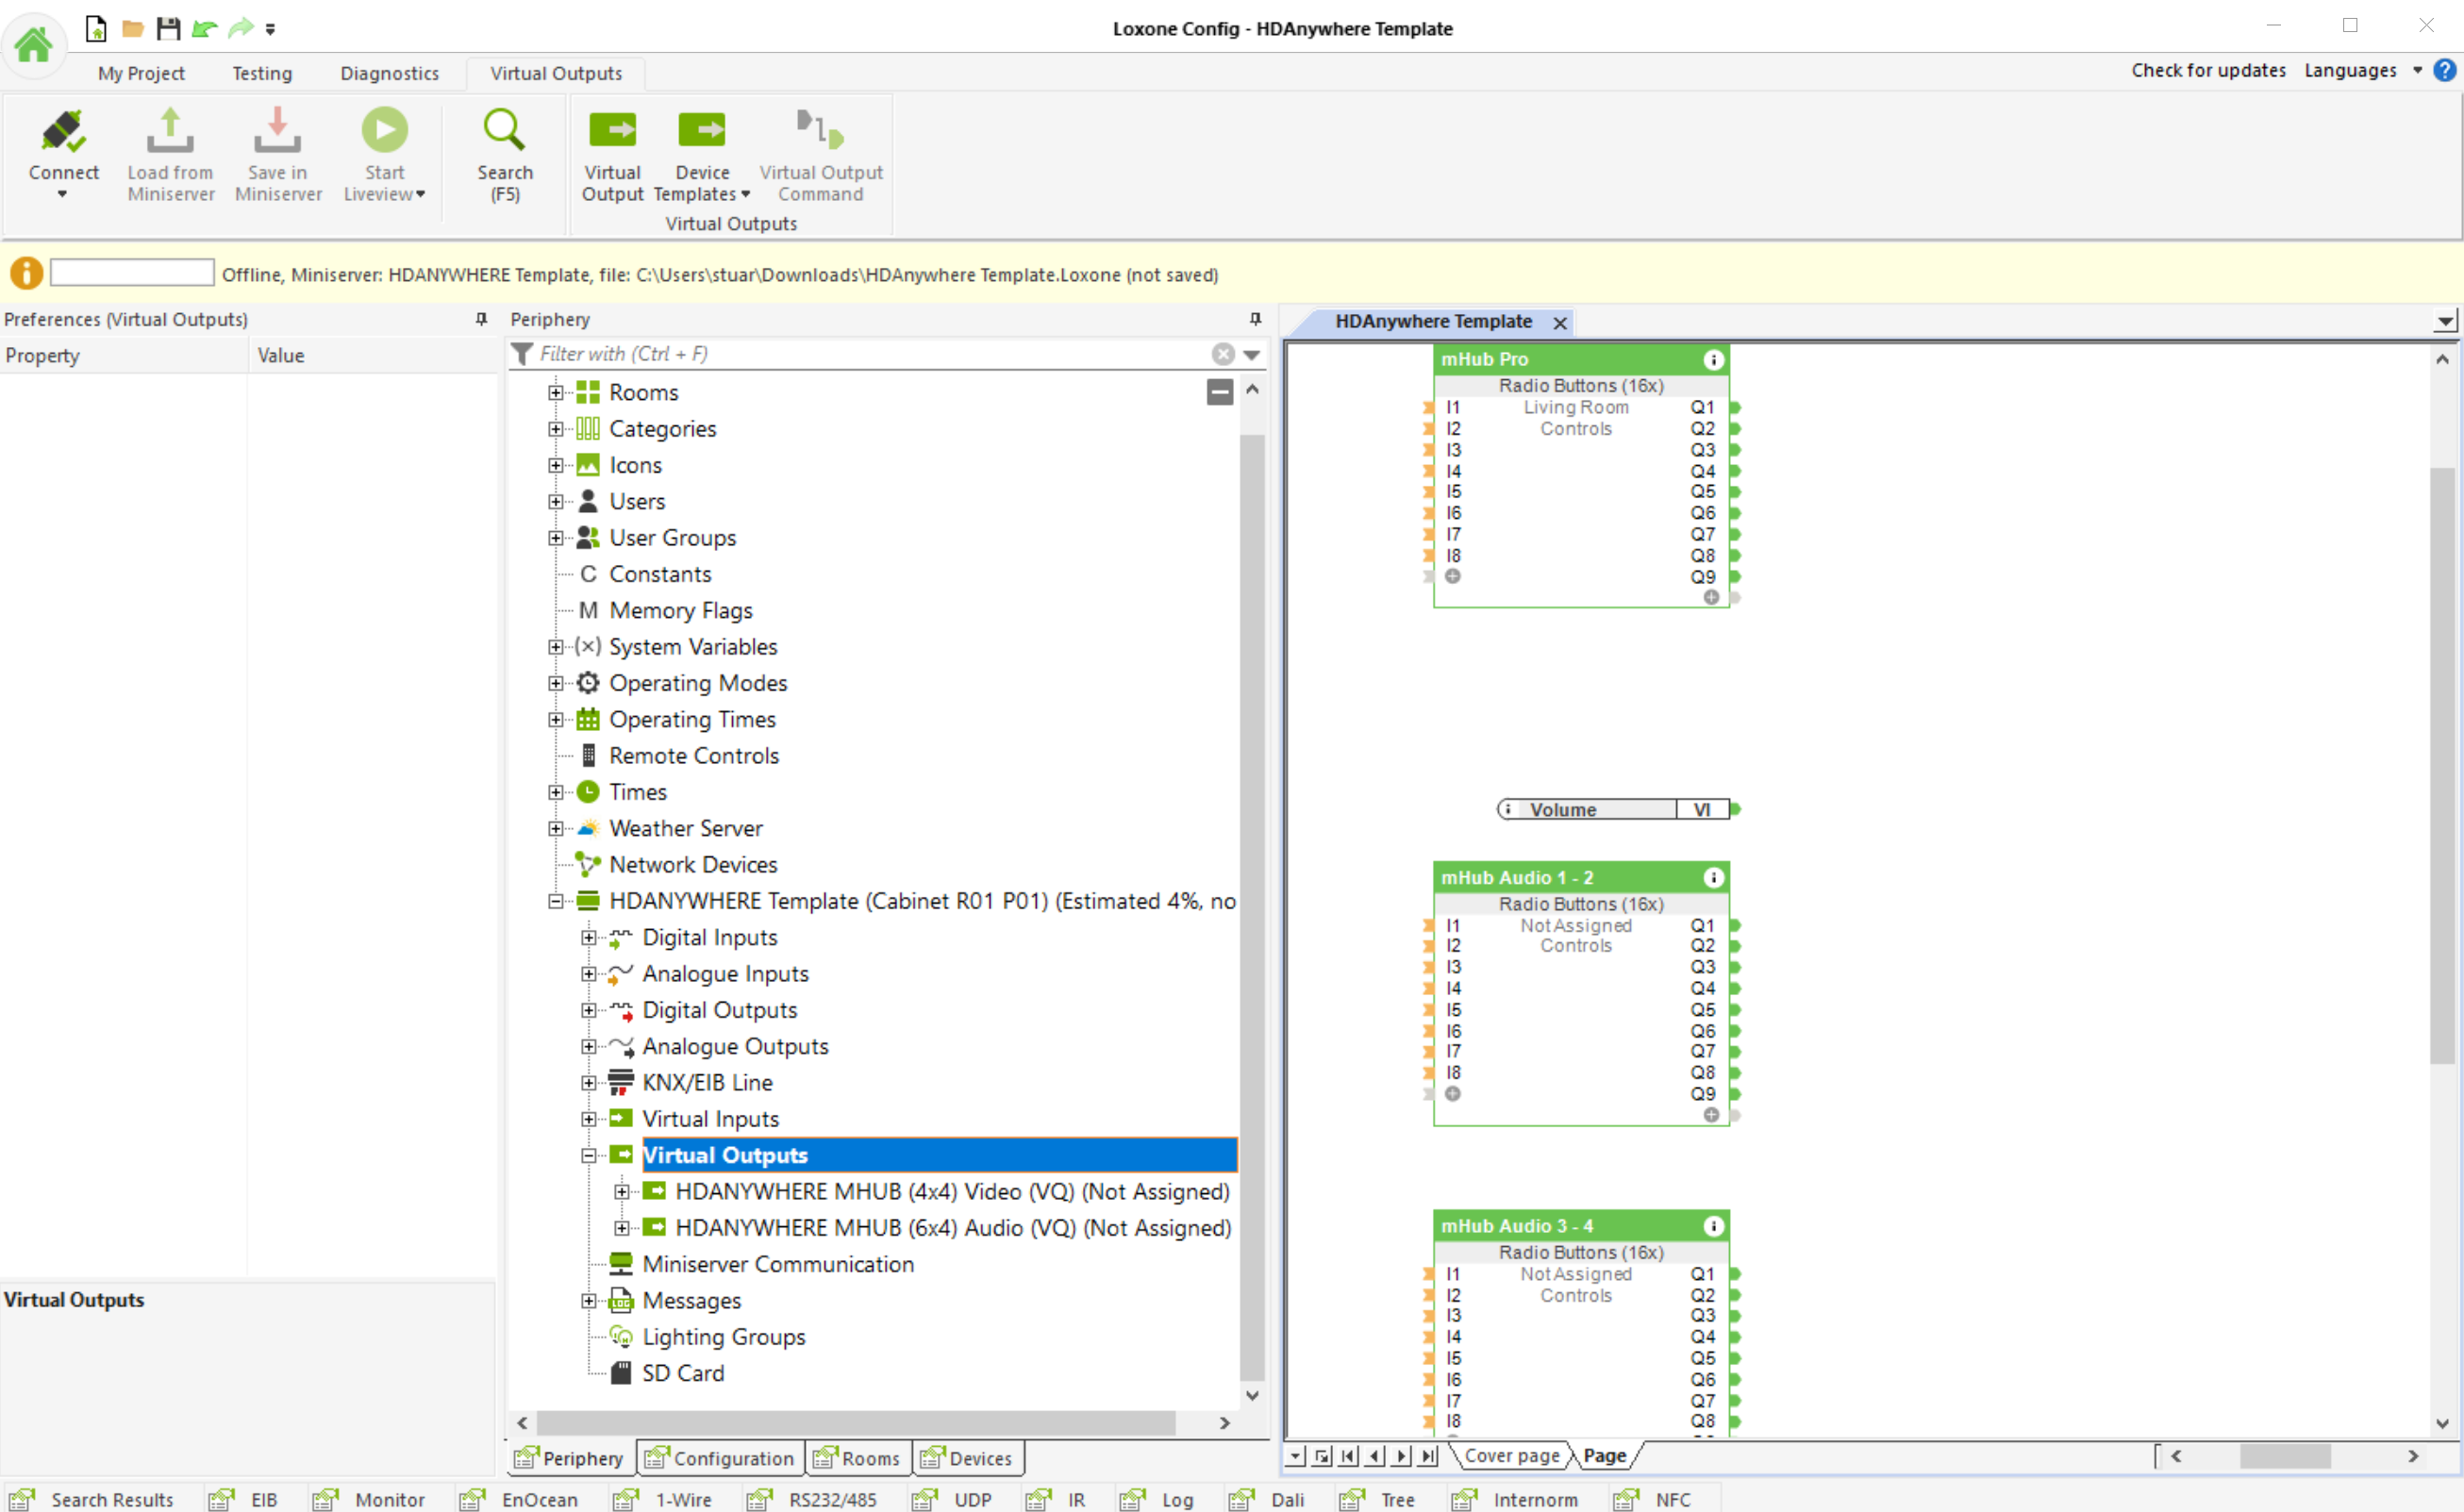
The video below shows the entire process
If your MHUB is marked with “TPC” then it is capable of passing a HDR picture to your display. There are a number of reasons why HDR may not be fed through your HDA device. This support post aims to troubleshoot the most common reasons and how to resolve them.
Important: there are different versions of HDR, make sure your display supports the format your source is outputting!
There are multiple variants of HDR such as HLG, HDR10+ and Dolby Vision, please ensure your display supports the relevant HDR technology.
When connecting your HDR enabled source and display to a HDA system you may need to adjust some settings to get it to work.
This guide explains how to use Lutrons API protocol to control QS Standalone, RadioRA2, Quantum, Athena, HomeWorks QS, myRoom plus from Lutrons devices.
For the purposes of this guide we are going to assume that your Lutron gateway is on IP address 192.168.1.15 and your uOS device (MHUB, MZMA or Zone Processor) is on 192.168.1.196. We will use this to illustrate all examples moving forward.
Important: This guide assumes that you are familiar with Lutron and know how to use their lighting infrastructure and that your Lutron system is operational before integrating into uOS.
See “Testing your API’s” for more information on Telnet.
#OUTPUT,2,1,75,00:30
#OUTPUT
This is the operation character for executing an action. For more information on these see the slideshow below.
,2
The first number in the string is the ID for the device.
,1
The second number in the string is the action number, which in this instance is enable.
,75
This number sets the level of the dimmer, so in this case 75%.
,00:30
This is the fade time of the dimmer.
We recommend that you test every API before you enter them into uOS. All IP based APIs have different requirements when it comes to testing, Lutron’s method is a little different as it needs to be done over Telnet in command prompt.
To test your commands, open up command prompt on your laptop or PC and enter telnet 192.168.1.15 23
Remember, your IP address will be different, you must use the Lutron gateway IP address for this, the port is 23.
You now need to wait for it to connect which may take a few minutes, then you will be asked to login. The username is lutron, and the password is integration. You will now be able to test your commands in the terminal. Observe the device you are trying to control, and see if your commands changes the outcome.
Using a MAC?
If you are using a MAC you can use Netcat to test your API command. To do so open your terminal and enter nc 192.168.1.15 23
Wait for it to connect and then you will be prompted to login. The username is lutron and the password is integration.
If it doesn’t work then try the following:
All HDA staff are able to help with any API questions you might have including any advanced features. Get in touch for help or assistance.
You may not need to use CEC or you have been prompted to disable it by support as it can cause conflicts between displays and external devices like soundbars, causing audio pass-through issues.
The examples in the guide focus on disabling CEC, however, to re-enable it replace “Off” with “On”.
There are 3 ways to disable CEC:
The command variable is x meaning you put the Output port here when you want to disable it. To disable Output A put 1, to disable Output B put 2 and so on. To disable all Output ports +1 to however many HDBaseT ports there are. For example if you have a 4-way matrix input 5 to disable all ports.
Using an MHUB S (8+8×8)? Make sure to only send HDMI command – CecOutxOff!
To execute the command successfully you will need to be on a laptop/PC which is connected to the same network as your HDA device, and its IP address. For this example our HDA devices IP address is 192.168.0.149. Send it in your web browsers URL/search bar, the first command disables CEC for HDMI and the second command is for HDBaseT.
If done correctly you will see a response saying “Cec Out x Off” for one Output that has been disabled or “Cec Out all Off” if all Outputs were disabled.
 Hercules SETUP utility
useful serial port terminal (RS-485 or RS-232terminal) , UDP/IP terminal and TCP/IP Client Server terminal. Produced by www.HW-group.com.
If you don’t have Hercules already download it using the link above, we can use it to send our CEC command to our device. Once installed run the software. Hercules only requires the command itself so you don’t need to include 192.168.0.149/api/instr?cmd= like you do in URL.
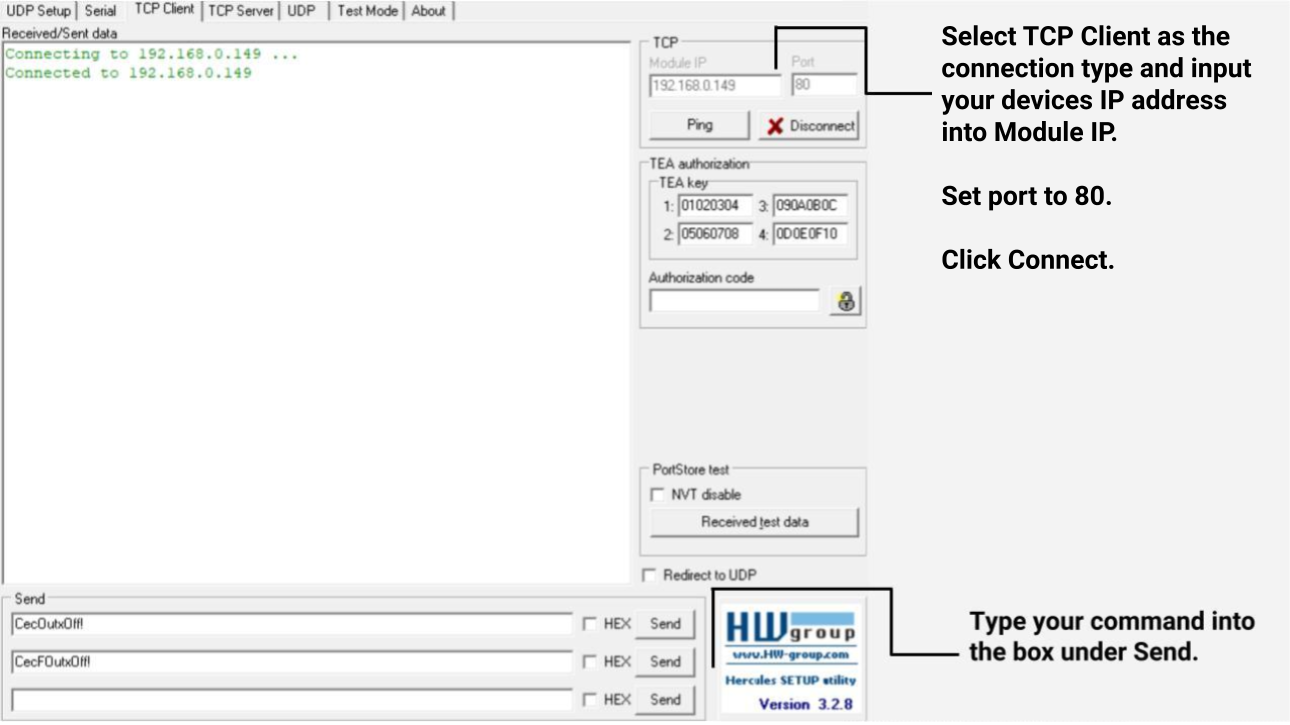
You should see a response in black below Received/Sent data saying CEC has been disabled if done correctly.
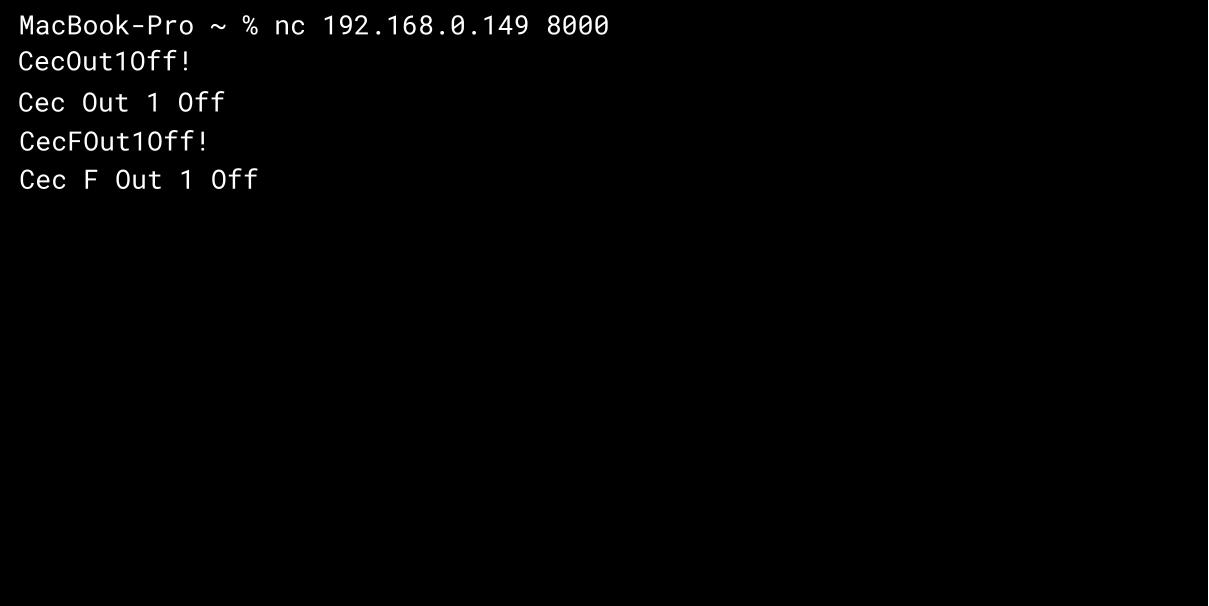
Netcat can be used to send direct commands to a device via TCP or UDP. You will need to open up your terminal and enter nc 192.168.0.149 8000 and press enter.
Please note 192.168.0.149 is only an example IP address and yours may be different. Below you will see both the HDMI command (CecOut1Off!) and HDBaseT command (CecFOut1Off!) being sent with their responses below, to exit press Ctrl + C.