Category: Miscellaneous

  • Enabling DHCP on MHUB if you have lost it on your network

    If your MHUB has been configured with a fixed IP address and you changed your network infrastructure then your MHUB may become unreachable by your new router.

    With MHUB PRO models you can enable DHCP from the MENU button on the front panel by holding it down for 3 seconds. For MHUB 100A & MHUB U (4×1+1) 40 models you need to follow Guide 1, for MHUB U (4×3+1) 40 & (8×6+2) 40 models follow Guide 2 and for older MHUB U (micro USB on front) models use Guide 3.


    MHUB 100A & MHUB U (4×1+1) 40

    To reset DHCP on an MHUB (4×4, 6×6, 8+8×8) 100A you can either use the Hercules method which is included below, or you can hold down Output A on the front panel of the matrix for 10 seconds.

    To reset an MHUB S (16+16×16) 100A press and hold button 1 for 10 seconds.

    To reset to DHCP on an MHUB U (4×1+1) 40 you can press and hold the 2 front panel buttons for 10 seconds.

    Items needed

    Steps

    1. Install Hercules and open the software on your PC or laptop
    2. Hercules interface

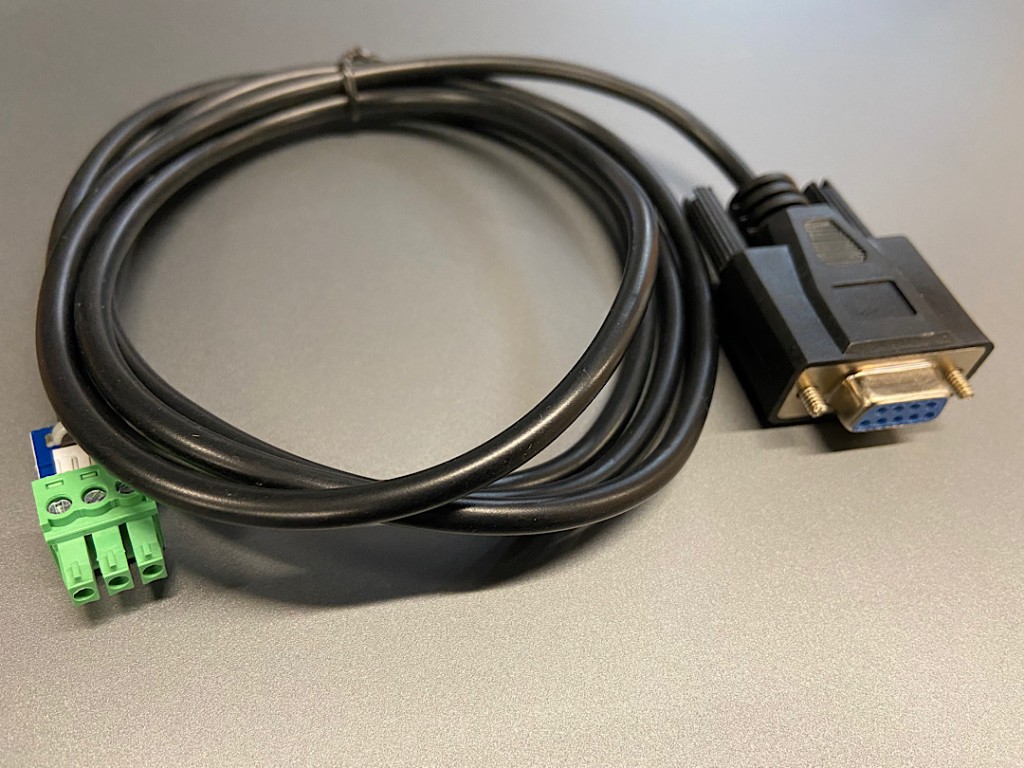
    3. Connect the serial to phoenix cable to the MHUB, and then your serial to USB adaptor into a laptop or PC.
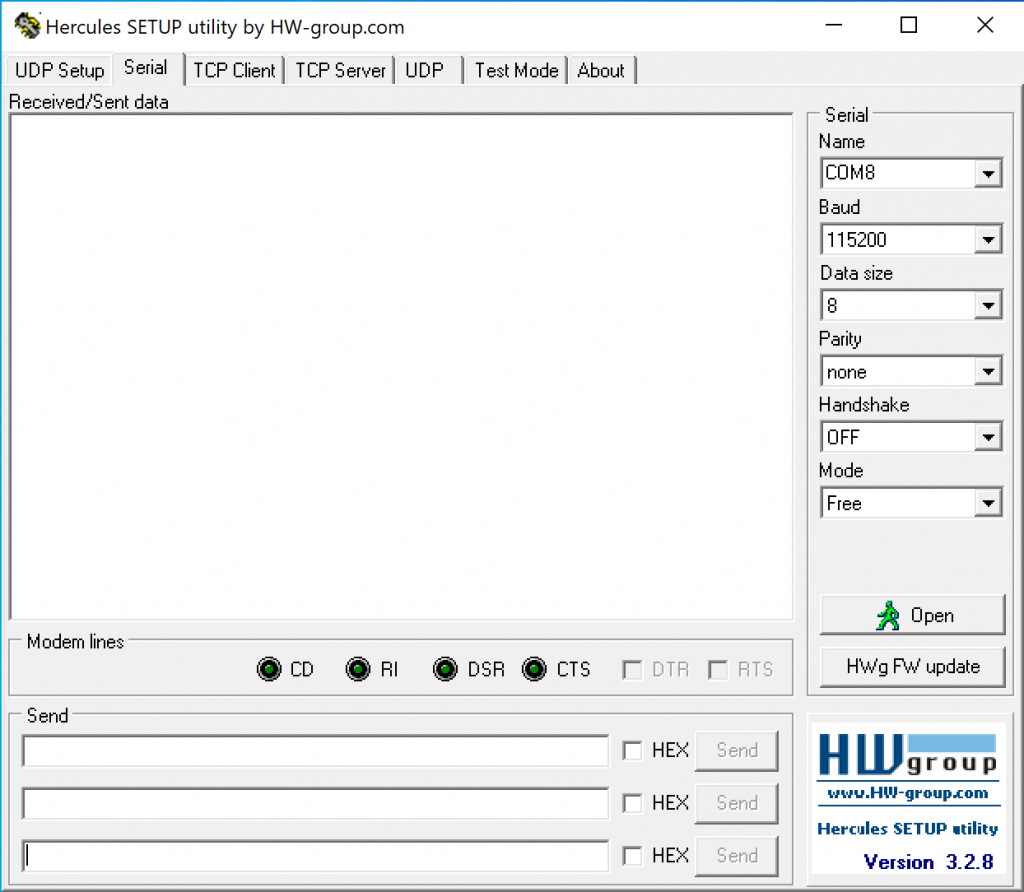
    4. Go back to Hercules, ensure that the Baud is 115200, the Data Size is 8, the parity is None, the Handshake is OFF and finally, the Mode is Free.
    5. Click on the “Open” button. Your PC will now connect directly to the MHUB.
    6. Type DHCPON! in the box labelled “Send” and click “Send”. Make sure that “Hex” remains unticked.
    7. You will receive a response in the “Received/Sent Data” box. This will confirm that the MHUB has been reset to DHCP.
    8. Hard reboot your MHUB by pulling the power out from the back of the system.
    9. Reconnect MHUB to your router as normal and power up the system. Your MHUB should now be discoverable.
    MHUB U

    Items needed

    Steps

    1. Install Hercules and open the software on your PC or laptop
    2. Hercules interface

    3. Connect the serial to phoenix cable to the MHUB, and then your serial to USB adaptor into a laptop or PC.
    4. Go back to Hercules, ensure that the Baud is 115200, the Data Size is 8, the parity is None, the Handshake is OFF and finally, the Mode is Free.
    5. Click on the “Open” button. Your PC will now connect directly to the MHUB.
    6. Type DHCPON! in the box labelled “Send” and click “Send”. Make sure that “Hex” remains unticked.
    7. You will receive a response in the “Received/Sent Data” box. This will confirm that the MHUB has been reset to DHCP.
    8. Hard reboot your MHUB by pulling the power out from the back of the system.
    9. Reconnect MHUB to your router as normal and power up the system. Your MHUB should now be discoverable.
    Serial to phoenix Cable

    IMG_10May2021at131731


    MHUB 4K (with micro USB on front panel)

    If your MHUB U has a micro USB port on the right hand side of the front panel then please follow these steps to reset your system. Using Hercules from the steps above, send the following command:
    • Baud Rate 9600
    • Data Size 8
    • No parity
    • Restore Command: %0911. (include the full stop “.”)
    • Query IP Command: %9964.

  • Controlling SilentGliss from uOS

    This guide explains how to pull data from the SilentGliss API so you can control it directly from uOS.

    Shelly in uOS

    What this guide will cover:

    1. How to control SilentGliss window coverings in your home.
    2. How to add that API into uOS.

    Important: you must have the IP addresses first

    You can get the IP address of your SilentGliss gateway device:

    1. Use a network discovery app like Fing to find the SilentGliss gateway on your network.

    What a typical SilentGliss API command looks like

    192.168.1.15/sgbms/v1/device/7/command

    This command only shows the structure and does not include the actual action of the command which needs to be included in the body. This will be explained further through the guide.

    192.168.1.15/
    This is the IP addresss of the gateway, a forward slash (/) needs to be added between each unique variable.

    sgbms/v1
    This is the URL version of the gateway.

    device/7
    This specifies we are affecting a device and what its ID is.

    command
    Command must go at the end as we are performing a POST execution method which is atempting to perform an action.

    Testing your APIs

    We recommend testing your API command before entering it into uOS to ensure it works. To do this we recommend installing an application called Postman.

    If it doesn’t work then try the following:

    • Make sure the IP address is correct.
    • Make sure that you do not have any typos.
    • Ensure that your IDs are correct and that you’re observing a light in the correct room and location.
    • Make sure that the structure of the API matches our example no spaces, no special characters, data is in the correct case (often lowercase).

    How to add your APIs into uControl

    Need more help with the API? Get in touch.

    All HDA staff are able to help with any API questions you might have including any advanced features. Get in touch for help or assistance.

  • Christmas and New Year opening and dispatch timetable

    HDANYWHERE will be operating a reduced customer and dispatch service over Christmas and New Year. Dispatch will resume in the new year and the last day for dispatch is Thursday 21st. During this period a reduced customer service level will operate meaning Call Back Requests and WhatsApp messages will be temporarily disabled until January 2nd.

    • Thursday 21st December 2023: Last day of dispatch
    • Friday 22nd December 2023: No dispatch. Reduced customer service.
    • Wednesday 27th December 2023: No dispatch. Reduced customer service.
    • Thursday 28th December 2023: No dispatch. Reduced customer service.
    • Friday 29th December 2023: No dispatch. Reduced customer service.
    • Tuesday 2nd January 2024: Dispatch resumes. Full customer service.
  • Daisy Chaining IR – How To

    Daisy chaining IR can allow you to connect the IR systems of 2 devices. This allows IR to pass from one device to another

    This does not work for HDMI Mirrored ports.

    a) The diagram below shows how you can link two HDA devices, such as an MHUBU86240 and an XTND4K40TPC using a MHUB + XTND Integration Kit
    Screenshot 2020-12-08 at 14.29.15

    b) This second diagram shows how you would connect a HDA system to a 3RD PARTY extender or device such as a Harmony Remote by Daisy-chaining the IR transmitter from the 3RD party device and the IR receiver included with the MHUB system.
    Screenshot 2020-12-08 at 14.21.04

    c)

    Screenshot 2020-12-08 at 14.21.04

  • What is HDMI 2.1 and should you need to worry about it?

    HDMI Specification 2.1 or HDMI 2.1 is the most recent update of the HDMI specification (June 2021). The headline is that any source, display and everything in between must support HDMI 2.1 in order to take advantage of the higher video resolution support (8K up to 10K!) and faster refresh rates (4K up to 120fps and 8K at 60fps). If you have an older HDMI cable then it is unlikely that it will be able to handle the bandwidth that’s required for HDMI 2.1.

    Do I need a 2.1 HDMI cable?

    Answer

    What do all those new HDMI acronyms mean?

    • eARC: Enhanced Audio Return Channel
      An update to standard ARC support. eARC allows audio to be ‘pulled’ from a display and carried down the HDMI cable to an audio device like a Sonos soundbar or an AVR. The biggest difference between ARC and eARC is that eARC is capable of pulling uncompressed audio formats like 5.1, 7.1 and high bitrate, object based audio such as Dolby Atmos and DTS:X.
    • VRR: Variable Refresh Rate
      VRR enables a gaming source such as a console or computer to deliver video frames as fast as it can, which in many cases is slower than the normal static refresh rate.
    • ALLM: Auto Low Latency Mode
      This is a new HDMI feature that allows a source (e.g. an gaming console such as the XBox One S or XBox One X) to direct all compatible components in the HDMI chain (things like AVRs and displays) to enter its a low-latency mode automatically. This allows the picture to be displayed with the lowest possible delay which is important in gaming.
    • QMS: Quick Media Switching
      Reduces the black screen you see when you change source. This works when resolutions are the same between HDMI connections.
    • QFT: Quick Frame Transport
      Another measure to transport data from the source to the display as fast as possible.
  • Controlling Lutron from uOS

    This guide explains how to use Lutrons API protocol to control QS Standalone, RadioRA2, Quantum, Athena, HomeWorks QS, myRoom plus from Lutrons devices.

    Lutron in uOS

    What this guide will cover:

    1. How to control Lutron lights in your home.
    2. How to add that API into uOS.
    3. QS Standalone, RadioRA2, Quantum, Athena, HomeWorks QS, myRoom plus.

    Important: you must have the IP addresses first

    For the purposes of this guide we are going to assume that your Lutron gateway is on IP address 192.168.1.15 and your uOS device (MHUB, MZMA or Zone Processor) is on 192.168.1.196. We will use this to illustrate all examples moving forward.

    Important: This guide assumes that you are familiar with Lutron and know how to use their lighting infrastructure and that your Lutron system is operational before integrating into uOS.

    What a Telnet Lutron command looks like

    See “Testing your API’s” for more information on Telnet.

    #OUTPUT,2,1,75,00:30

    Understanding what the variables above mean:

    #OUTPUT
    This is the operation character for executing an action. For more information on these see the slideshow below.

    ,2
    The first number in the string is the ID for the device.

    ,1
    The second number in the string is the action number, which in this instance is enable.

    ,75
    This number sets the level of the dimmer, so in this case 75%.

    ,00:30
    This is the fade time of the dimmer.

    Testing your APIs

    We recommend that you test every API before you enter them into uOS. All IP based APIs have different requirements when it comes to testing, Lutron’s method is a little different as it needs to be done over Telnet in command prompt.

    To test your commands, open up command prompt on your laptop or PC and enter telnet 192.168.1.15 23

    Remember, your IP address will be different, you must use the Lutron gateway IP address for this, the port is 23.

    You now need to wait for it to connect which may take a few minutes, then you will be asked to login. The username is lutron, and the password is integration. You will now be able to test your commands in the terminal. Observe the device you are trying to control, and see if your commands changes the outcome.

    Using a MAC?

    If you are using a MAC you can use Netcat to test your API command. To do so open your terminal and enter nc 192.168.1.15 23

    Wait for it to connect and then you will be prompted to login. The username is lutron and the password is integration.

    If it doesn’t work then try the following:

    • Make sure the IP address is correct.
    • Make sure that you do not have any typos.
    • Ensure that your IDs are correct and that you’re observing a light in the correct room and location.
    • Make sure that the structure of the API matches our example no spaces, no special characters, data is in the correct case (often lowercase).

    How to add your APIs into uControl

    Need more help with the API? Get in touch.

    All HDA staff are able to help with any API questions you might have including any advanced features. Get in touch for help or assistance.

  • IR transmitter positioning for popular brands

    Some source devices need the IR transmitter to be placed in a very specific location. This page shows a number of popular controllable soure devices and their IR transmitter positioning incase you’re unable to locate it.

    Sources:


  • How to install uControl 2016 on your Android or IOS Phone or tablet

    uControl is HDANYWHERE’s free remote control app and is available for iOS and Android mobile platforms. Below is a guide to configuring and then using uControl.

    Checklist:

    • Your MHUB is powered on and connected as per the quick start guide (inside MHUB packaging) to make sure your MHUB is connected correctly to your source devices, displays and has an active network connection before proceeding.
    • Your Android or iOS device is connected to the same network as your MHUB
    • You have downloaded the latest version of uControl from the relevant app store

    Connecting to your MHUB with uControl

    Before using uControl, it needs to be linked to your MHUB. Please follow the instructions below on how to do this.

      1a

    1. Open uControl and press the ‘SETUP A NEW MHUB SYSTEM’ button. uControl will now search your network for any MHUB devices.
    2. uControl will show relevant options. Press ‘CONNECT TO’ MHUB4K44PRO/MHUB4K88PRO/MHUB4K431/MHUB4K682/MHUBPRO4440/MHUBAUDIO64
    3. The app will now check the status of the unit, This can take upto 10 seconds, then it will show the screen ‘CONTINUE SETUP ON MHUB DEVICE’
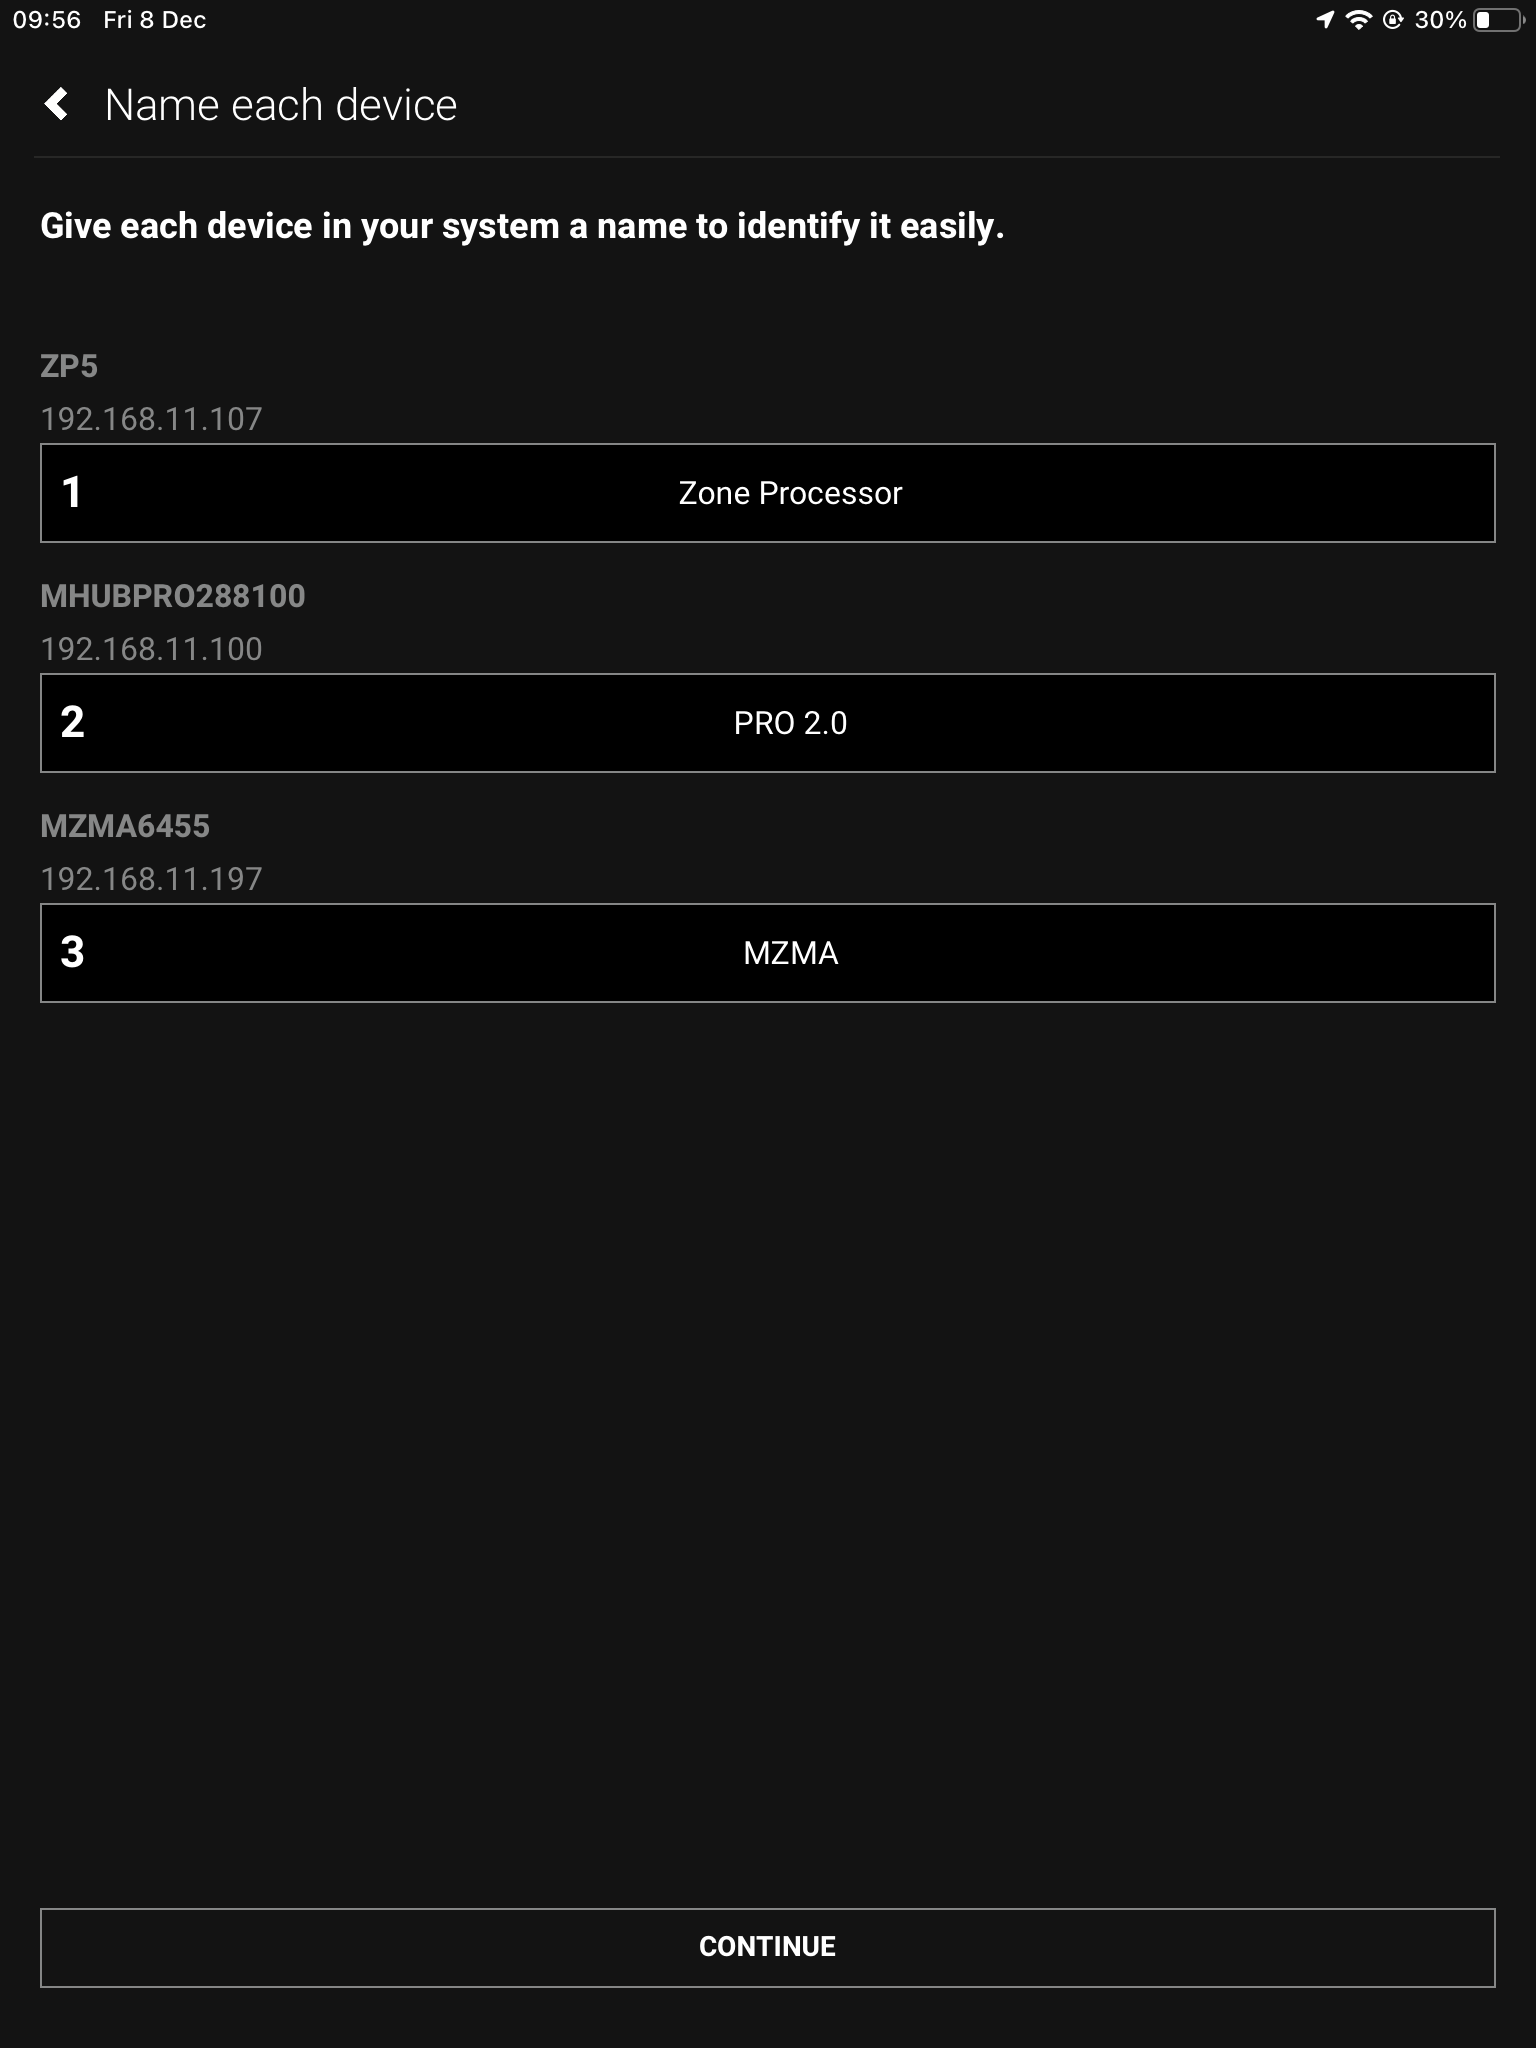
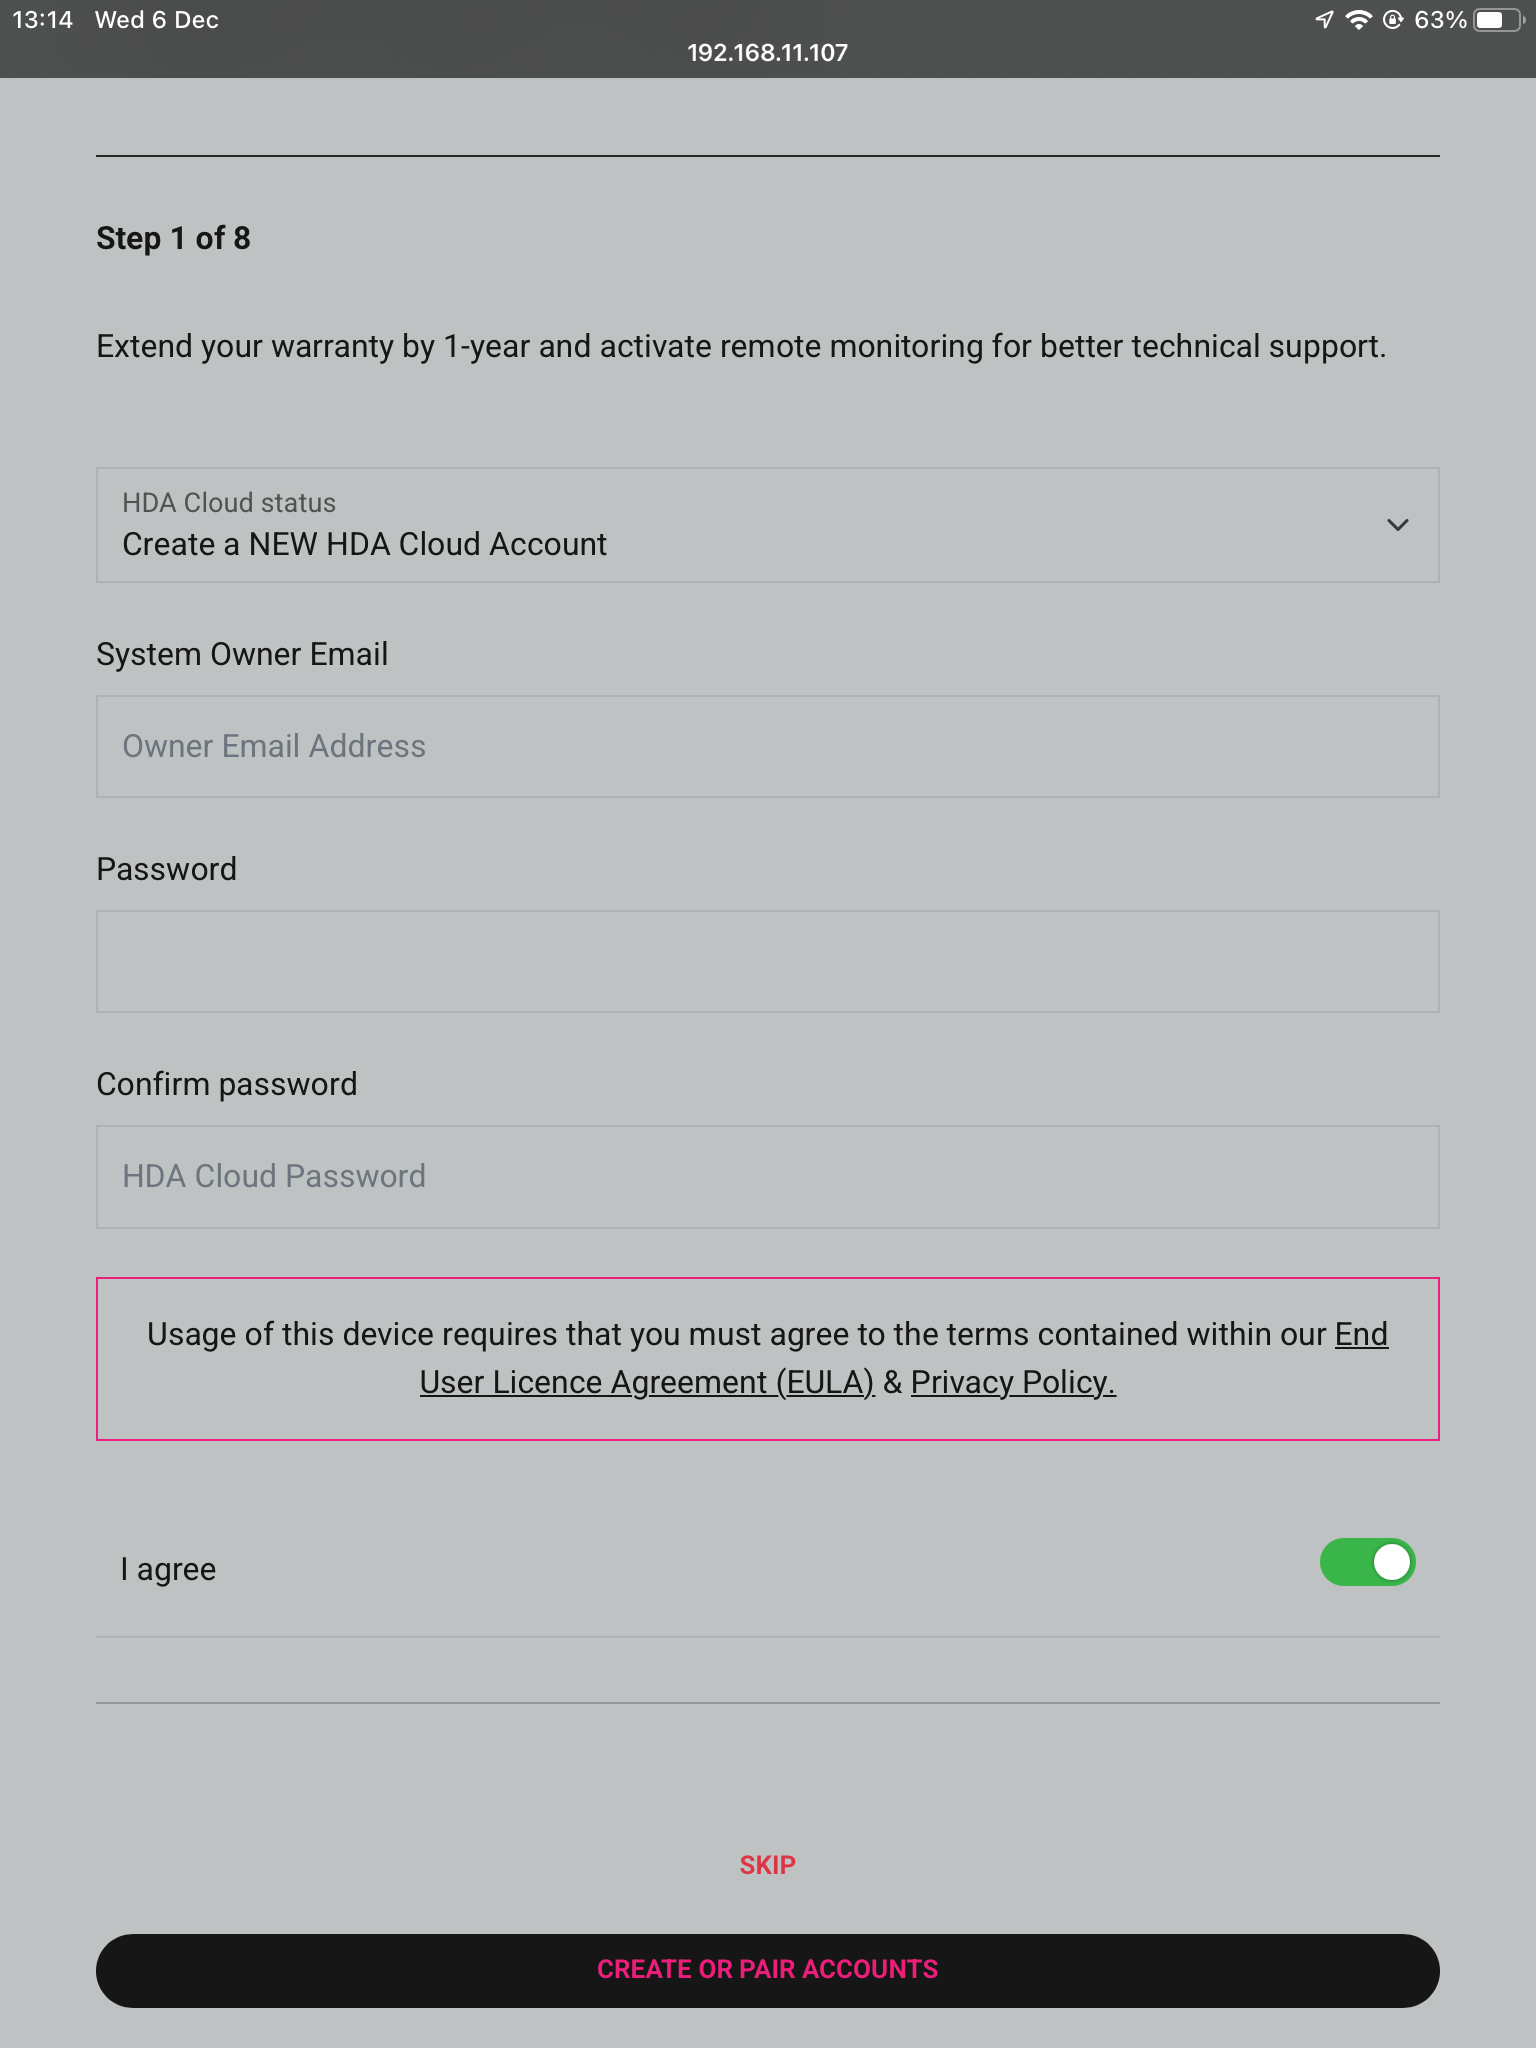
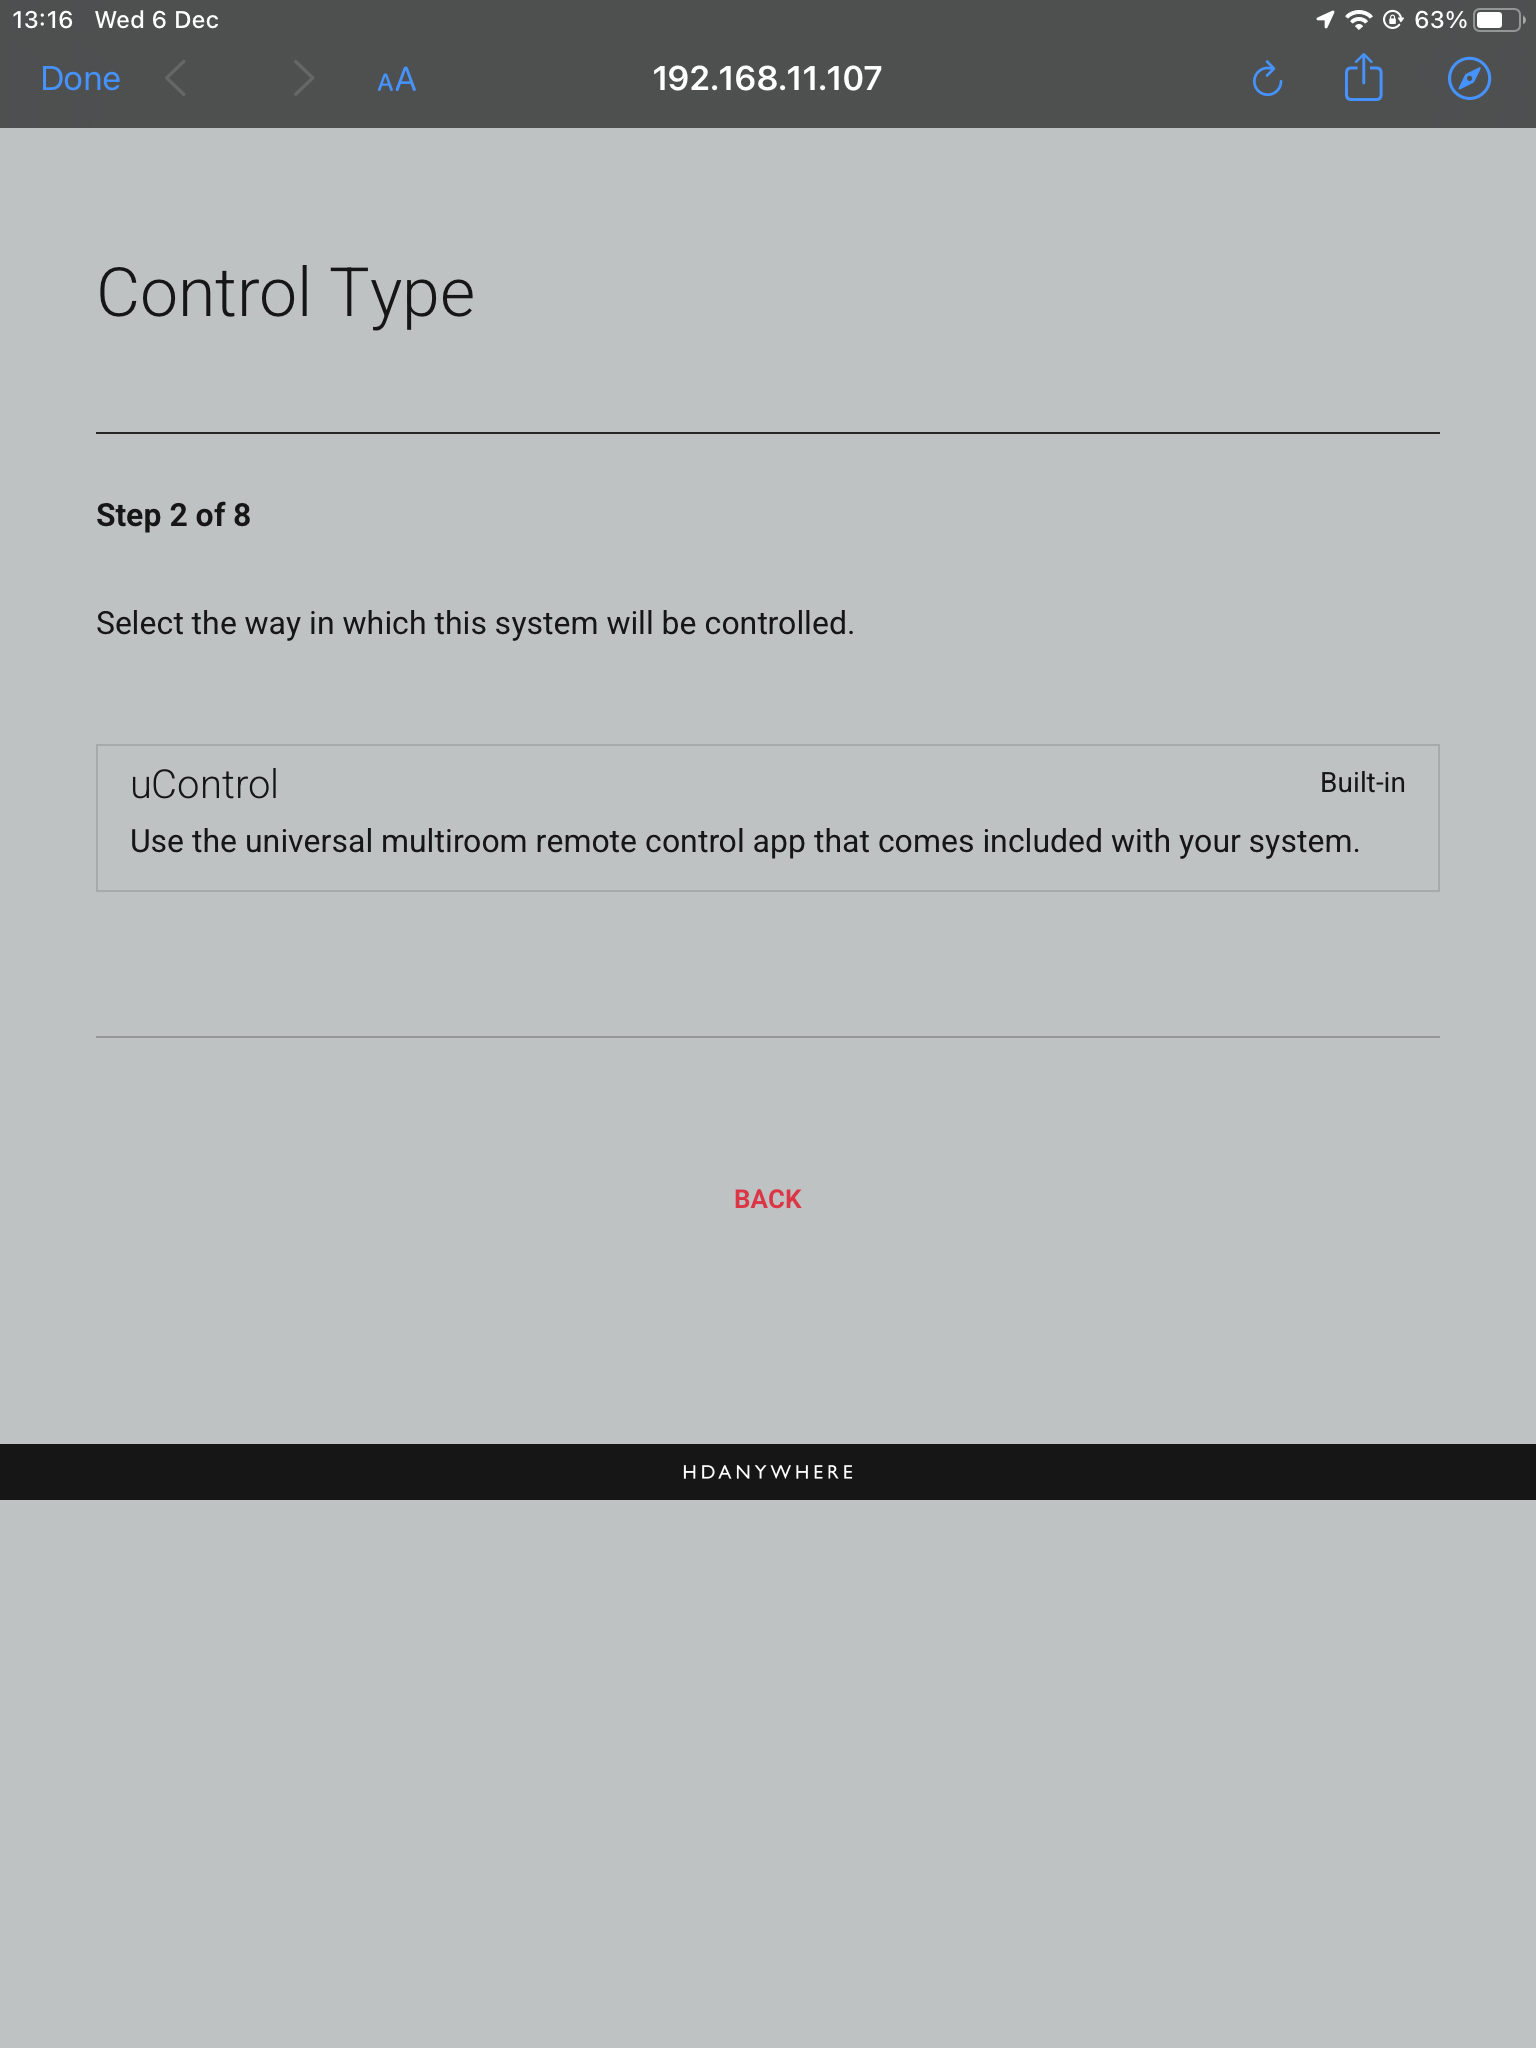
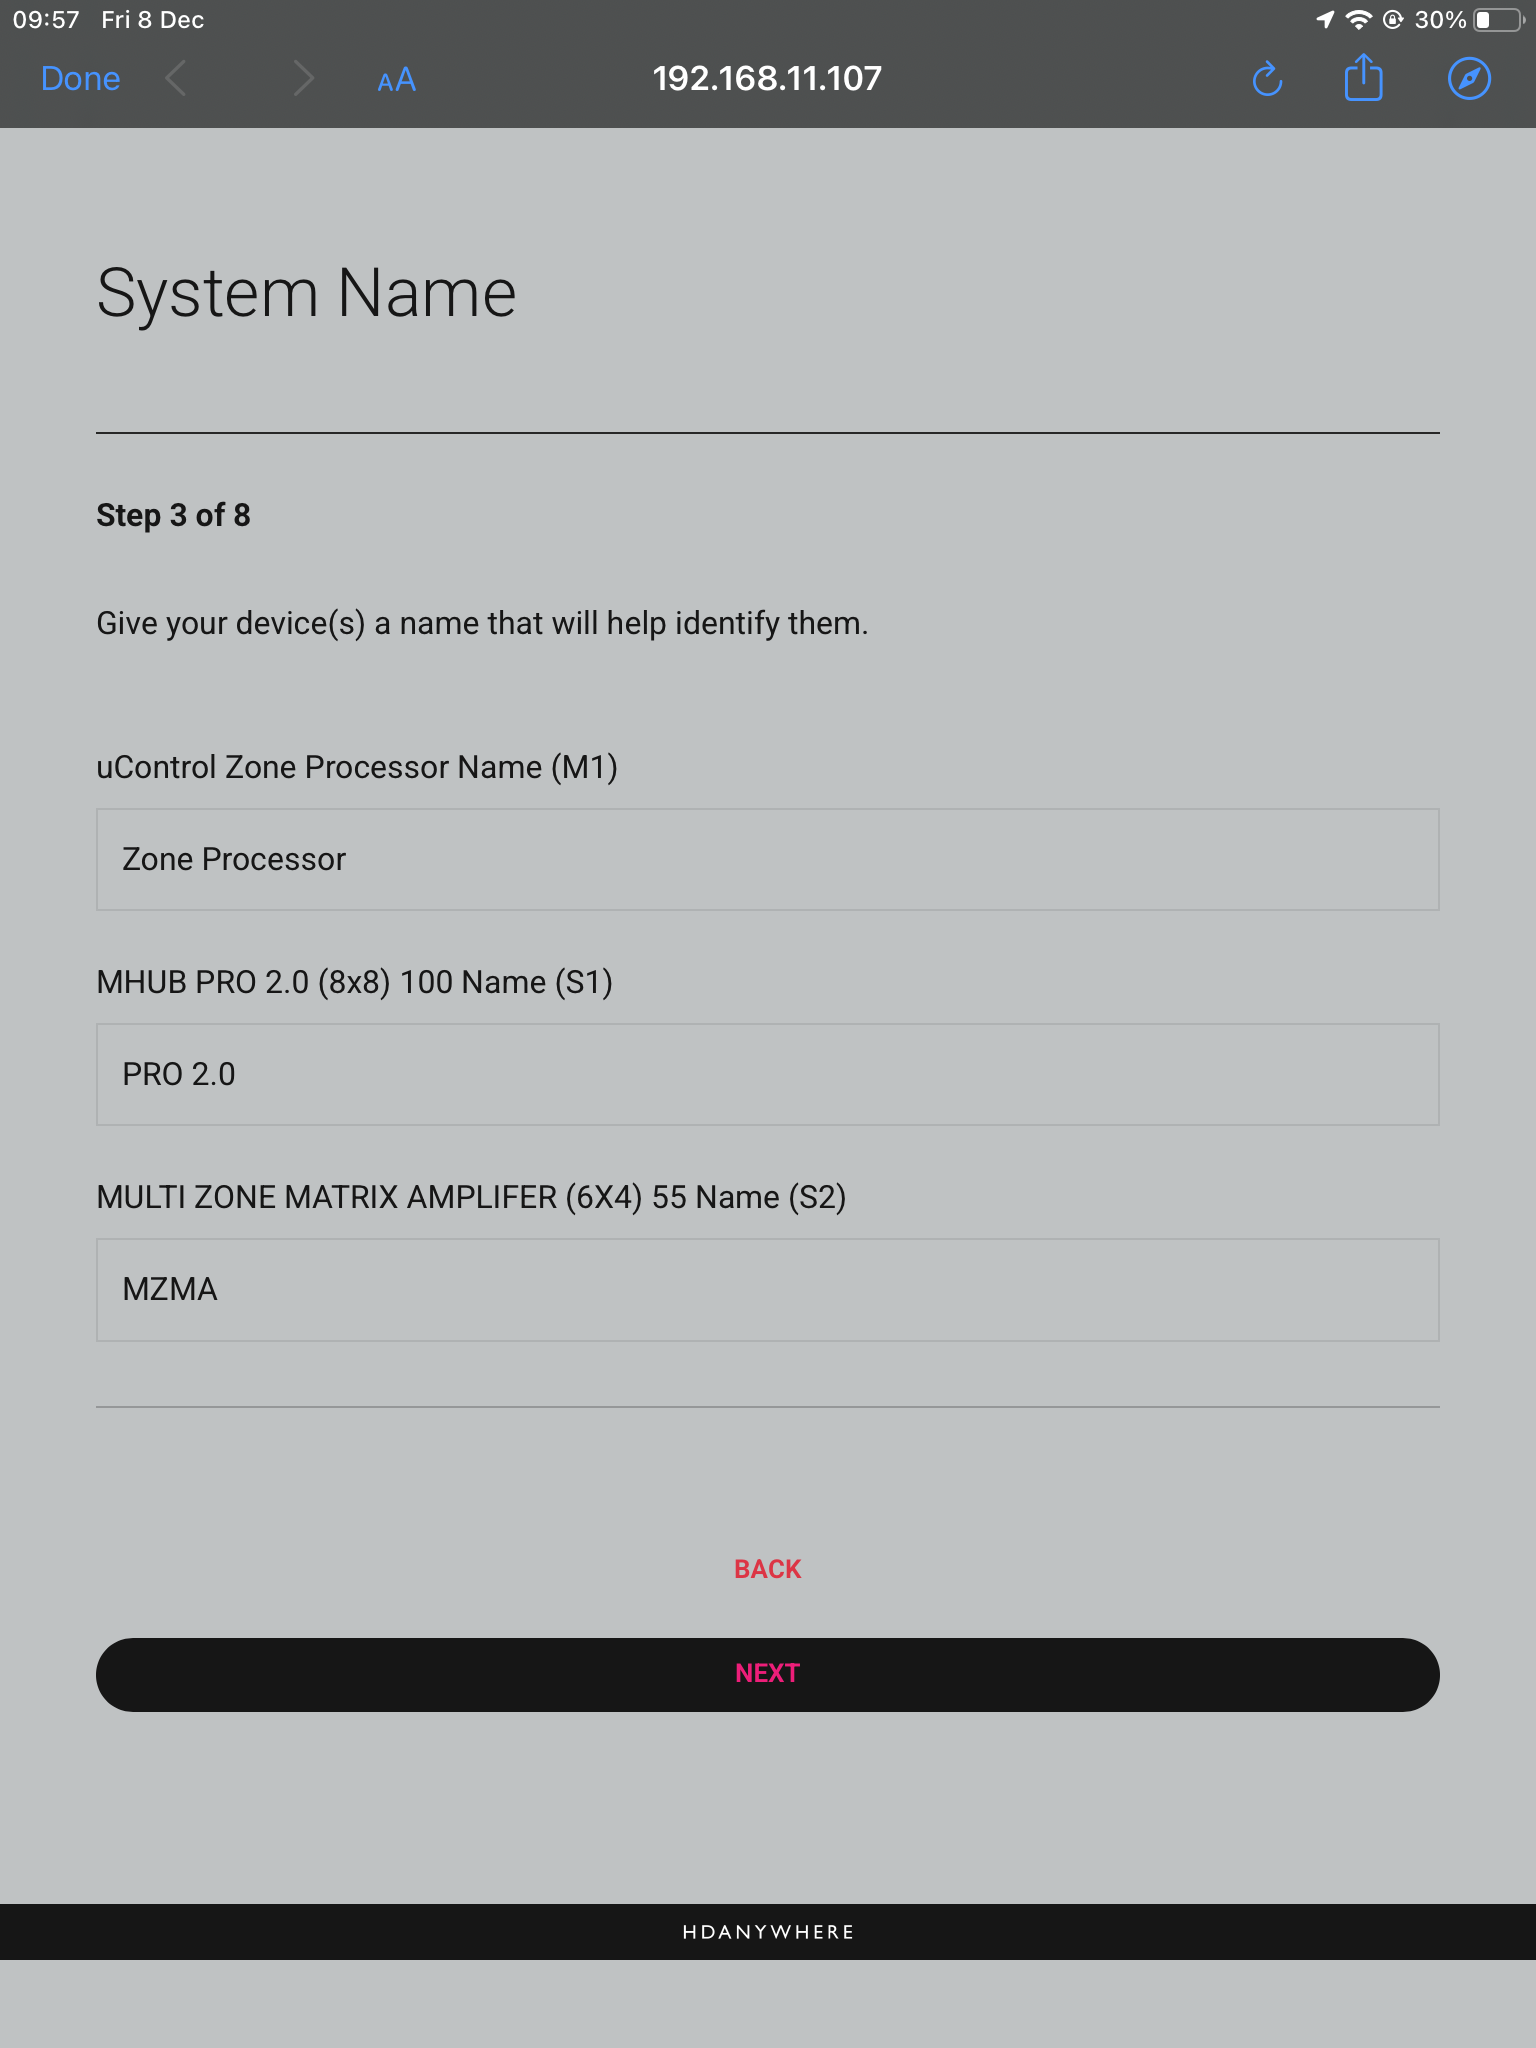
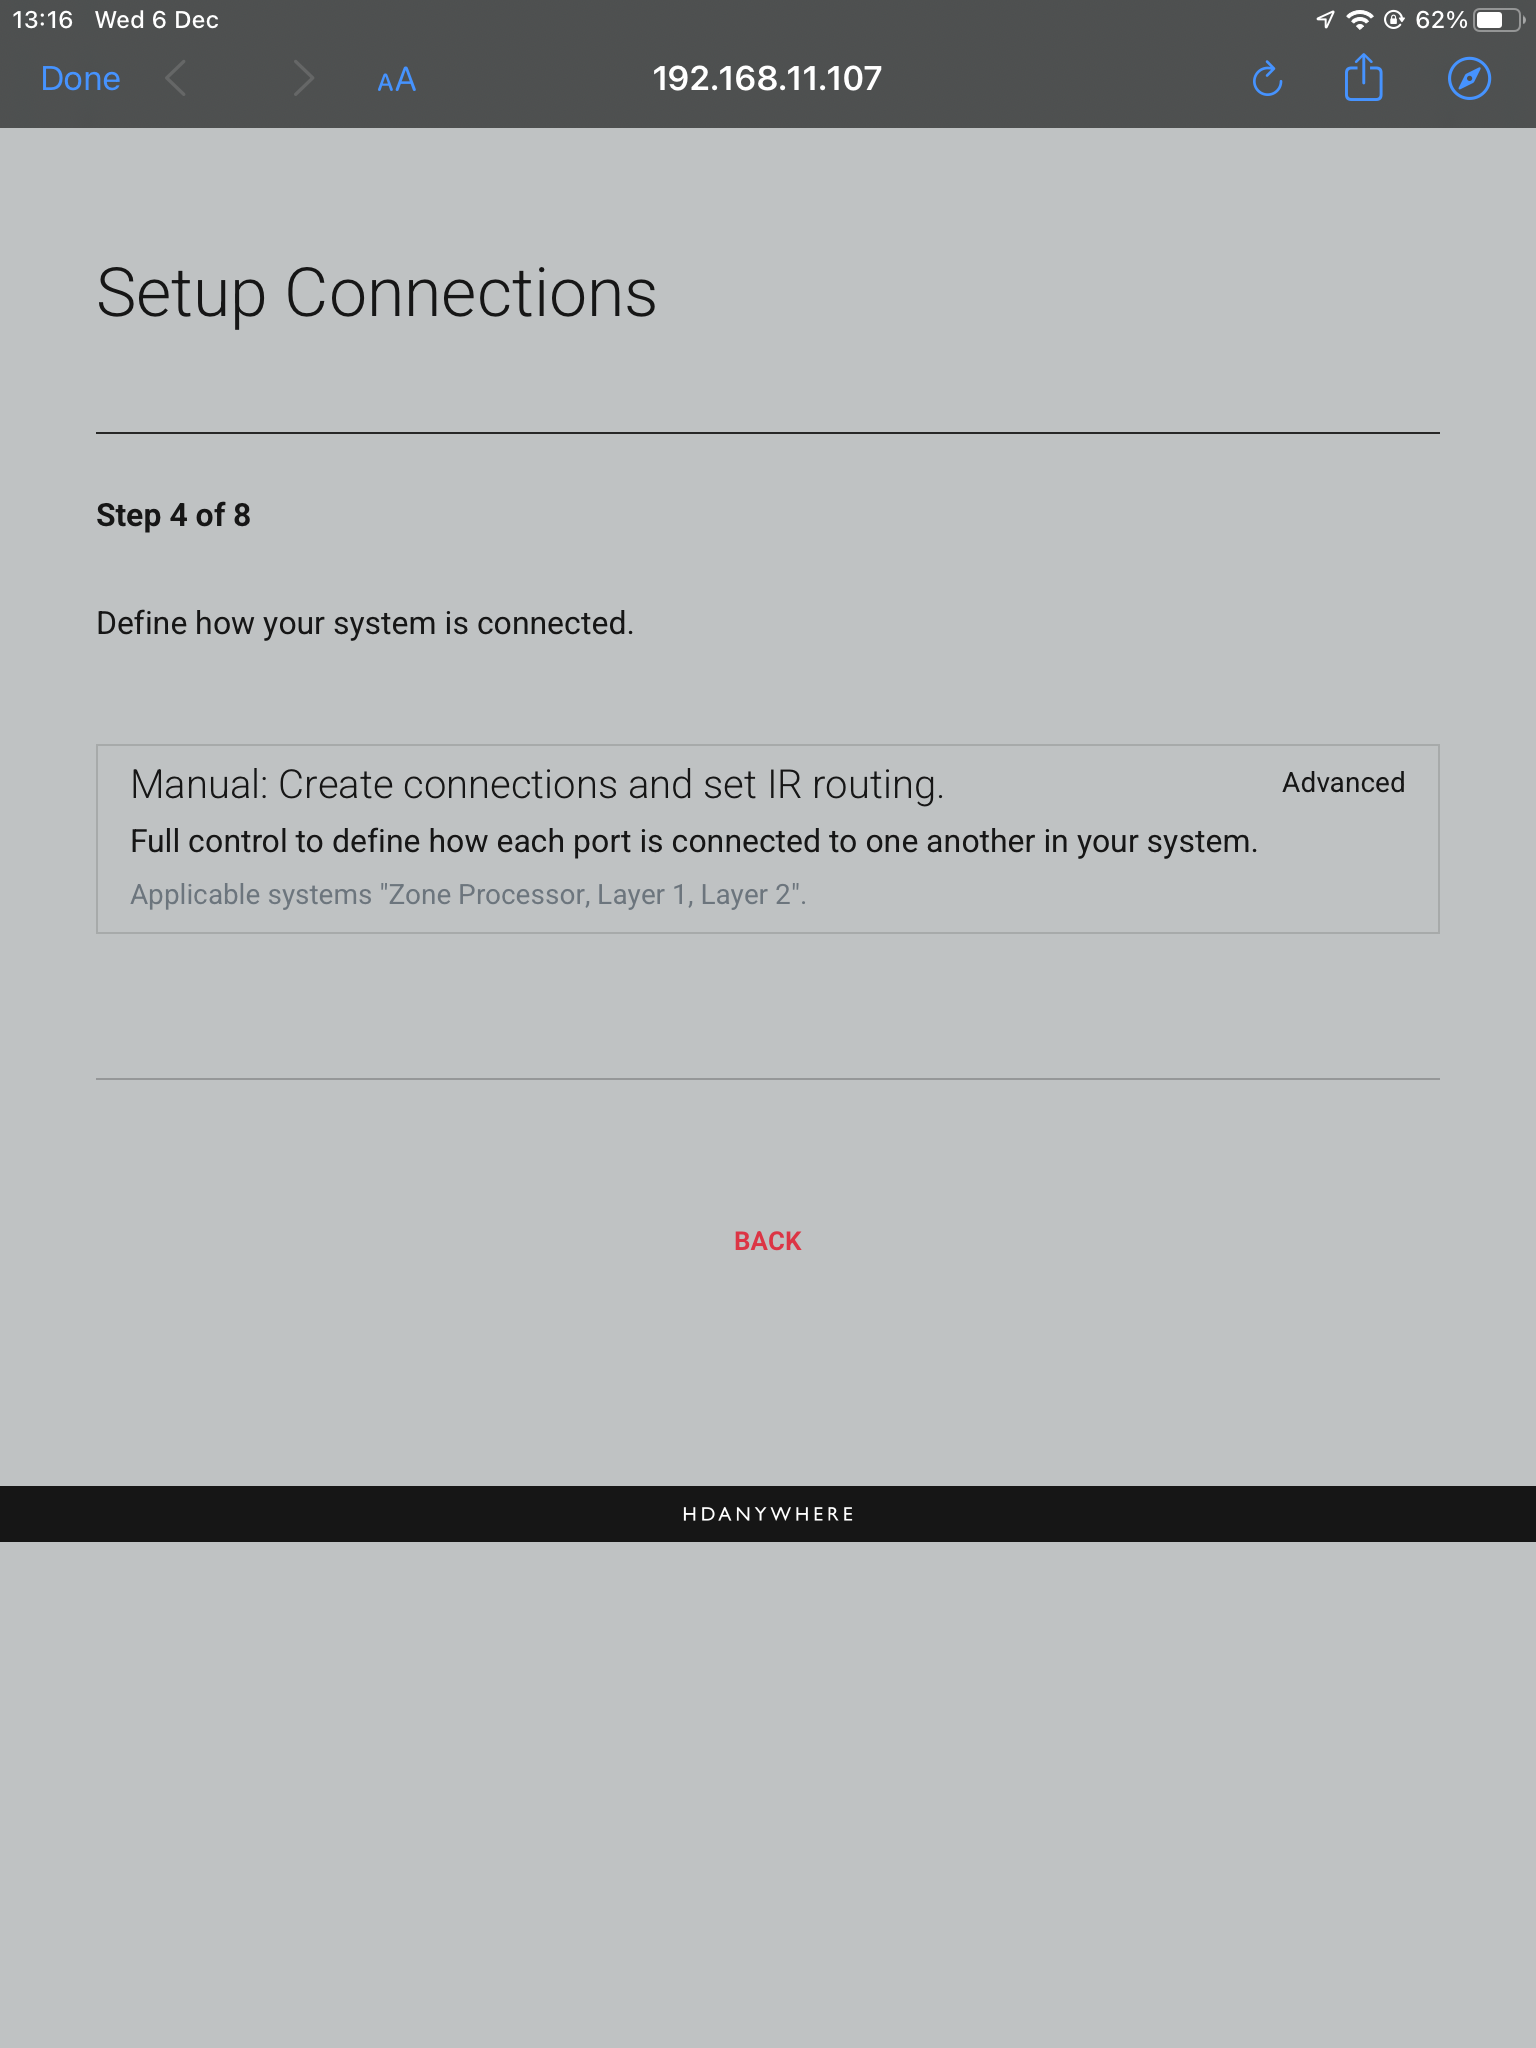
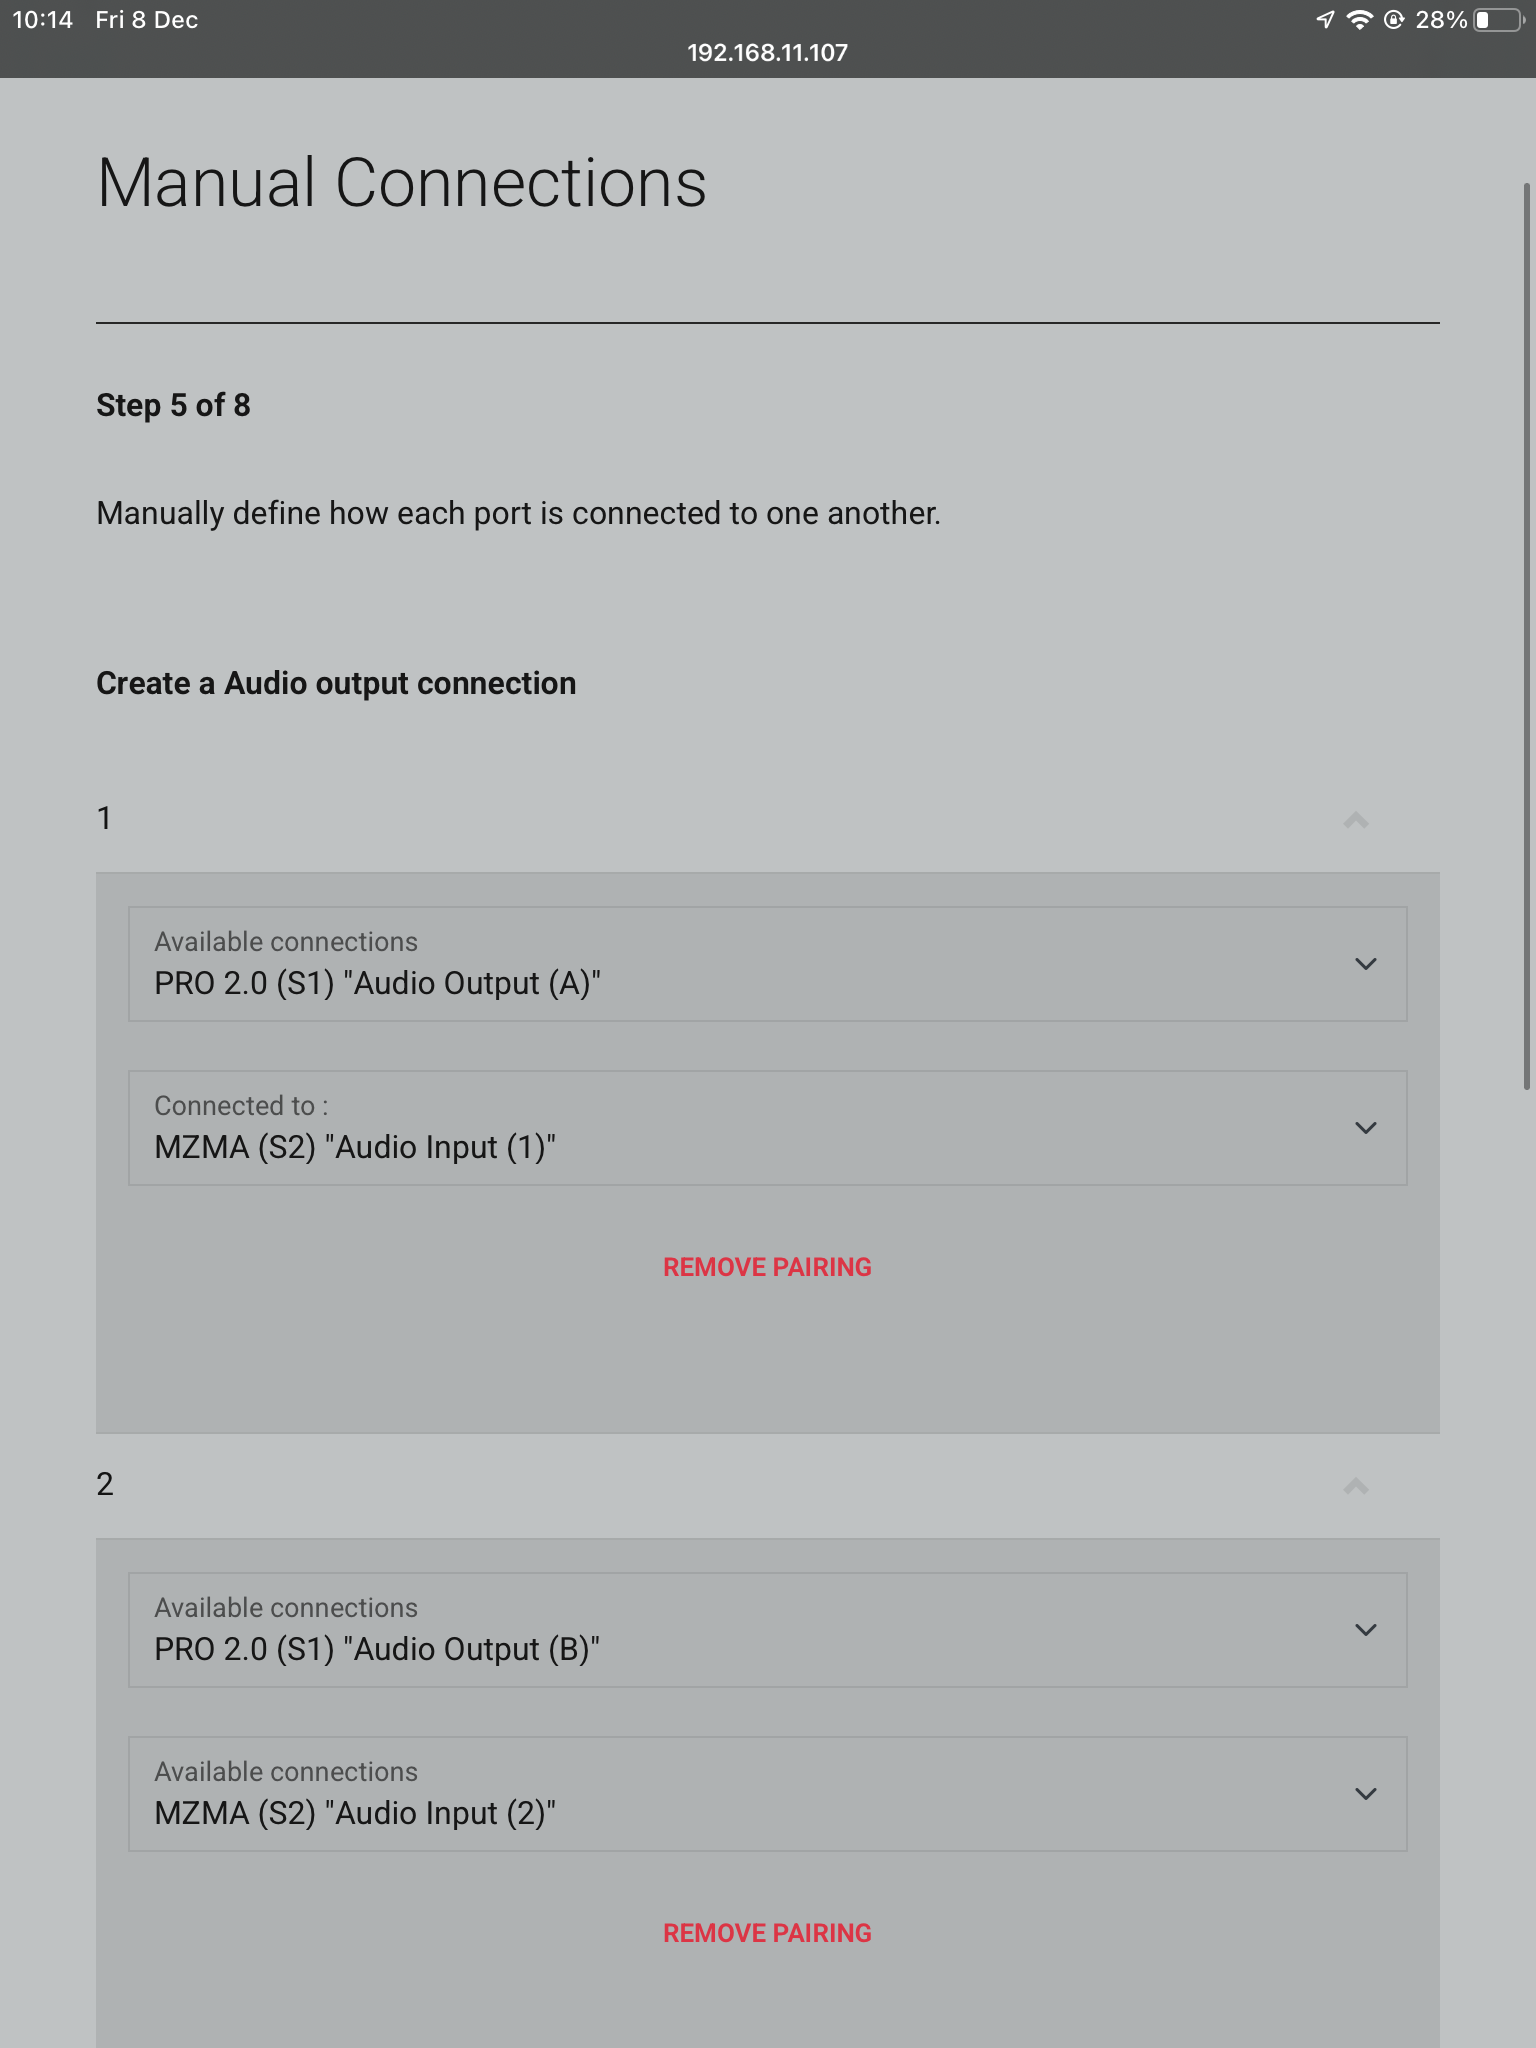
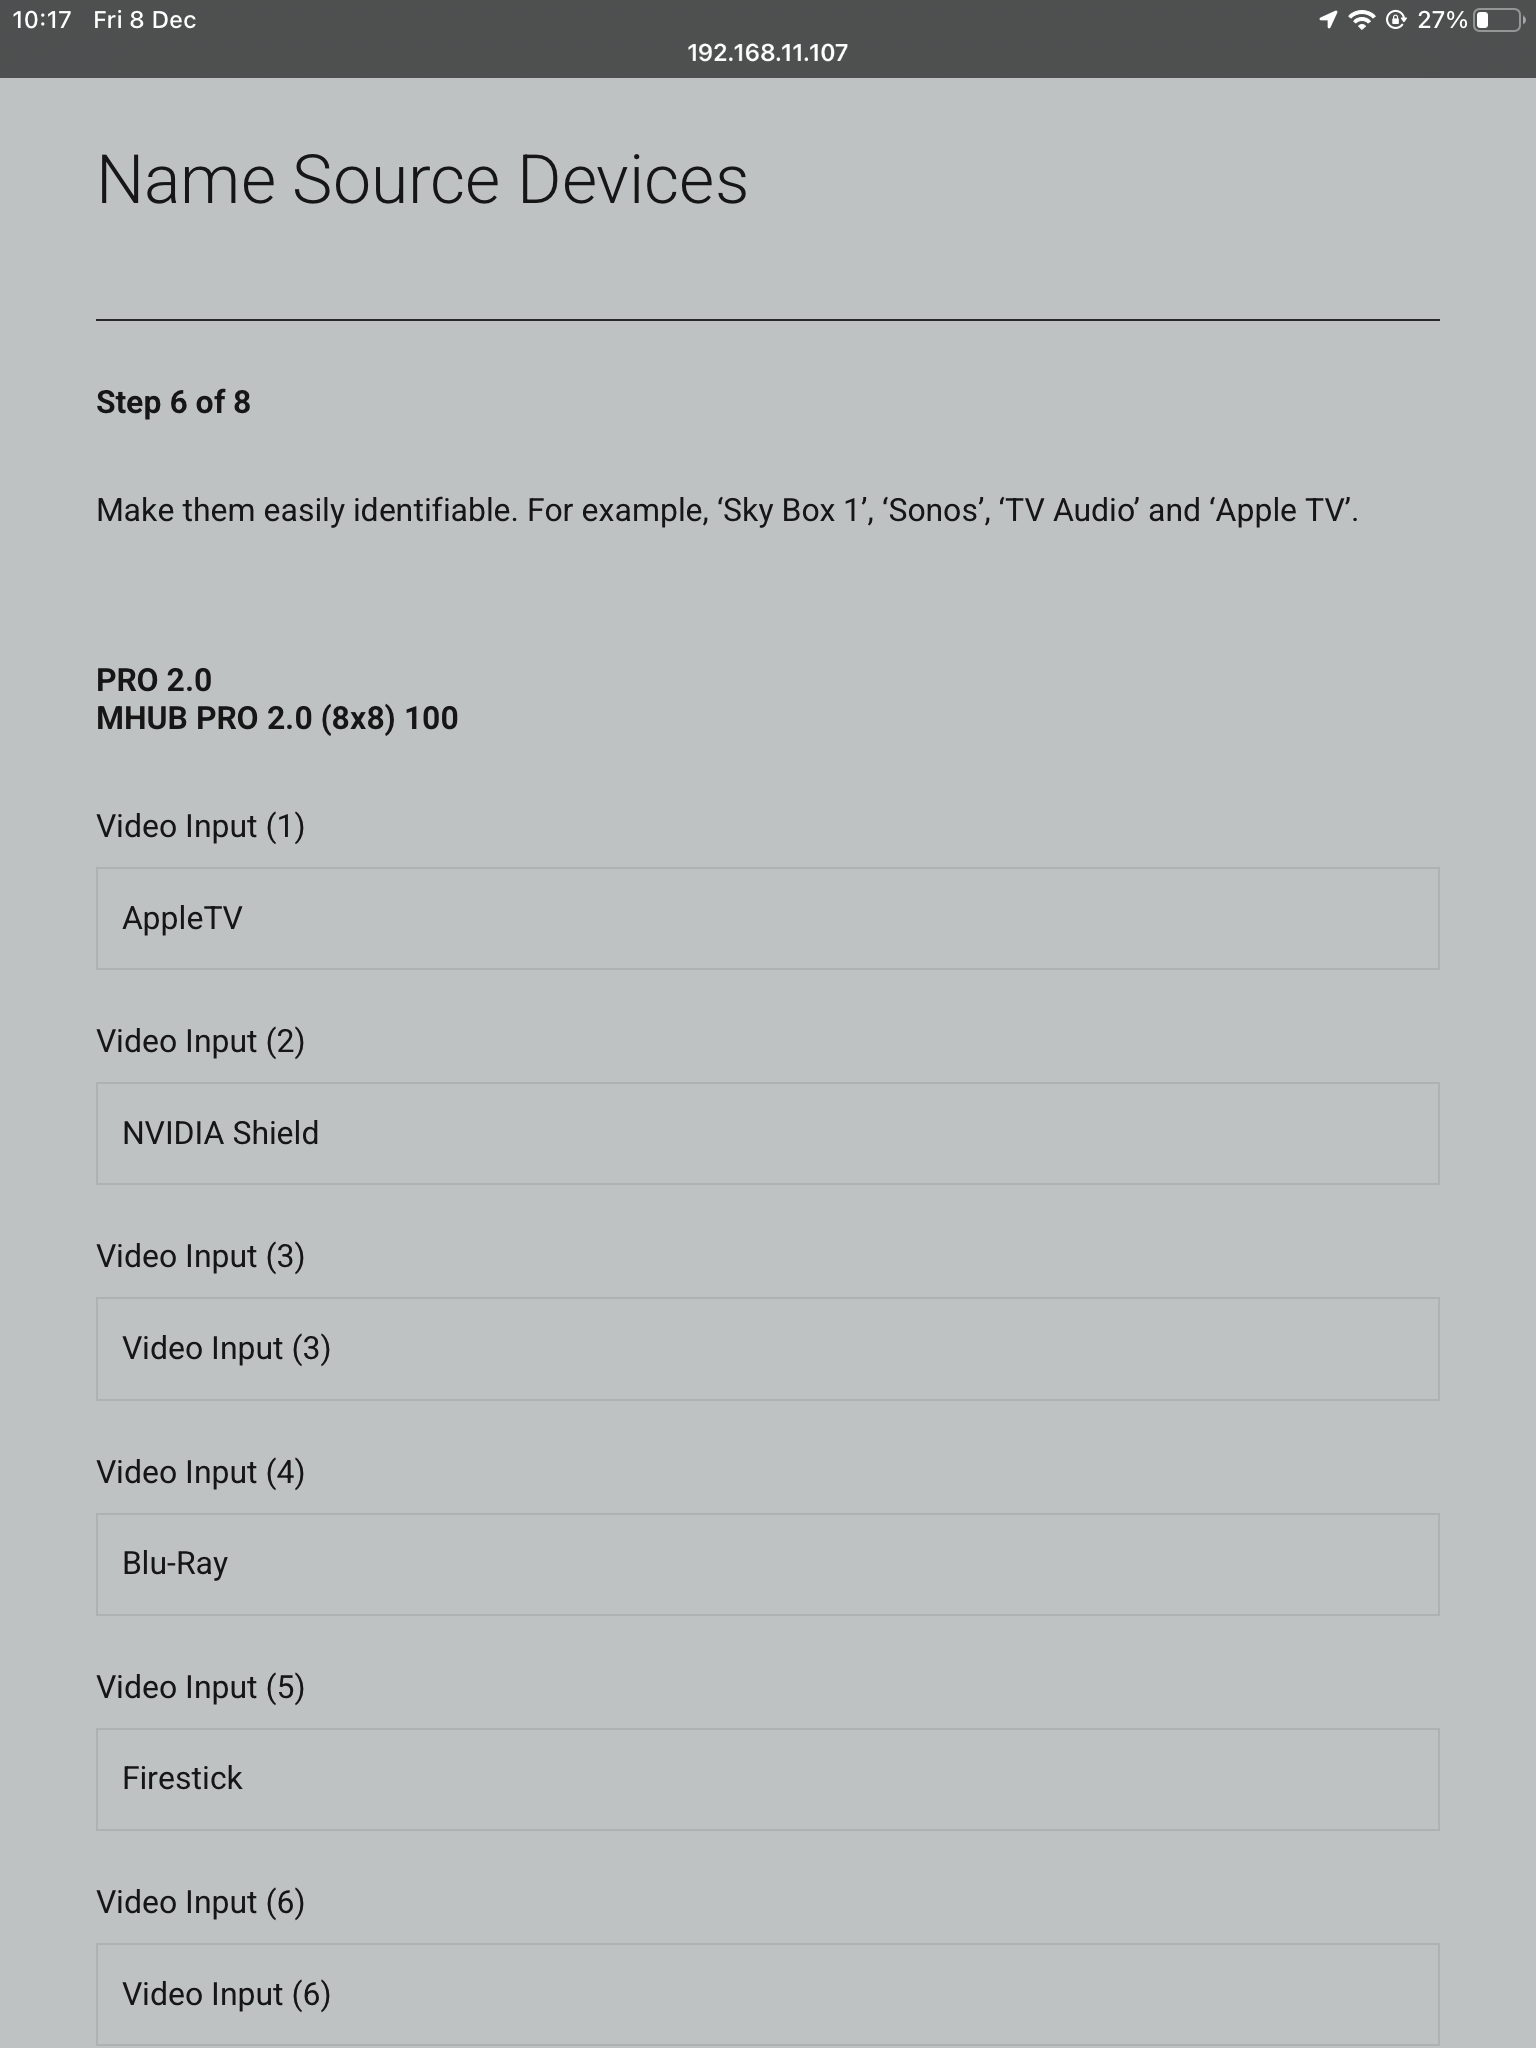
    4. This will take you to the First Boot process on MHUB-OS where you will setup your system – First Boot Process
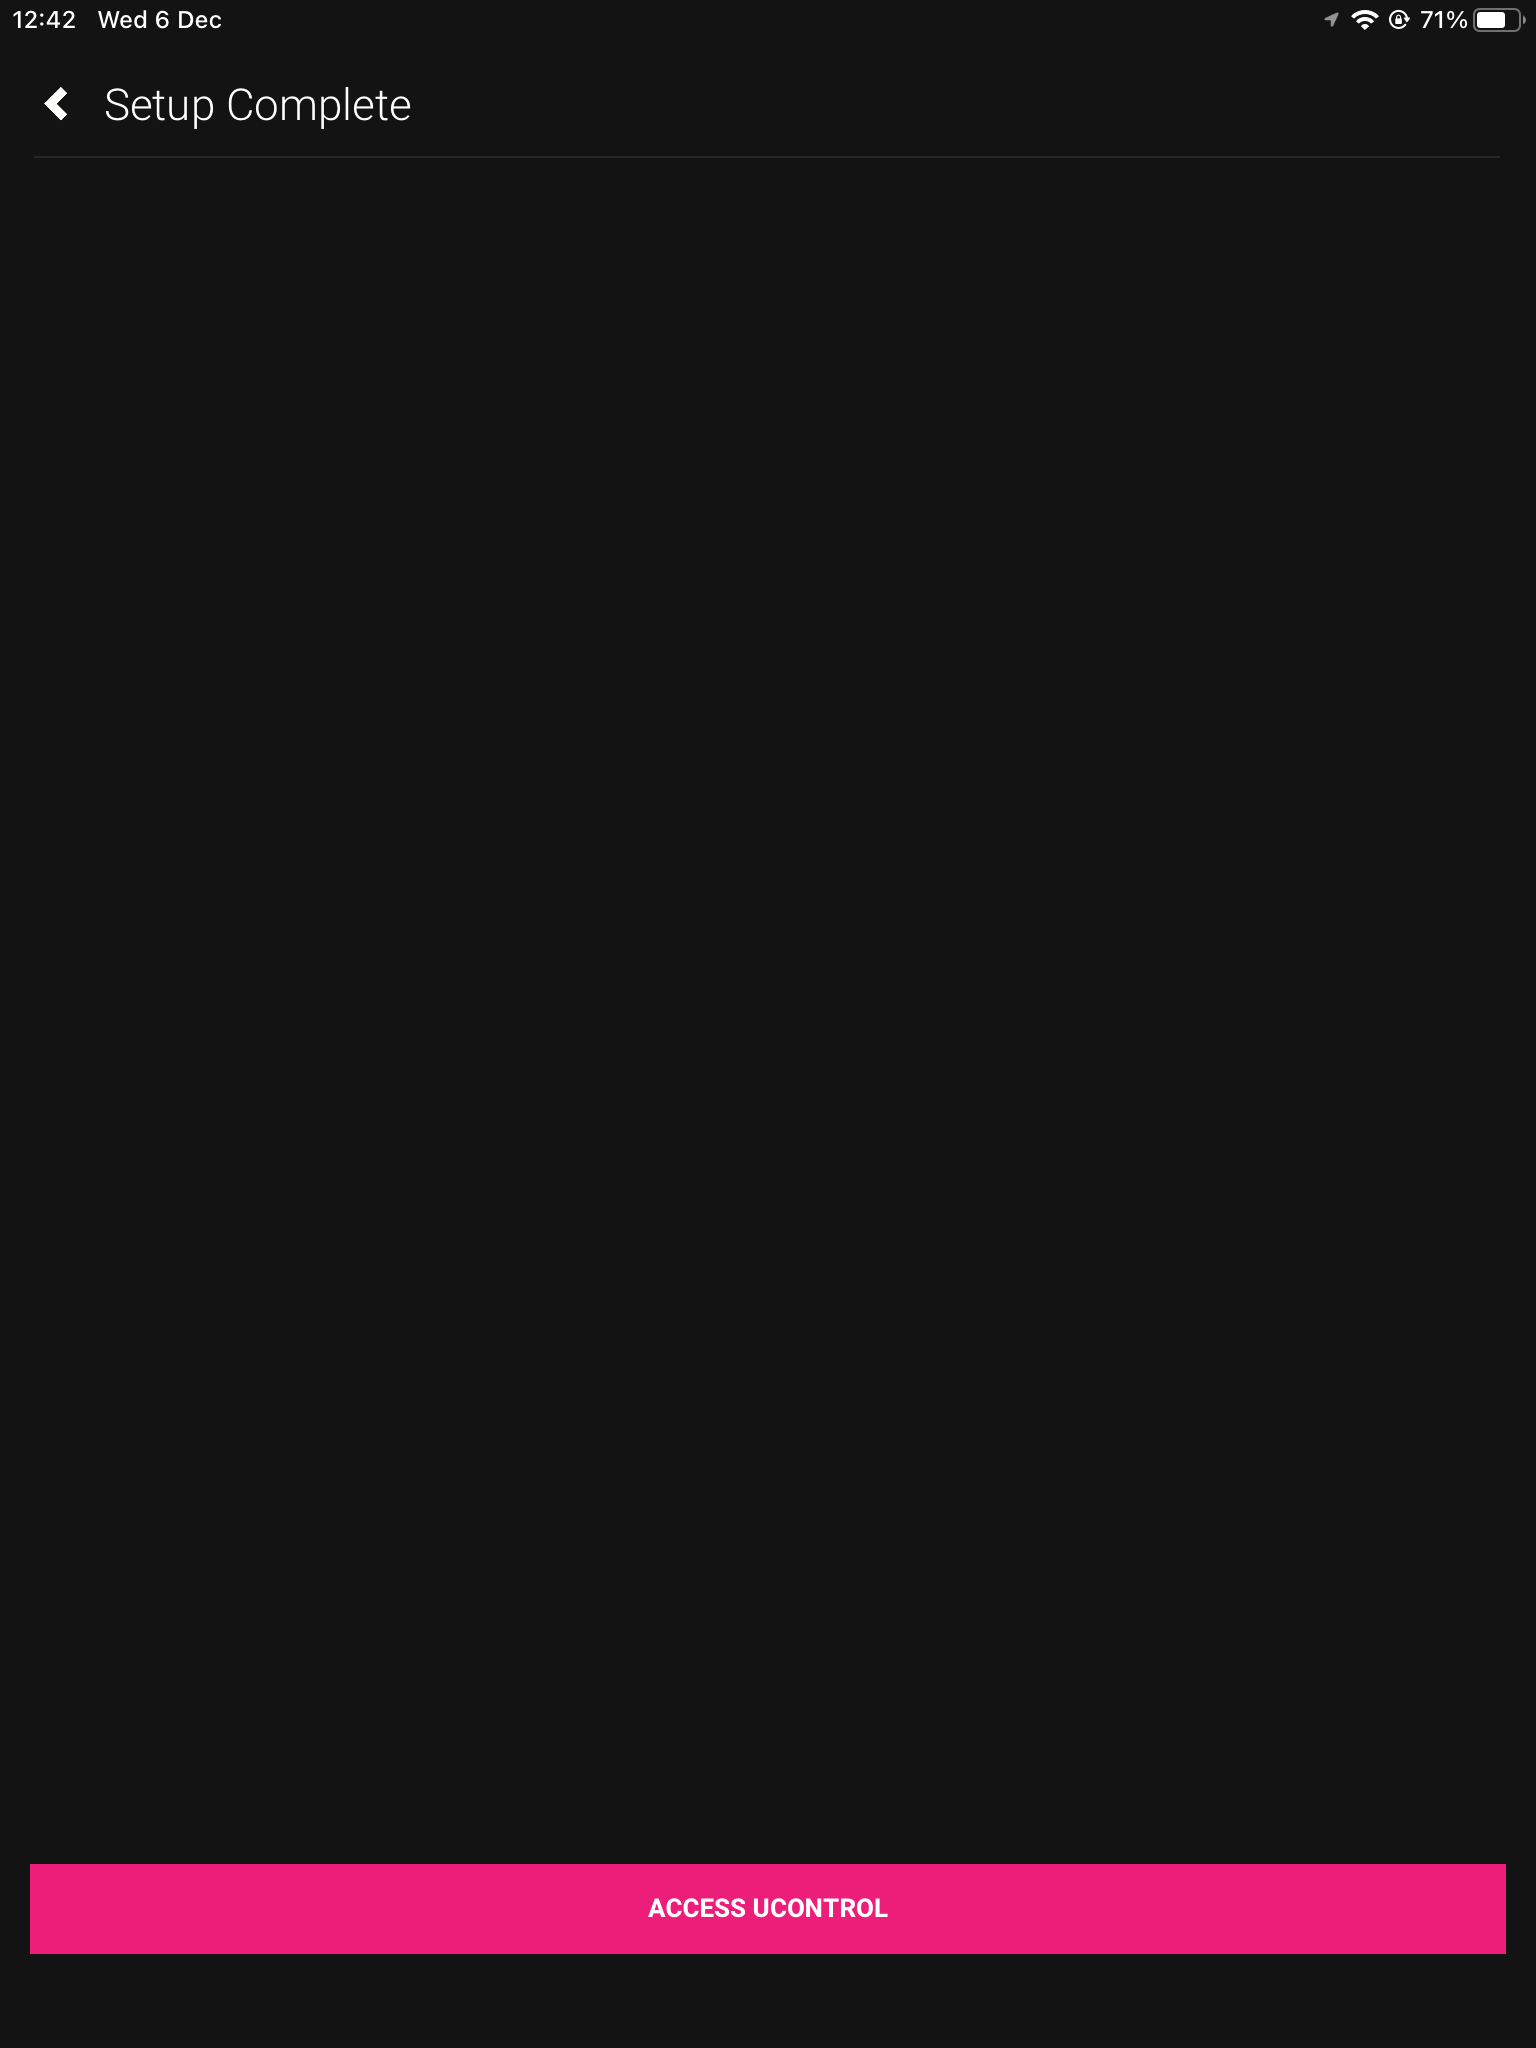
    5. After the first boot process is completed you will be shown the following screen. Click ‘ACCESS UCONTROL’ and you will be taken to the main uControl interface.
    6. 1b

    Using uControl

    After uControl is paired with your MHUB you can start to use it to control your device

    Source switching on uControl

    Source switching is performed by swiping left or right on the input bar and tapping on the required input. When input names are configured on MOS\MHUB SETUP page they will be reflected here.

    To change to a different output, tap on the menu icon, and select the desired output from the popout menu, once again any output names configured on the MOS\MHUB SETUP page will be reflected here.

    Using uControl to control source and display devices

    To enable uControl to control your source or display devices, an IR pack is required and must be installed on your MHUB. This IR pack contains all the relevant information including a screen layout for uControl.
    setup4a
    To install an IR pack navigate to the settings menu by pressing on the MENU icon, and tapping on SETTINGS located at the bottom off the pop-out menu. This will bring up the setting page, tap on DOWNLOAD UCONTROL PACKS. this will take you to the UCONTROL page on MHUB-OS.
    56
    78

    1. Using the drop-down menu, select which source or display you wish to install the IR pack for, This will bring up an expanded menu
    2. Click DEVICE TYPE to select the type of device that will be connected to the chosen port.
    3. Next click DEVICE MANUFACTURER and select the make of your device from the list and click on DOWNLOAD UCONTROL PACK – This will load two test commands from the downloaded IR Pack to confirm the commands are working as expected.
    4. Follow the onscreen instructions to test the two commands
    5. If the commands work as expected click YES to complete the process. If they do not, click NO and repeat step 4 until you find commands that work

    Repeat the above steps until all required IR packs are installed. Once complete, click DONE on iOS or the back button on your android device

    When an IR pack has been installed the uControl area of the screen is populated with the source device interface. These are device specific. Some control packs have multiple interface screens which can be navigated to by swiping left or right.
    ucontrol-control-types

    • Gesture Control – This is where you navigate your devices menu or guide using one or two finger gestures or motions on your mobile device, the majority of the screen is filled with the ‘Gesture control area’
    • Navigation Control – This mirrors a conventional remote control, with individual buttons for navigation.
    • Playhead Control – This screen contains common functions used when viewing a recorded source or watching a bluray. Such as Play, pause, fast forward and rewind.
    • Numeric Keypad – This screen shows a 0 to 9 keypad for entering channel numbers etc.
    • External App – This allows uControl to open external applications such as Sonos.

    When using gesture controls the following gestures are supported
    gesture-function

    1. Navigation – single finger swipe up, down, left or right
    2. Enter – single finger tap
    3. Play/Pause – two finger swipe up to play, two finger swipe down to pause.
  • Using Siri Shortcuts with HDA systems

    How to setup Siri Shortcuts


  • What is “uControl inside” on MHUB or Zone Processors

    horizontal_uC_inside_colour_lightBG@3x

    If you see a HDANYWHERE or third party device marked with “uControl inside” then it contains our control system inside it. You can find out what it can do by visiting uControl’s website here.

    Comparing AV and Full versions of uControl inside

    Some devices are marked “AV” where others are “Full”. This is determined by the operating system found on the device. The “full” implementation of uControl can be found in devices which have uControl OS (uOS) inside. “AV” means that the system is running MHUB-OS (MOS) and control capability is restricted to AV only or the devices that are directly connected to the MHUB system.

    Full

    • Control over sources, AVRs, displays and projectors (IR)
    • Control over sources, AVRs, displays and projectors (IP/CEC)
    • IP control over lighting, blinds, shades, PDUs, relays and more See all here
    • uControl app, Alexa, Watch support
    • uControl Remote
    • Super Sequences, Functions and Scheduling

    AV

    • Control over sources, AVRs, displays and projectors (IR)
    • uControl app, Alexa, Watch support
    • uControl Remote*
    • Sequences and Scheduling

    Upgrading an older MHUB to support Full uControl

    It may be possible to update your MHUB’s control capabilities by adding a uControl Zone Processor to manage your system instead. Not all models are supported so we recommend contacting us to confirm the level of support first.

    *Requires a Zone Processor to be added to the system to upgrade to Full uControl capabilities.