Category: General articles

  • Can my MHUB support uControl Remote 2?

    Can my MHUB support uControl Remote 2?

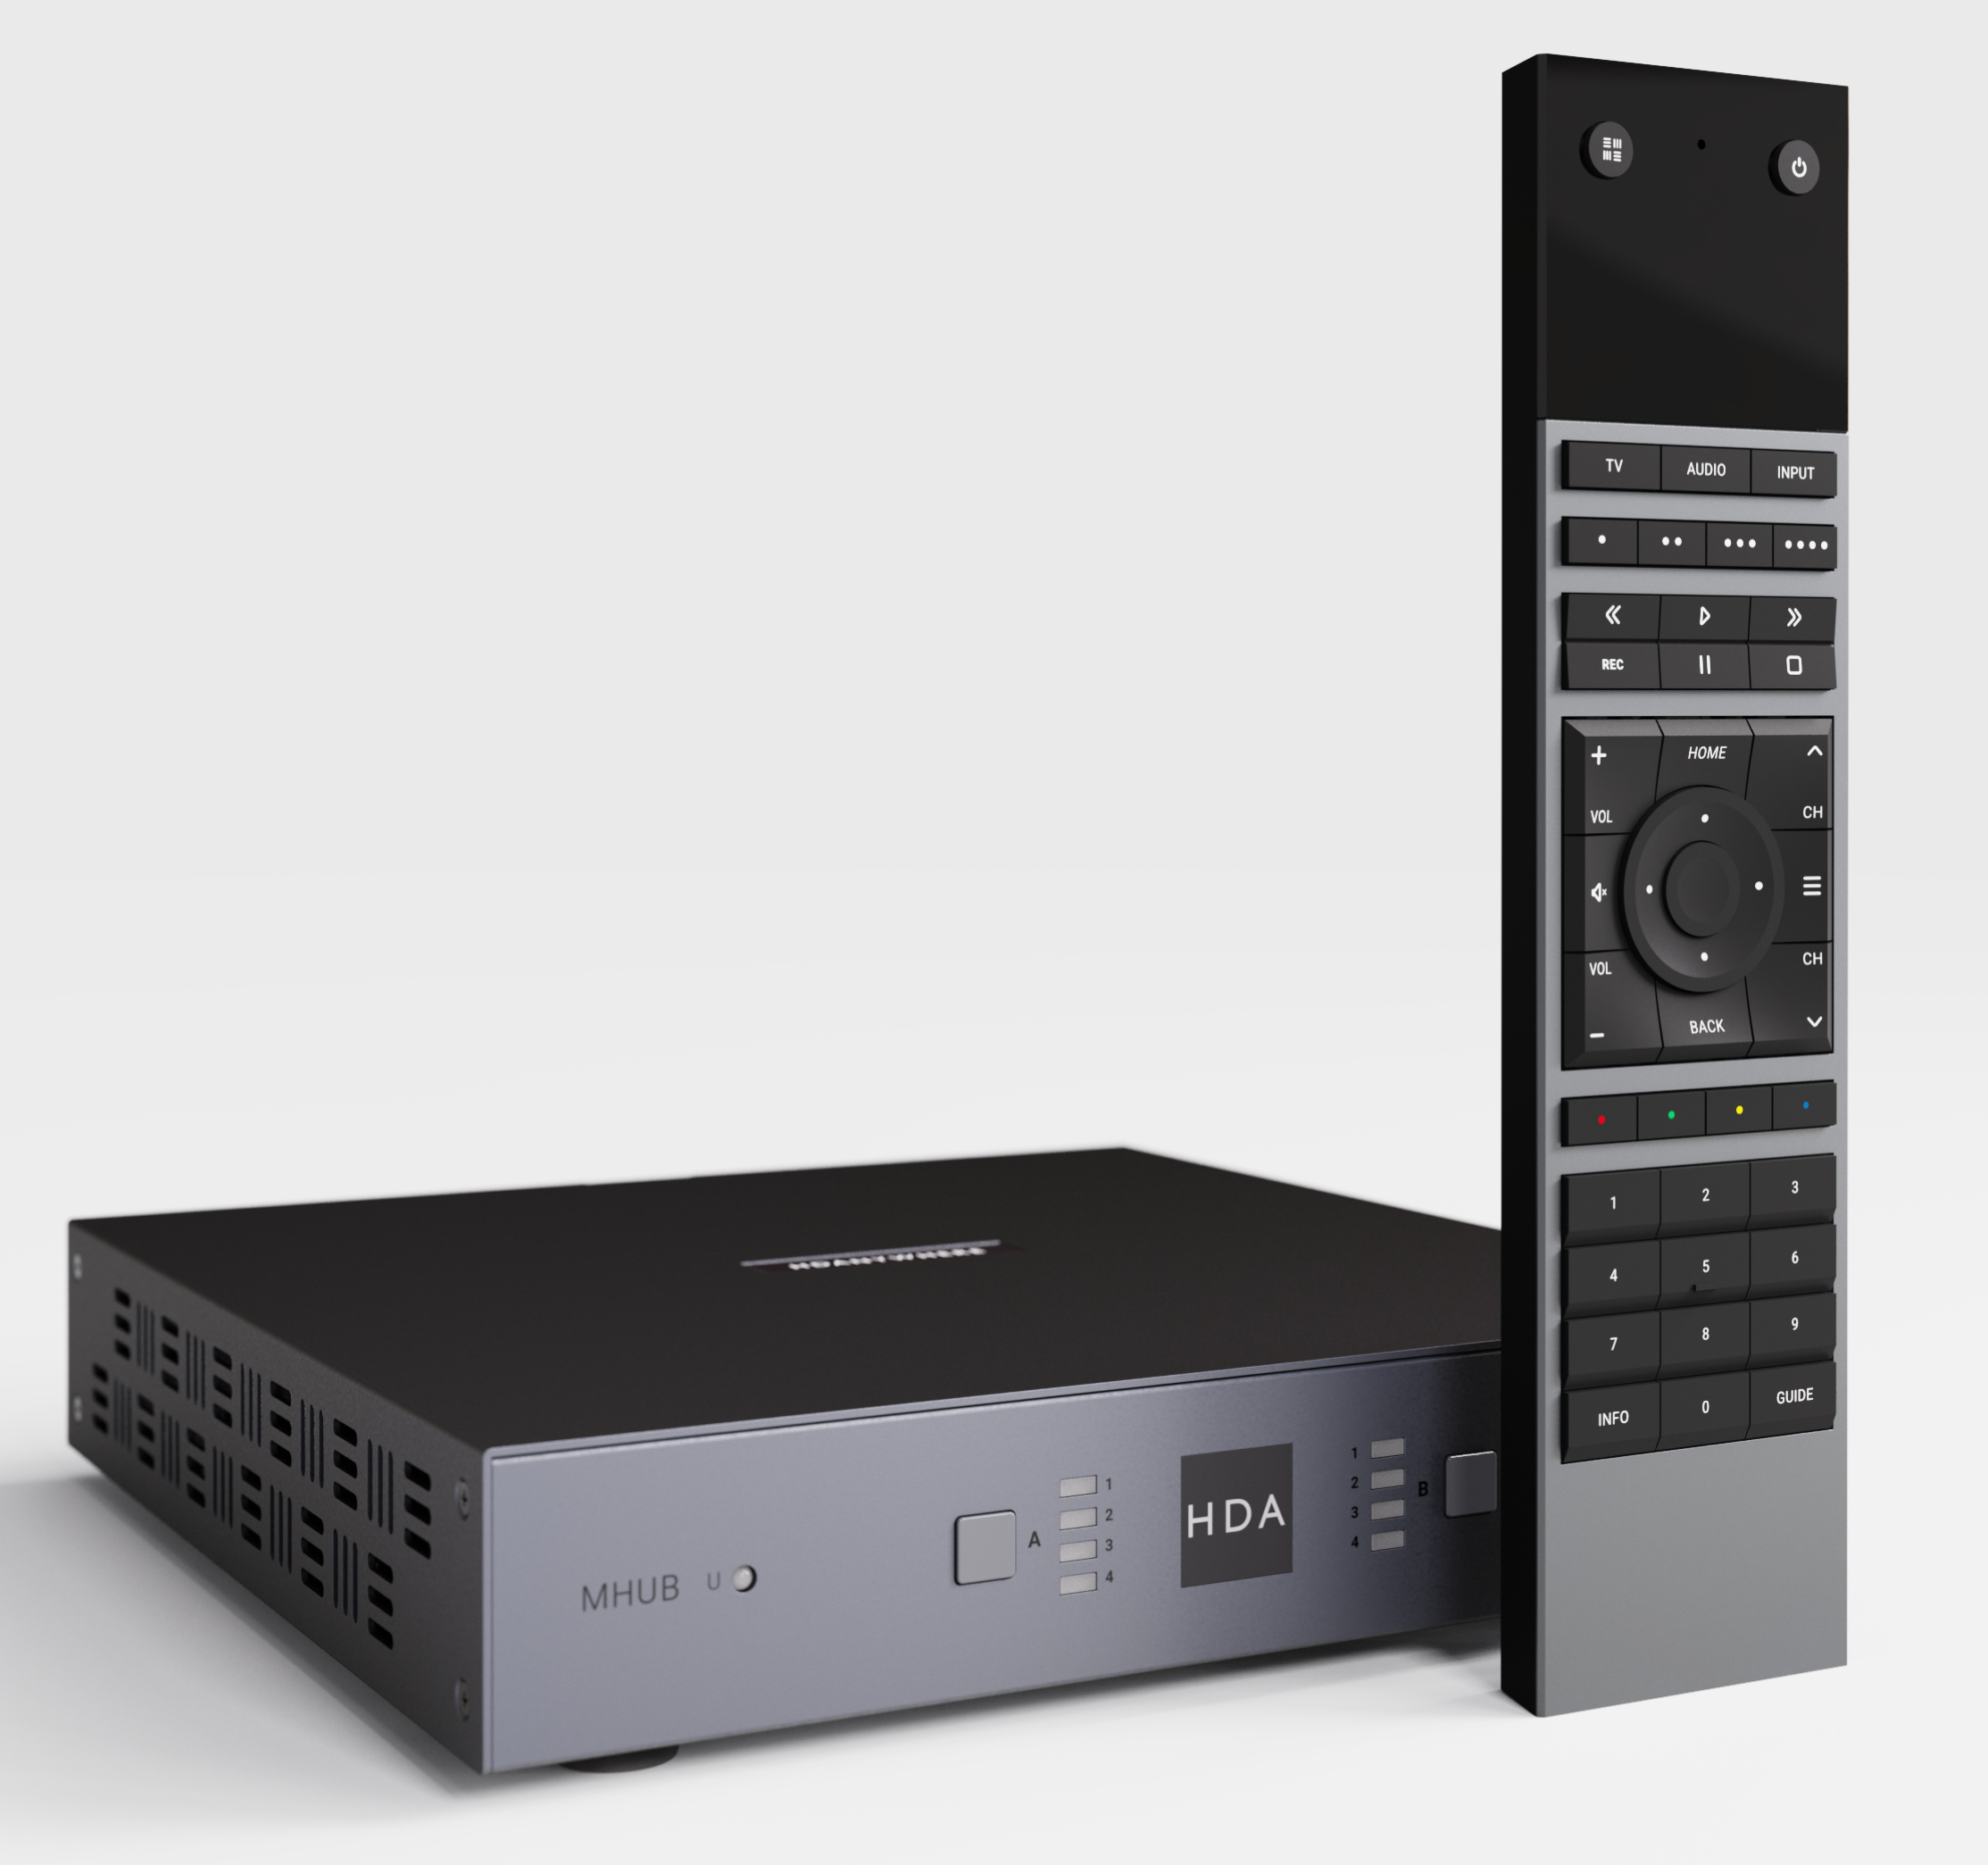
    If you are thinking about upgrading your existing MHUB system to support the newly announced uControl Remote 2 then you have two options available to you: 1) upgrade your system capability with a control processor or 2) use AI or the open source community to write an integration for your system. The pros and cons of each option and systems supported are detailed below:

    Option 1: Upgrade your MHUB by adding a new uControl Controller to it

    A controller, such as the uControl Zone Processor 5, can be added to the following systems to allow it to work with uControl Remote 2. Adding a controller to your MHUB brings additional benefits in the form of IP control, smart automation for lighting and blinds and access to the new uControl app.

    Whilst this option requires a further investment to upgrade your hardware, it is the simplest to deploy and is available to purchase today.

    Note: the uControl Remote 2 will be bundled with a more powerful controller upon release in new hardware called the uControl Connect Hub. This is an optional further upgrade should you wish to future-proof your system.

    If you have the following MHUB system then it will work with a controller upgrade.

    • MHUB (4×1+1) 100A
    • MHUB (4×4) 100A
    • MHUB (6×6) 100A
    • MHUB S (8+8×8) 100A
    • MHUB S (16+16×16) 100A/DM

    Older MHUB systems
    If you own a legacy or discontinued MHUB and wish to upgrade to uControl Remote 2 then the same controller is required but your MHUB must meet the following requirements.

    • MHUB U (4×3+1 & 8×6+2)
      MHUB-OS 8.21 or higher
    • MHUB PRO 2 (4×4 &8×8)
      MHUB-OS 8.21 or higher
    • MHUB S (8+8×8) 100
      MHUB-OS 8.2x

    If you own one of the systems above, it is important to note some caveats:

    1. The AV setting page on your controller may stop working and may become unresponsive; this will mean settings like EDID, scaling and audio settings will need to be manually set via a direct command.
    2. Slave (if your system comprises of more than one HDA device) auto-healing is not supported; this means that if the MHUB is not fixed to a IP address (MAC reservation or static IP) if it moves, the controller will be unable to automatically search and update the address requiring a manual intervention.

    Option 2: Someone writes or builds an integration (no controller needed & potentially free)

    The uControl Remote 2 is special because the code that programs it is completely open. This means that anyone (or any AI) could write an integration for your MHUB which can pull data from your system and use that to program the Remote 2. This effectively means that all MHUB systems can be upgraded to support any MHUB manufactured since 2016. Our recommendation is to ask on any of the uControl Development and Hackers group to see if such integrations exist or if you would like to tackle it as a project for yourself.

    • MHUB PRO (4×4) 40
    • MHUB PRO (4×4) 70
    • MHUB PRO (8×8) 40
    • MHUB PRO (8×8) 70
    • + all of the devices listed above
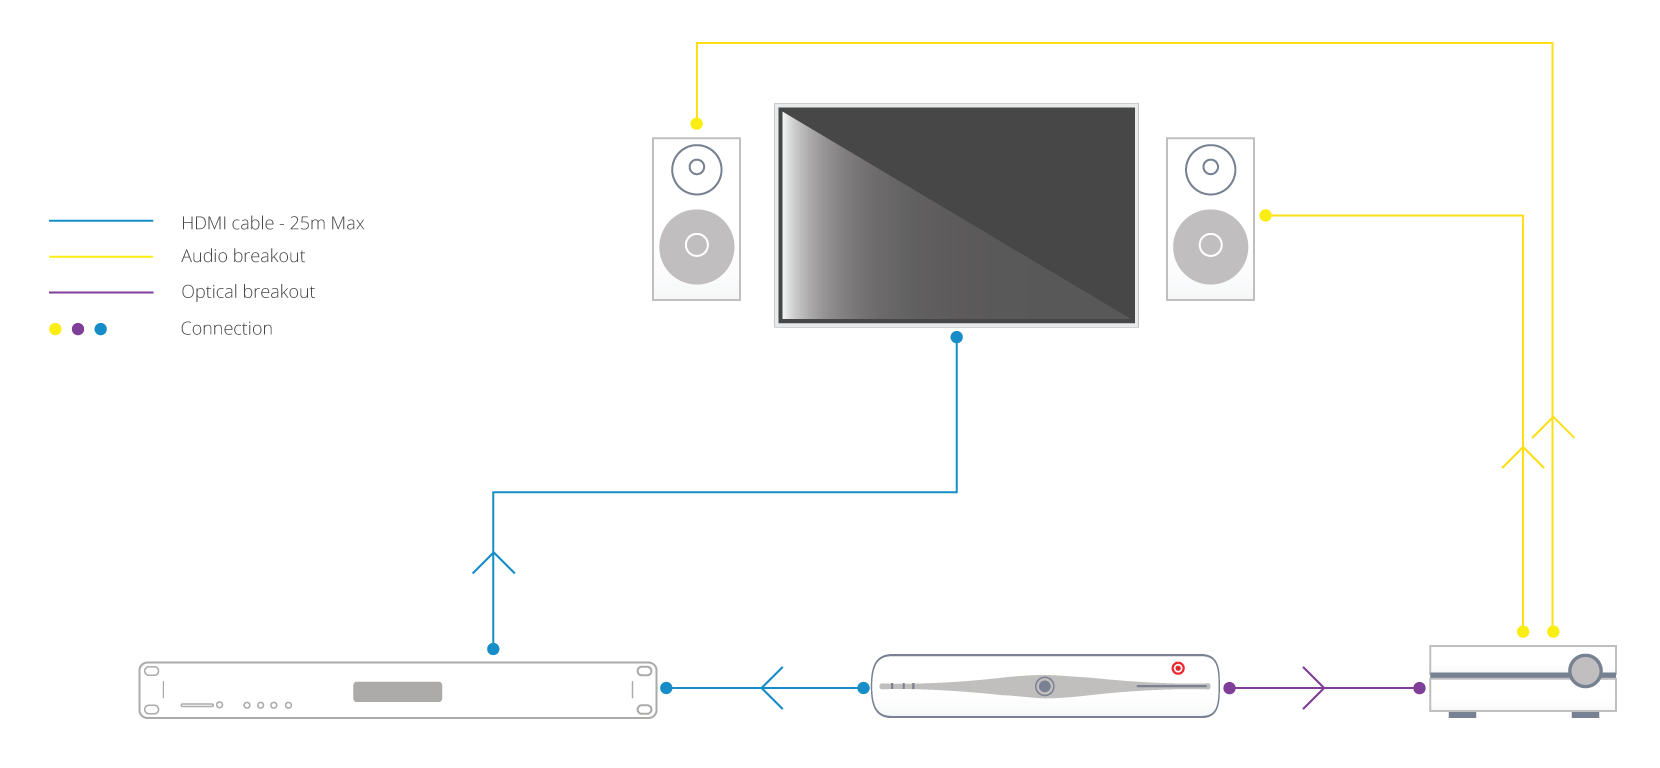
  • Using an HDMI Splitter before an AVR and Display

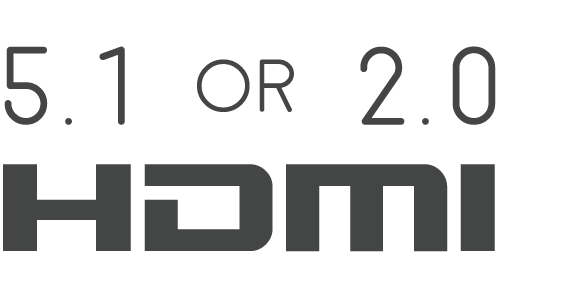
    Due to the way that HDMI handshaking negotiations take place between source and displays or AVR devices, the display (unless it can accept multi-channel audio and has a setting for such) will communicate with the source to only output 2.0 channel stereo. This is due to the fact that in most cases an HDTV only has 2 speakers.

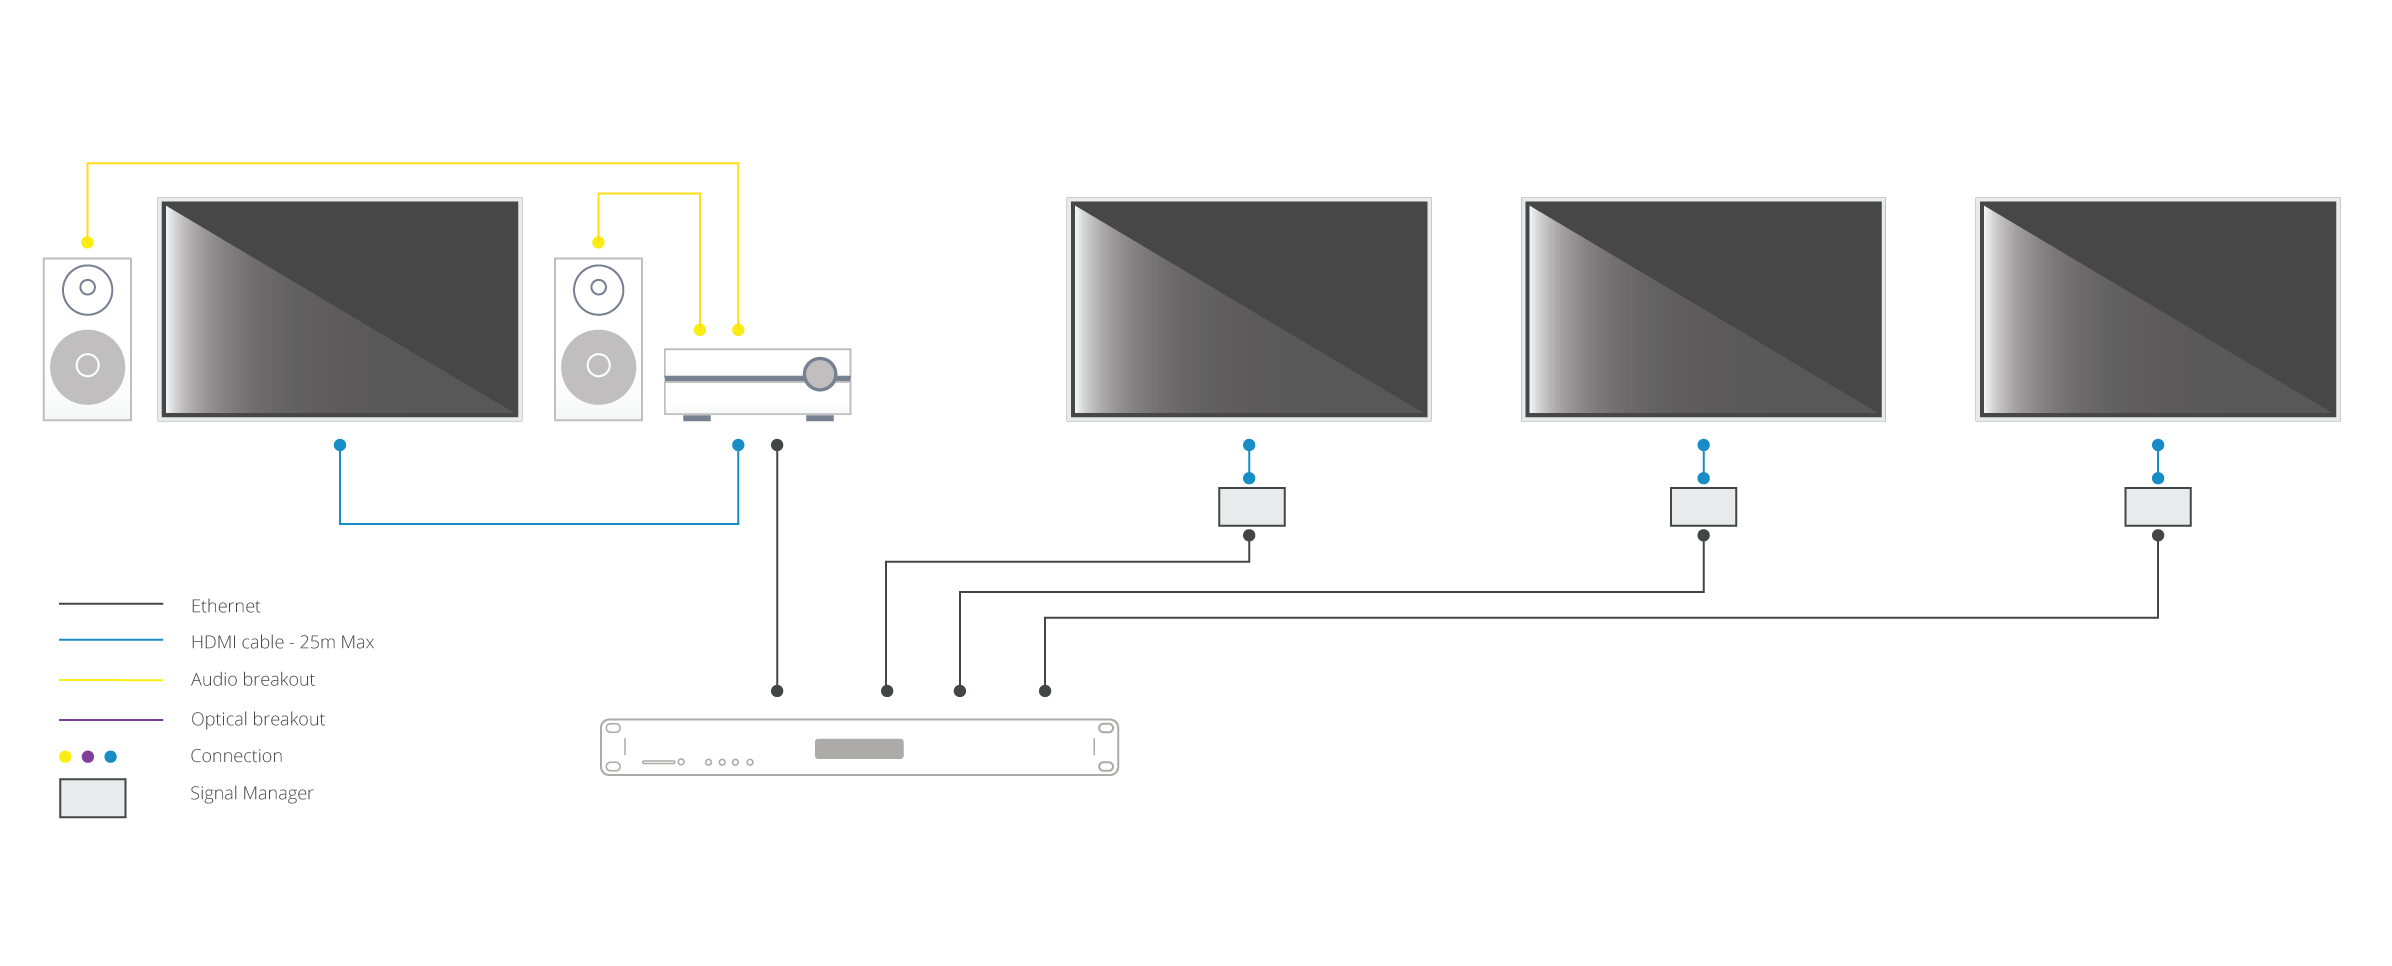
    When using a HDMI splitter or distribution amp (DA) effectively you have 2 display devices competing for the source to send them the audio signal format type that they prefer. The technical rules of HDMI dictate that the lowest common denominator always wins that battle. The logic being that this rule should result in the maximum number of display devices functioning in some way. (i.e. a 7.1 capable device should still be able to output 2.0 channel stereo also, meaning both displays have picture + sound)

    Unfortunately, what you and a lot of people really want from HDMI is for a mix of audio formats to be delivered from one source, which is just not possible currently.

    Some splitters including ours can be pre-loaded with firmware where the highest denominator formats win the battle, but of course that would leave your 2.0 capable HDTV without sound.

  • Hard reset device back to factory condition

    If you have been advised to ‘hard reset’ your HDanywhere device back to it’s factory condition, please perform the following.

    A hard reset will clear any corrupted DDC, EDID or HDCP data on the device’s NVRAM memory and re-initiate the handshaking process with all the connected devices.

    Firstly we need to ensure that any manufacturer HDMI CEC link protocols are switched to “off”.

    Trade names for CEC are Anynet+ (Samsung); Aquos Link (Sharp); BRAVIA Link and BRAVIA Sync (Sony); HDMI-CEC (Hitachi); E-link (AOC); Kuro Link (Pioneer); CE-Link and Regza Link (Toshiba); RIHD (Remote Interactive over HDMI) (Onkyo); RuncoLink (Runco International); SimpLink (LG); HDAVI Control, EZ-Sync, VIERA Link (Panasonic); EasyLink (Philips); and NetCommand for HDMI (Mitsubishi)

    To perform the hard reset:

    Power down every device in the set-up – that’s all sources, all displays and the device itself. Leave off at the mains for 10 to 15 minutes.

    Now switch all connected display devices on and select the HDMI channel on those displays.

    Power the device back on at the mains.

    Now one by one, power on the source devices, starting with input 1, input 2 and so on. If you are using a cable/satellite receiver such as Virgin or Sky+HD, please ensure that this is connected to input 1, not input 2. Please note that Sky HD boxes take around two minutes to fully reboot.

    After a few seconds everything should have synced and shaken hands correctly and normal operation should resume.

    If the problem still persists, Contact Customer Services. for further troubleshooting advice.

  • Troubleshooting: IR over HDMI Kit

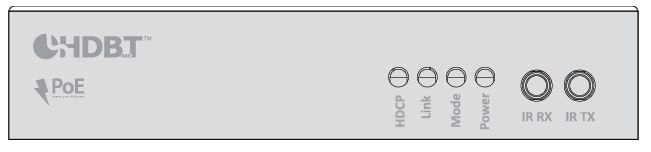
    NB: Both dongles have ‘RX’ moulded into the casing.

    When using the IR over HDMI function, ensure that the switch is pushed across to ‘IR’ and not ‘CEC’.

    Connect the dongles into the source device’s HDMI output port and the display device’s HDMI input port, initially without the HDMI cable connected.

    Connect the IR cables. Connect the IR TX cable to the dongle that’s connected to the source device and connect the IR RX cable to the dongle connected at the display.

    In order to use your source device remote(s) at the TV location, ensure that the IR RX cable receiver eye is fully inserted into the 3.5mm jack port on the dongle and the IR RX cable magic eye is positioned in sight of where you would usually like to point the remote control(s).

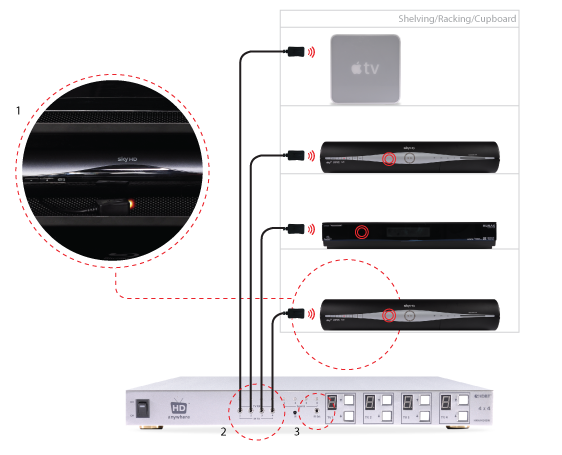
    Connect the IR TX emitter cable to the 3.5mm jack port on the source device dongle and position the IR emitter in sight of the IR receiving window on that connected source device.
    TIP: tape the TX cable flat to a piece of card sat under the source device pointing at the IR window

    When using the IR over HDMI kit is set-ups involving splitters/switches/matrices, remember that the IR dongle has to be connected at either ends of a single HDMI cable run. So the dongle will be connected to the HDMI output port of the splitter/switch/matrix and not the HDMI output of the source device. To control the desired source device(s) – ensure that the IR TX emitter cable is positioned in sight of the IR receiving window on that connected source device.

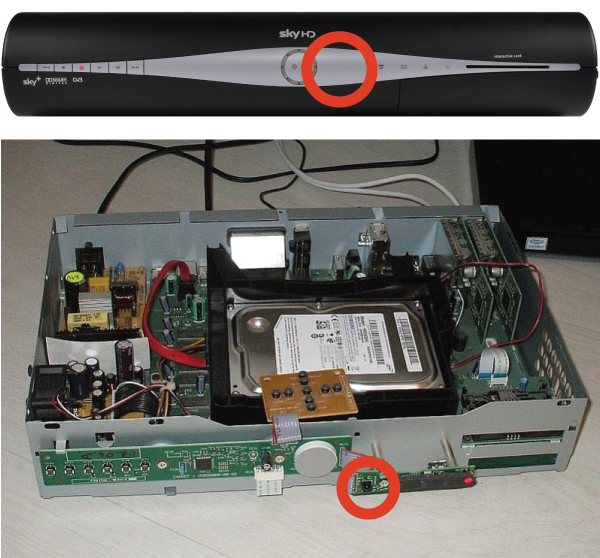
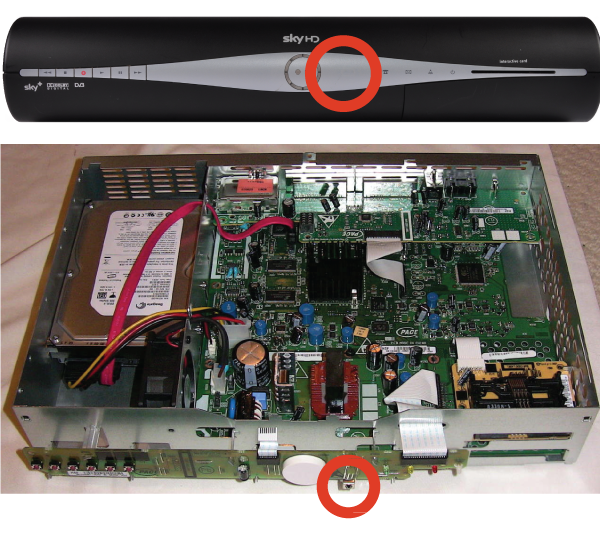
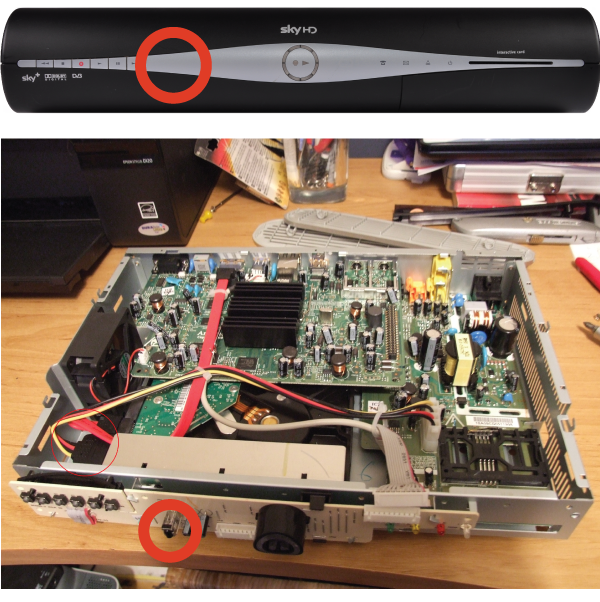
    The exact position of the IR window can vary between makes and models of source. Generally it is on the left hand side about 2 inches from the middle of the box. Often it can be a bit of trial and error to locate the optimum IR emitter placement position. Once found I would advice taping/fixing the emitter in place.

    A final tip is to ensure that the batteries in your remote control are at full strength. (It’s amazing how a fresh set of batteries can resolve weak IR issues).

    If you have all this in place and are still experiencing issues, please contact Customer Services

  • Troubleshooting: Multiroom+ System IR

    Troubleshooting Approach

    When attempting to troubleshoot any issue, we need to isolate where the root cause of the fault could lie by a logical process of elimination.

    At the start of a troubleshooting process, never rule out anything as not a potential cause of the problem. Every aspect of the installation should be considered as a potential suspect. Each component of the installation should be ruled out one-by-one and only then eliminated from the troubleshooting process as the potential problem.

    (more…)

  • Routing 3D Blu-ray via a multiroom+ system

    Routing 3D Blu-ray (BR) via a multiroom+ system can be a challenge and in some cases, due to an incompatible mix of displays, will not be possible. Whether or not 3D Blu-ray formats can be routed via a multiroom+ system greatly depends on the mix of HDTVs, their capabilities and the 3D BR source itself.

    (more…)

  • Sky HD Freezes / Locks Up / Powers Off / Non-responsive

    Sky HD and Sky+HD boxes freezing, locking up, powering themselves off etc are not uncommon. A quick google search will reveal just how many people suffer from this occurrence.

    Their connection to other devices is in most cases not the cause of the Sky box fault.

    In order to resolve this issue, HD Connectivity’s experience is that a full Sky system reset is the best medicine. Instructions on how to do this can be found here: Sky box full system reset

  • Troubleshooting: Green screen

    Important:
    In most cases, if you are experiencing green screen on your display then this is often down to the HDMI cable in between. A quick way to test to see if this is the case is to replace your existing HDMI cable with our range of 4K or 8K HDMI cables. If that doesn’t work, move your HDMI source to another display in your property (use a different HDMI cable), connect it up and observe to see if the same behaviour follows the box. This will help you determine if the issue is the cable or the HDMI source.

    The article below describes how to troubleshoot a green screen when using a HDANYWHERE product, if you are having green screen issues and you do not own a HDA product then we recommend you buy our 4K or 8K HDMI cables and give that a go first – they come with free shipping!

    Symptom:

    There is no picture or maybe a green screen following standby or when switching between source devices via a matrix. Most often this problem occurs once the TV goes to standby, and when brought out of standby to an ‘on’ state, it will not handshake properly and green screen instead of video appears.

    Green screen flashes generally indicate a HDCP (Digital Content Protection) handshaking issue, or a HDMI hot plug detect issue between that particular source device and display.

    (more…)

  • Locating the IR window on common HDMI devices

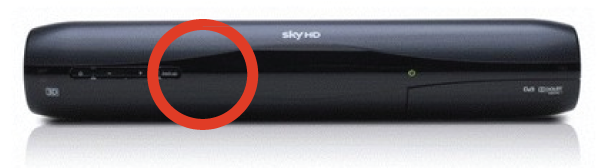
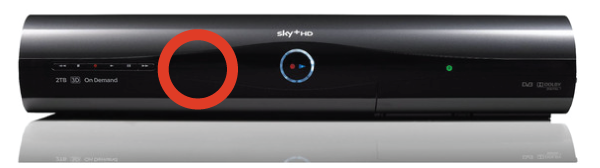
    Finding the IR window on your source device can be difficult if it isn’t mentioned in your user manual or is marked clearly on the front of your device. A very common device is Sky+HD and Virgin’s Tivo boxes. Below, we’ve marked where the IR windows are on these devices for easy installation.

    THOMSON model DSI8215


    PACE model TDS850NB


    Amstrad model DRX895


    Sky multiroom box

    Sky HD Terabyte box


    Can’t find the source device that you we’re looking for? Please email us with a request and we will make it available online the next working day.

    Still having problems with your IR setup?
    Please check our HDanywhere IR wiring setup diagrams or have a look at our IR troubleshooting video