This guide explains how to use Lutrons API protocol to control QS Standalone, RadioRA2, Quantum, Athena, HomeWorks QS, myRoom plus from Lutrons devices.
What this guide will cover:
- How to control Lutron lights in your home.
- How to add that API into uOS.
- QS Standalone, RadioRA2, Quantum, Athena, HomeWorks QS, myRoom plus.
Important: you must have the IP addresses first
For the purposes of this guide we are going to assume that your Lutron gateway is on IP address 192.168.1.15 and your uOS device (MHUB, MZMA or Zone Processor) is on 192.168.1.196. We will use this to illustrate all examples moving forward.
Important: This guide assumes that you are familiar with Lutron and know how to use their lighting infrastructure and that your Lutron system is operational before integrating into uOS.
What a Telnet Lutron command looks like
See “Testing your API’s” for more information on Telnet.
Understanding what the variables above mean:
#OUTPUT
This is the operation character for executing an action. For more information on these see the slideshow below.
,2
The first number in the string is the ID for the device.
,1
The second number in the string is the action number, which in this instance is enable.
,75
This number sets the level of the dimmer, so in this case 75%.
,00:30
This is the fade time of the dimmer.
Testing your APIs
We recommend that you test every API before you enter them into uOS. All IP based APIs have different requirements when it comes to testing, Lutron’s method is a little different as it needs to be done over Telnet in command prompt.
To test your commands, open up command prompt on your laptop or PC and enter telnet 192.168.1.15 23
Remember, your IP address will be different, you must use the Lutron gateway IP address for this, the port is 23.
You now need to wait for it to connect which may take a few minutes, then you will be asked to login. The username is lutron, and the password is integration. You will now be able to test your commands in the terminal. Observe the device you are trying to control, and see if your commands changes the outcome.
Using a MAC?
If you are using a MAC you can use Netcat to test your API command. To do so open your terminal and enter nc 192.168.1.15 23
Wait for it to connect and then you will be prompted to login. The username is lutron and the password is integration.
If it doesn’t work then try the following:
-
Make sure the IP address is correct.
-
Make sure that you do not have any typos.
-
Ensure that your IDs are correct and that you’re observing a light in the correct room and location.
-
Make sure that the structure of the API matches our example no spaces, no special characters, data is in the correct case (often lowercase).
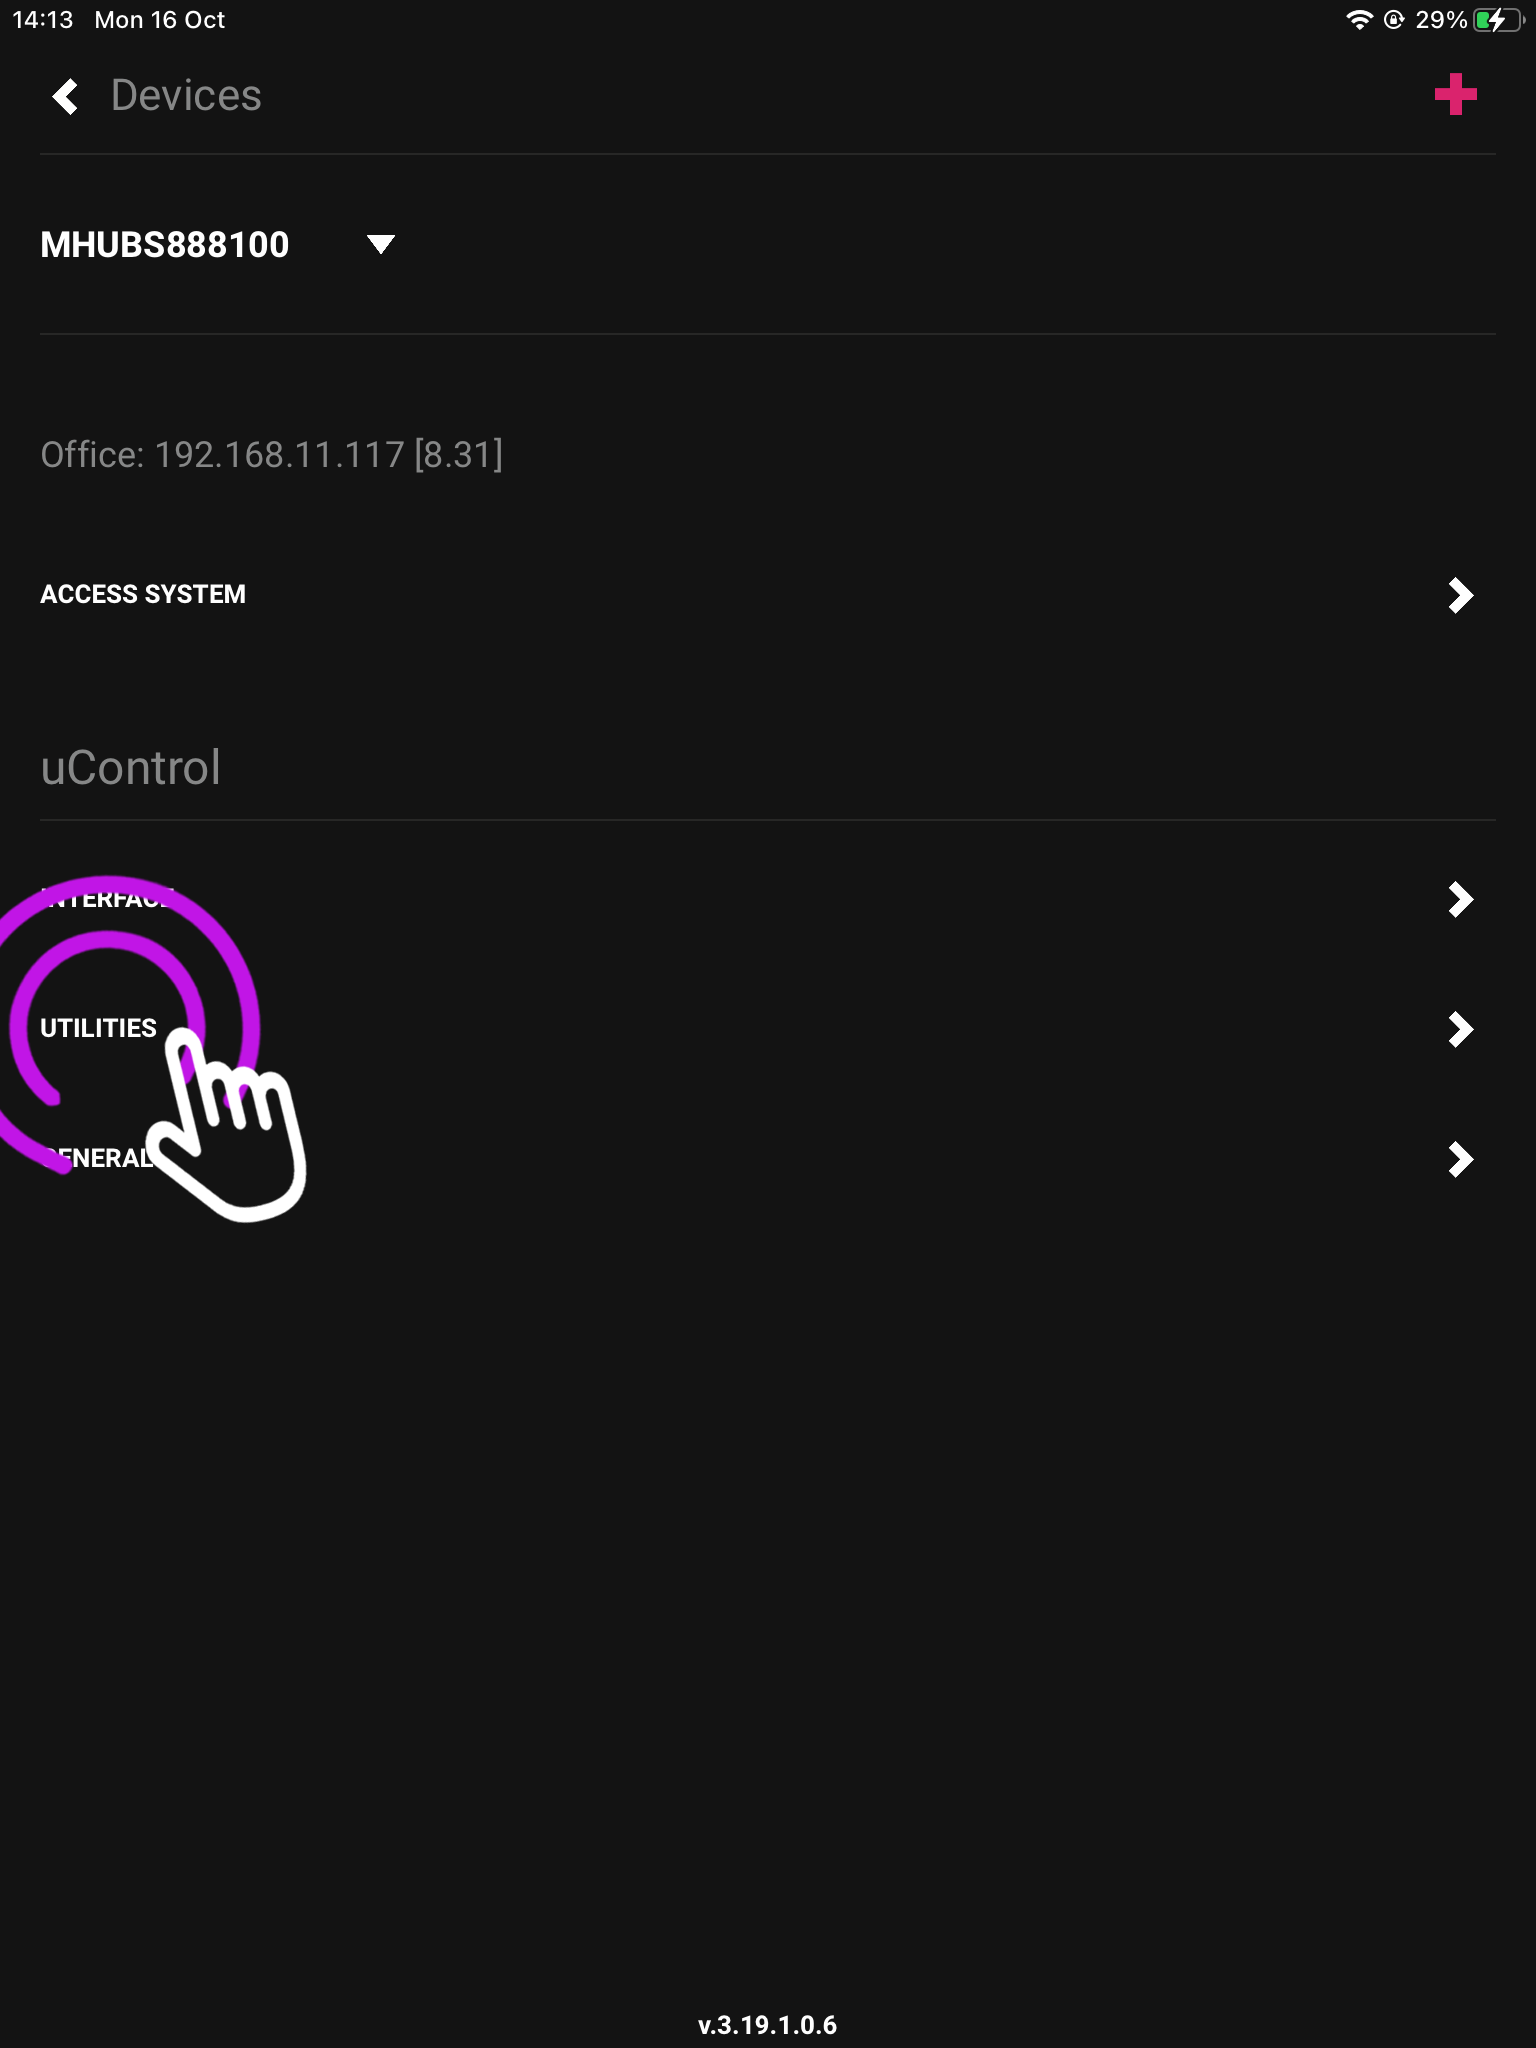
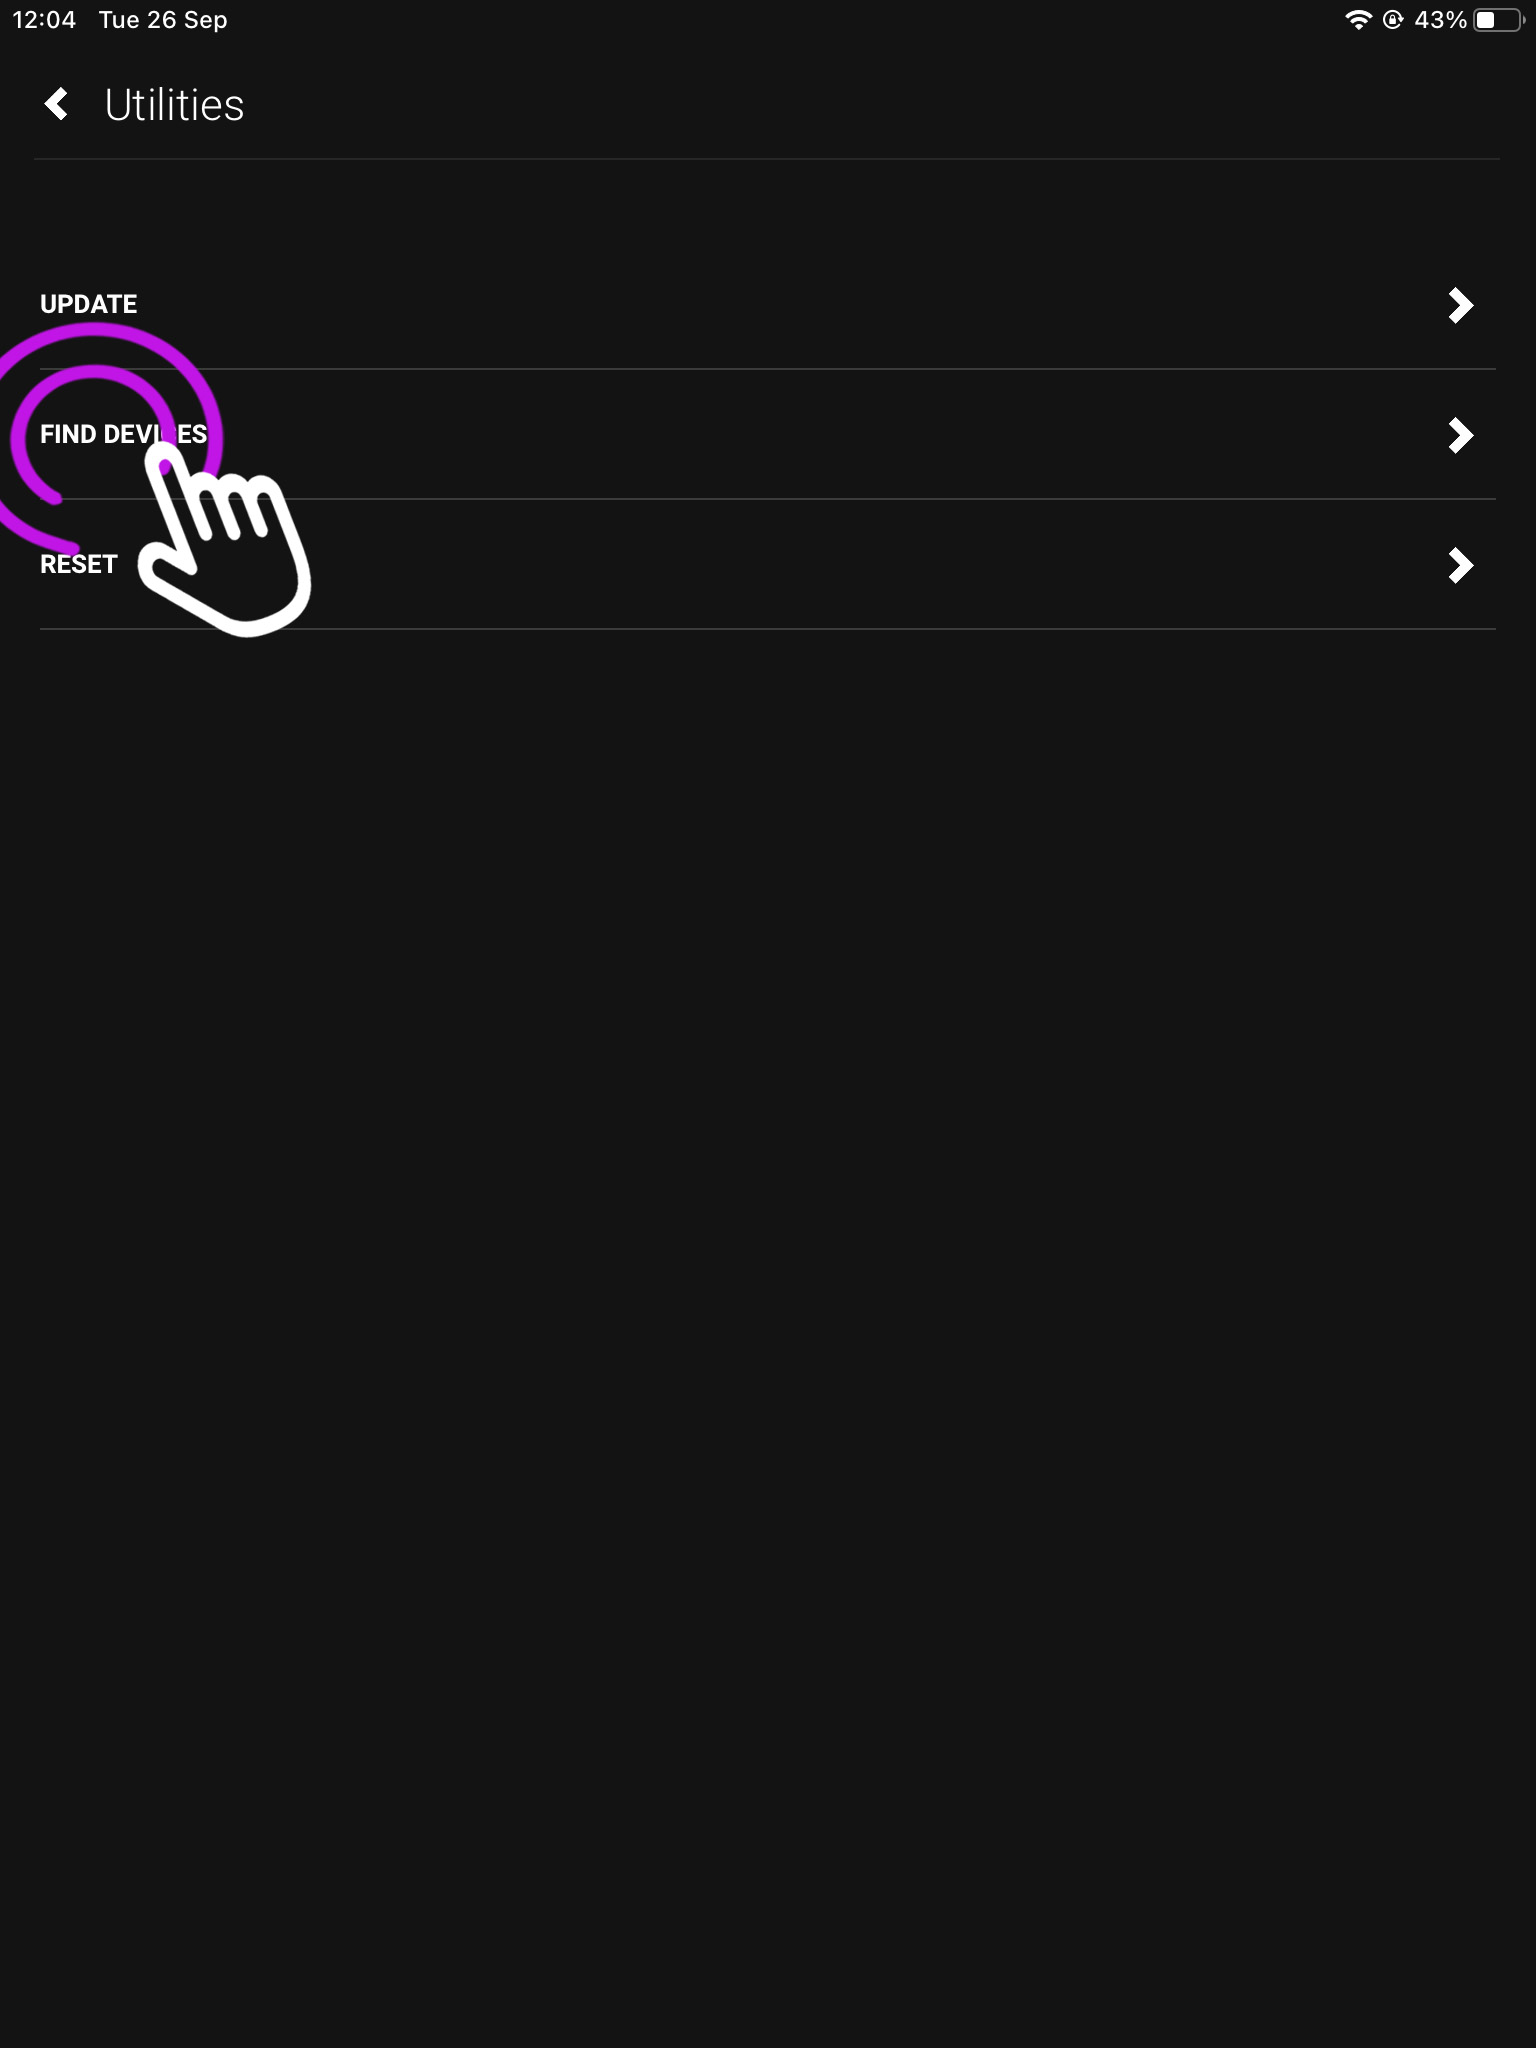
How to add your APIs into uControl
Need more help with the API? Get in touch.
All HDA staff are able to help with any API questions you might have including any advanced features. Get in touch for help or assistance.