*Before you activate the Alexa Voice Service with your MHUB, make sure Amazon support your territory and version. We cannot guarantee voice services or offer support to those territories not officially supported by Amazon. Check here: https://www.amazon.co.uk/gp/help/customer/display.html?nodeId=202207000
What you need to get your MHUB to respond to voice commands:
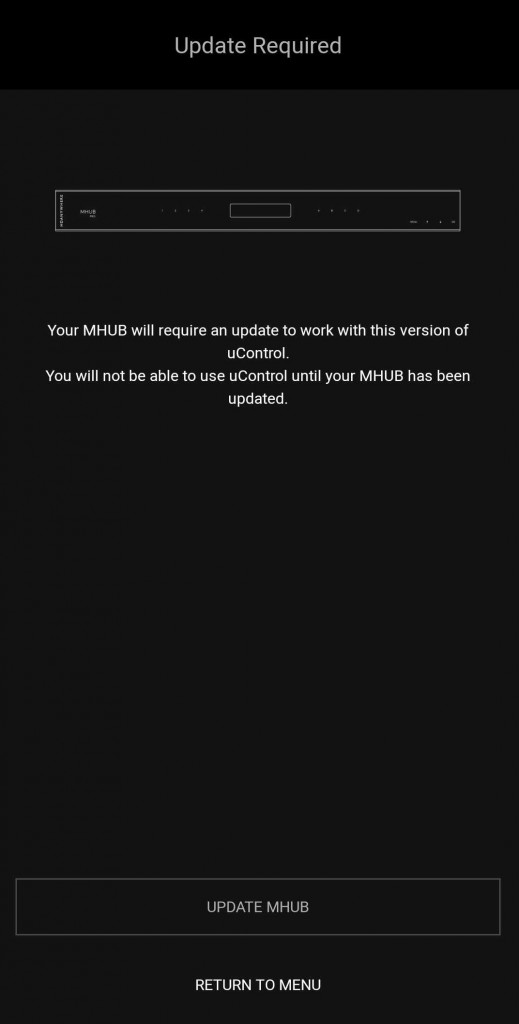
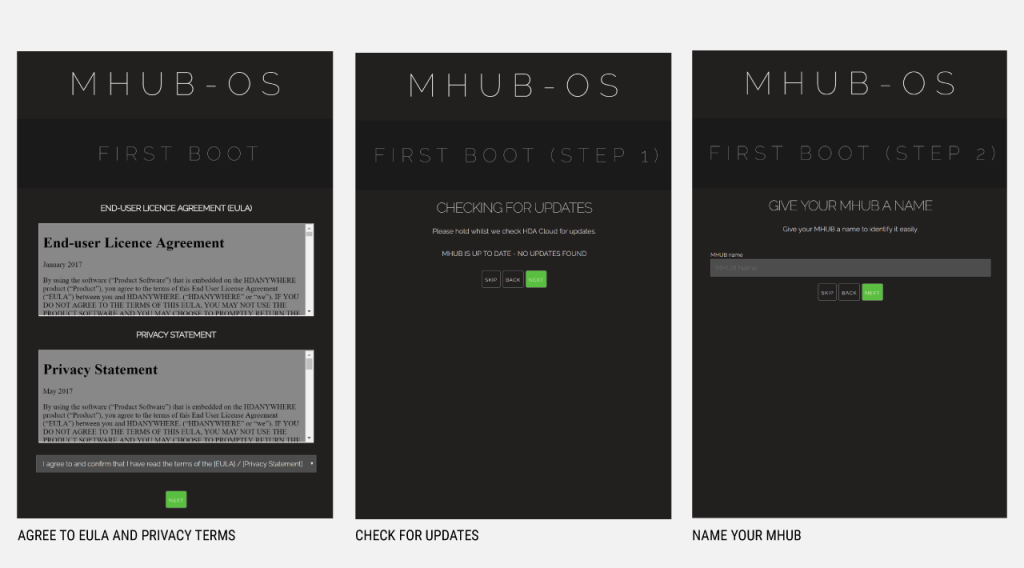
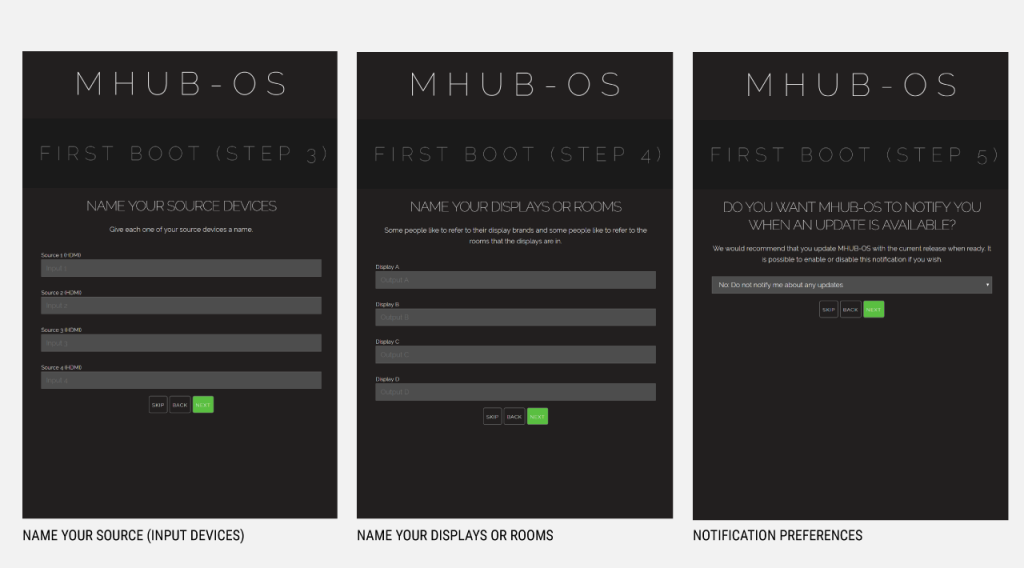
- You have completed the first-boot procedure within MHUB-OS
- You have MHUB-OS version 8.10 or higher installed on your MHUB
- You have an active HDA Cloud account
- You have downloaded uControl packs for all displays and source devices you want to control
- You have completed input mapping in MHUB-OS
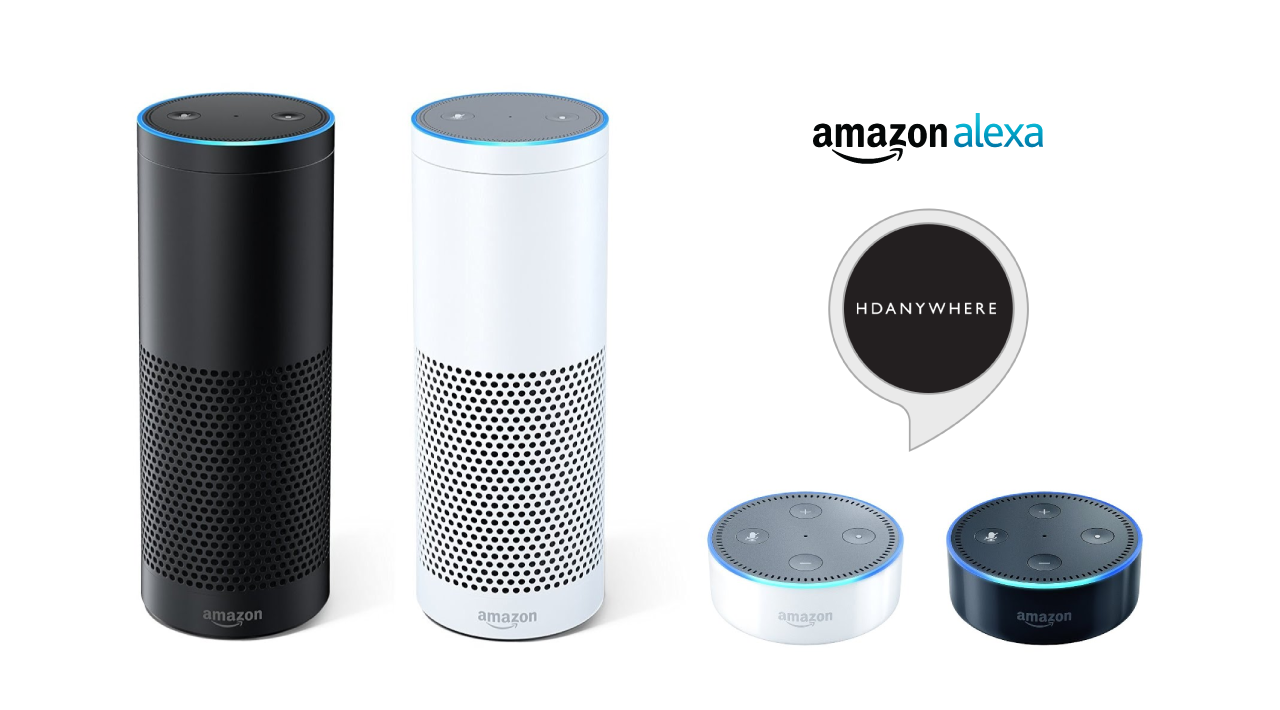
- You have an active Amazon account
- You have an Amazon Alexa enabled device, such as Amazon Dot/Echo/Show
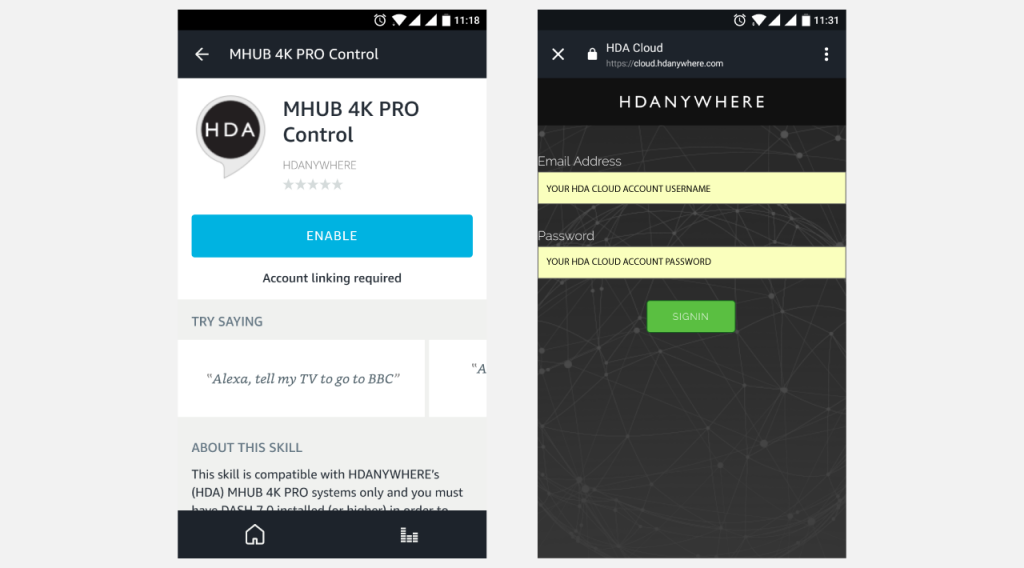
Setting up AV Skill
Configure voice commands to do exactly what you want
Let’s take the command “Alexa, Turn on football” as an example.
It might appear like a very simple command but there are a number of things that need to happen in order to watch football! First the TV might need to turn on, but in which room? The volume might need to be set to a desired limit. The correct source input might need to be selected on MHUB and finally that source will need to navigate to the channel hosting the football.
You can configure all those actions in what we call a “Sequence”.
Taking the example above:
Alexa (this wakes up your Amazon Dot/Echo/Show)
Turn on… (this invokes the smarthome skill)
football (this is your custom name for the Sequence, it can be anything you want)
Inside MHUB-OS we can configure exactly what “football” does.
- You can select if you want MHUB to turn your TV on and adjust the volume
- You can tell MHUB to switch to the source device with has the football on it
- You can instruct MHUB to change the channel on that source device
Read more about Sequences and Scheduling.
Troubleshooting
- When searching for devices, nothing is found
- Check you cloud account details were entered correctly
- Ensure only 1 system is linked with the cloud account being used
- Ensure you have backed up the system to cloud after configuring the Alexa Skill on MHUB-OS
- When you try to control a zone Alexa says the command isnt supported
- Ensure there are no other devices linked to the Alexa that have the same name as the zone.
Here’s a table of all the commands you can tell your MHUB to do…
Now you’re ready to go. Take a look at a full list of commands that you can say to your Echo.